Got some cool ideas you want to share with the world? A podcast is a great way to share your ideas. For one thing, it's much easier to record a podcast than it is to produce a YouTube video. Second, many people prefer a podcast to a YouTube video because they can listen to it in the car, on the train, or wherever.
Today, in 2023, there are over 5 million podcasts worldwide and over 464.7 million people who regularly listen to podcasts. So the interest is there! But ultimately it is a matter of good marketing to reach these people.
But don't be intimidated by the competition - although there are many podcasts out there, you have a good chance of success if you share interesting and original content and ideas with the world.
Step 1: Planning
First, you should plan your podcast episode well. The best way to do this is to write a detailed script with the content and exact schedule. Even though many podcasts seem improvised, there is often a lot of planning behind them. You can still leave plenty of room for spontaneous conversation - but when that conversation is over, stick to the plan.
Prepare the topic
First, plan the topic. You should choose a topic that you are really interested in and that you think other people might find interesting. There's no point in choosing a great topic that you can talk about a lot, but no one will be interested.
It helps to think about your audience. Who do you want to listen to your podcast? What do they care about? What problems do they have? You should also take the time to research the market. Look at similar podcasts and think about how you can differentiate yourself.
Now for the preparation: There will probably be many subtopics under your main topic. Plan them well and think about interviewing experts on certain topics - it will make the whole podcast more credible.
Do your research and gather facts, statistics, examples, and stories that can further your topic. Put yourself in your potential audience's shoes: What questions might be left unanswered? Are there things that are obvious to you but not to most of your audience?
Writing a script
A good script, or at least some notes, will help you stay on track and structure your podcast episode in a way that makes sense to your listeners.
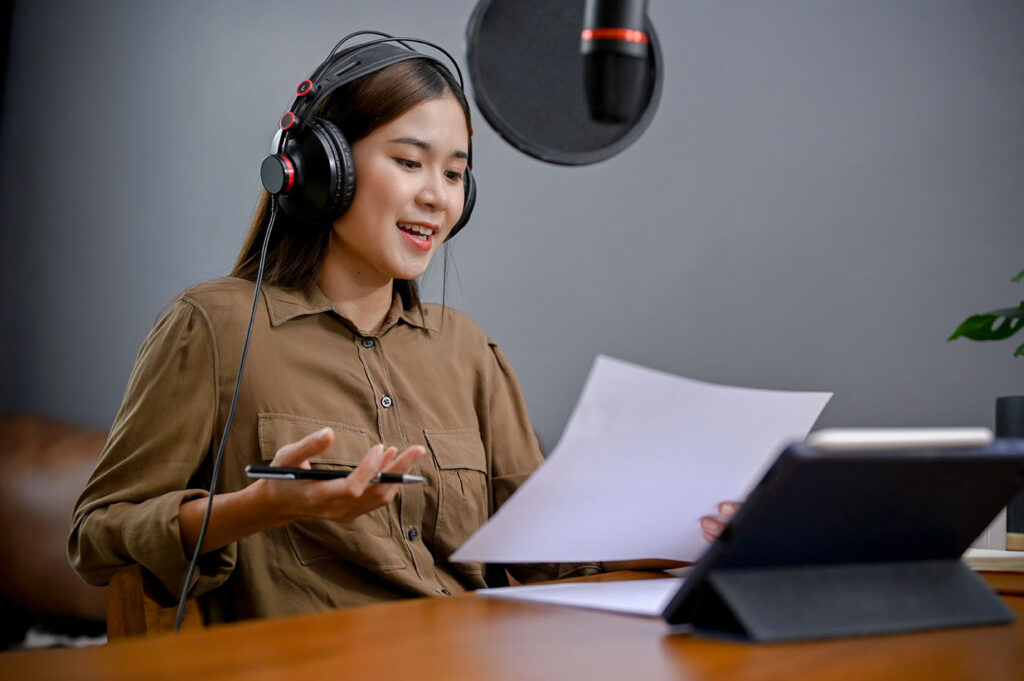
Write a script with the information you want to include in the podcast - that's the only way to make sure you don't forget anything. But also leave room for improvisation and spontaneous conversation, because your podcast should sound natural. And in real life, it's natural to get sidetracked and wander off topic when you're having a conversation.
You can think of your script as a conversation guide: When you finish an impromptu conversation and no one wants to add anything, you take your script and move on to the next topic.
Step 2: Audio equipment
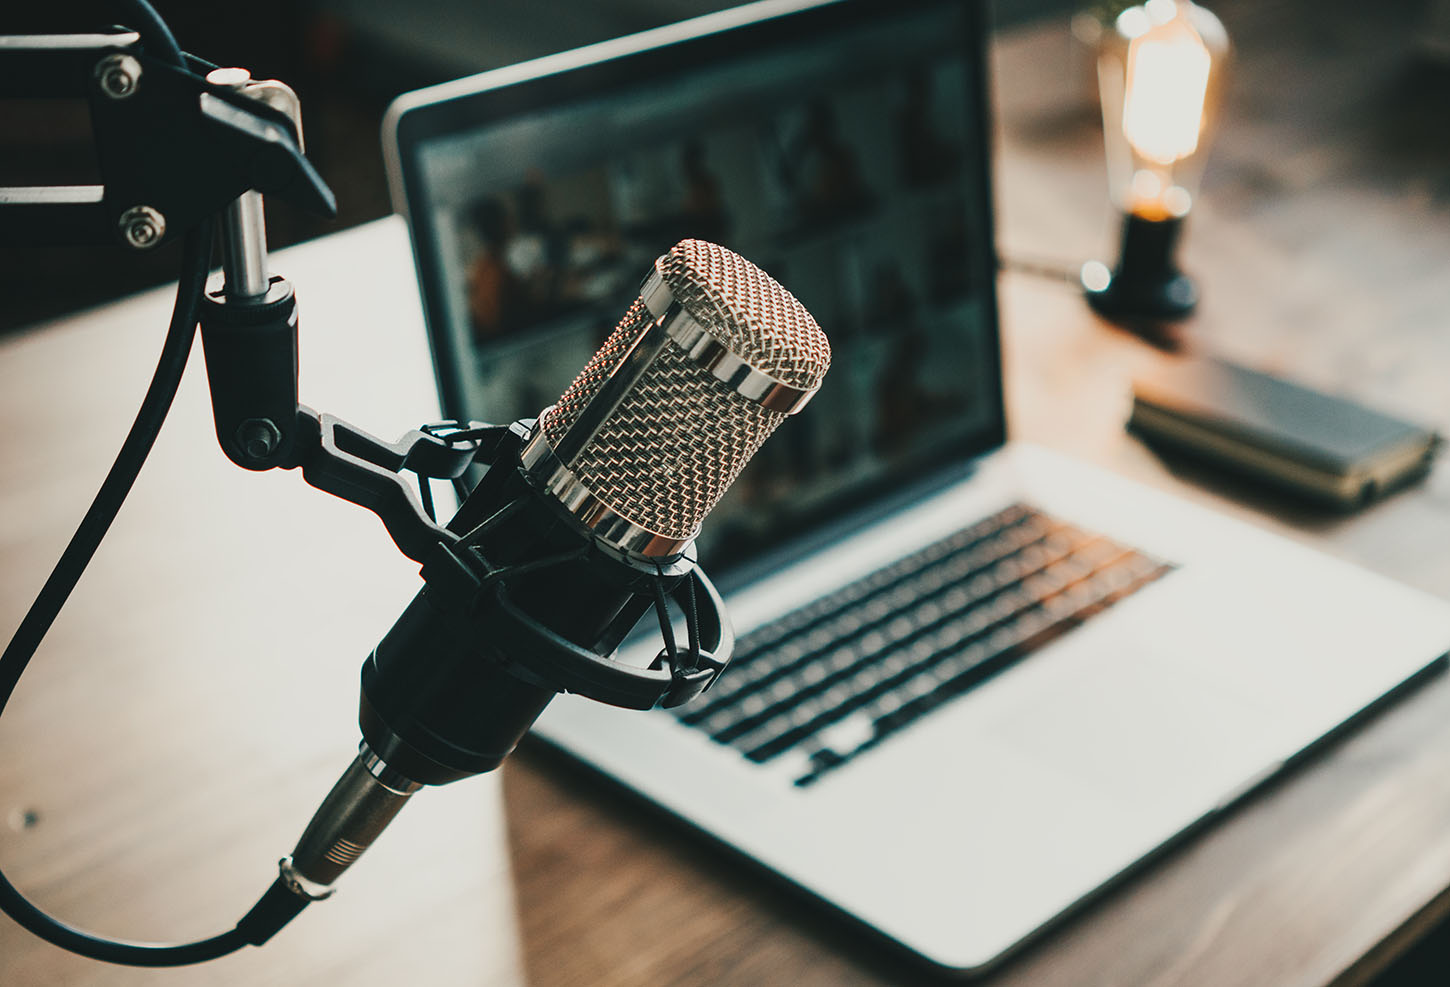
Besides great ideas, you need some equipment to record a podcast. Theoretically, you can get started with equipment for less than $100! So recording a podcast shouldn't be a budget issue.
Microphone
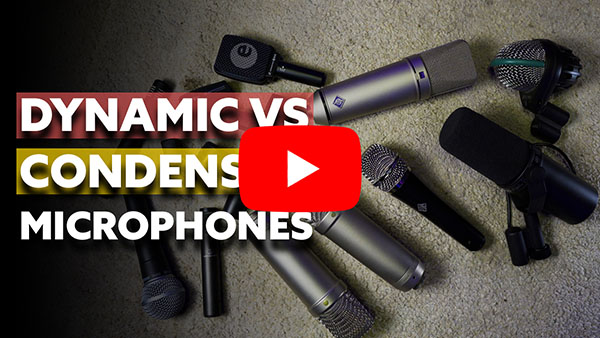
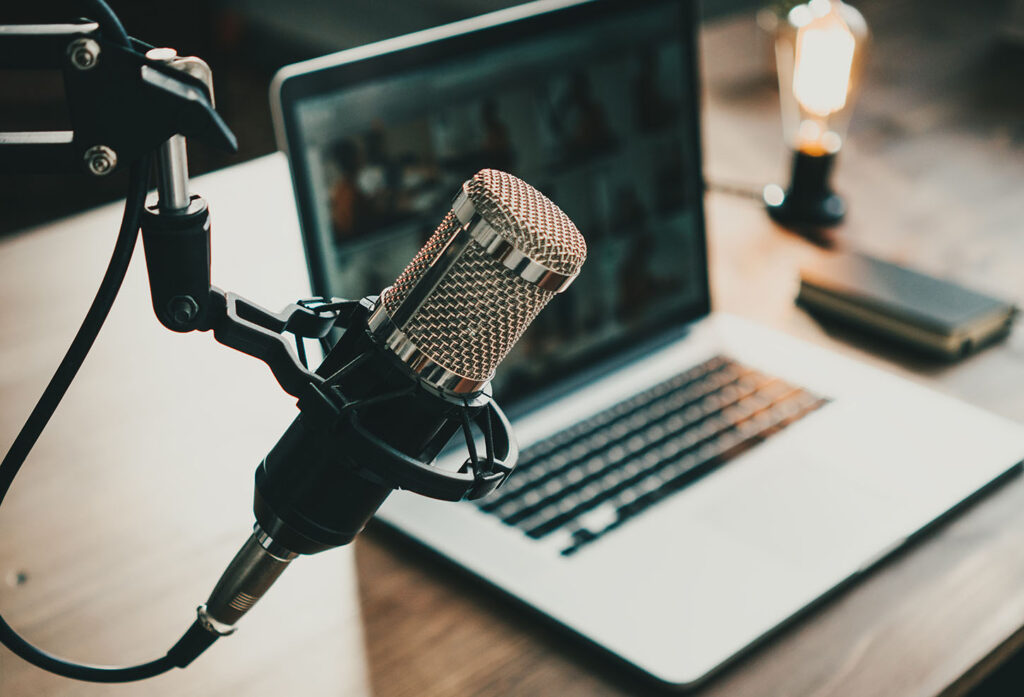
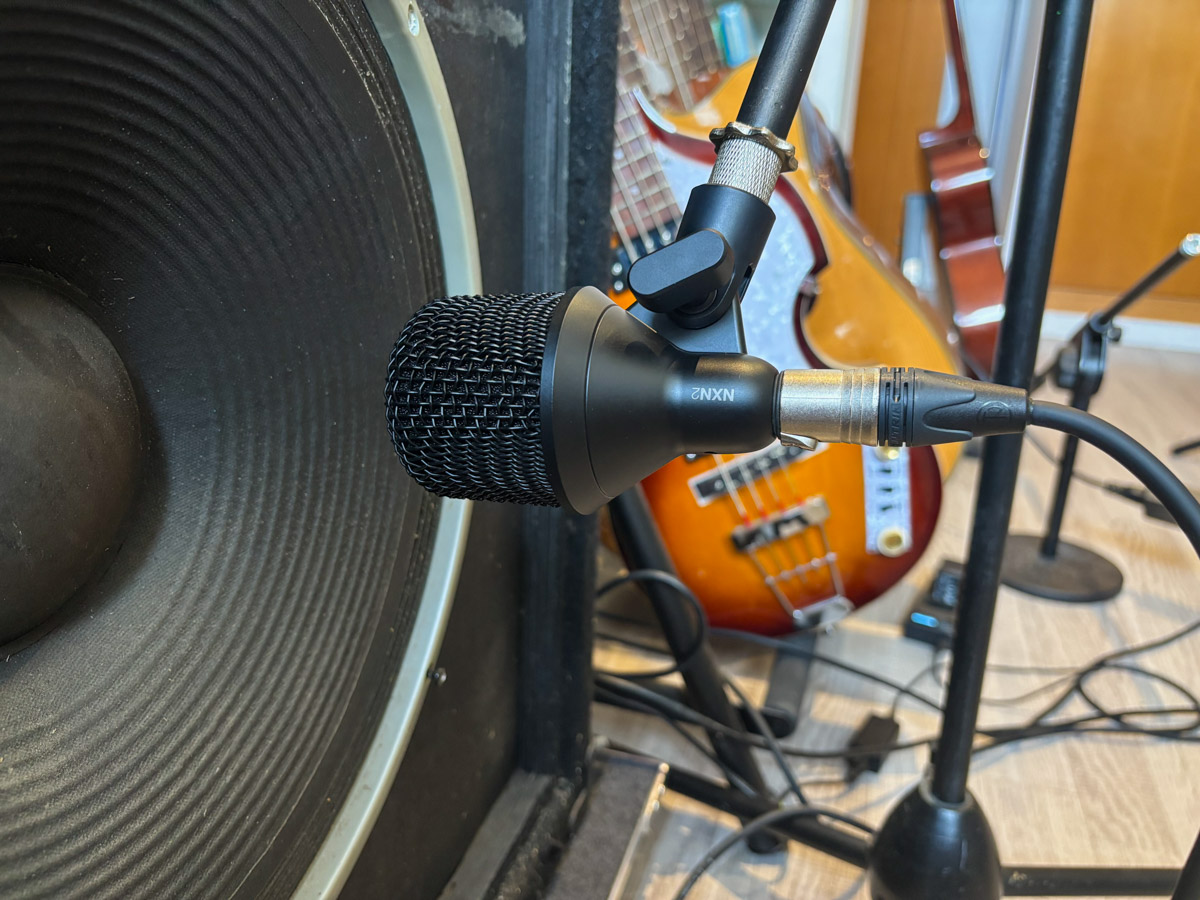
First, of course, you need a microphone. There are two kinds of microphones: Condenser microphones and dynamic microphones.
Condenser microphones sound a bit fuller and usually pick up low frequencies better, but they require good room acoustics because they pick up a lot of sound reflections. Condenser microphones can therefore be used if the room acoustics are improved by acoustic measures.
However, since this is quite expensive, most podcasters use dynamic microphones with a good frequency response, as these attenuate side reflections much better and do not require good room acoustics. The most popular podcast microphone in the world is the Shure SM7B, which Joe Rogan, for example, also uses in his podcast.
Other popular models at Podcaster include the Electrovoice RE-20 (609€, dynamic), the Rode Procaster (180€) and the Rode NT1A (179€, condenser).
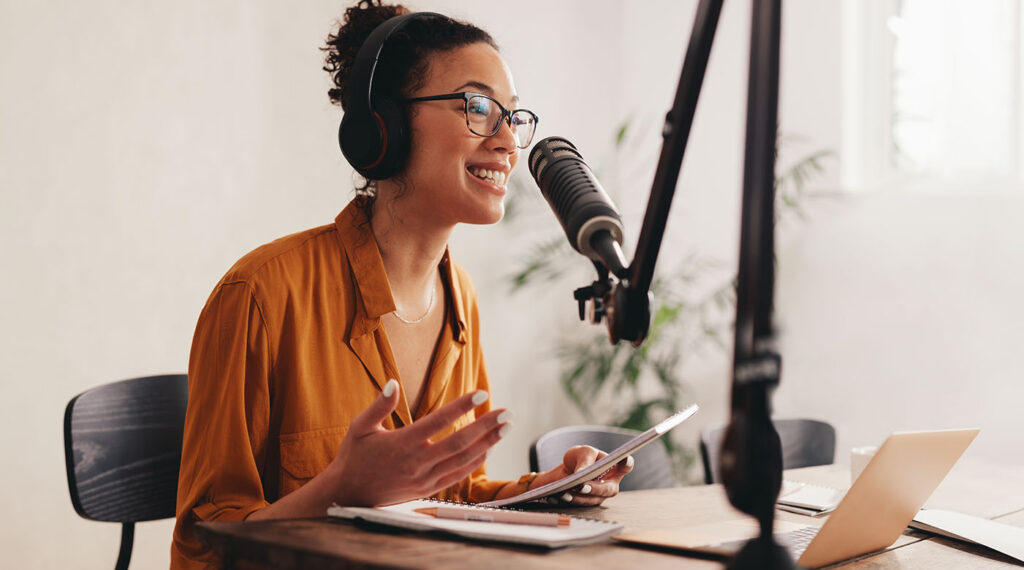
All of these microphones require an audio interface because they only have XLR connectors. So you should budget at least $120 extra. If you don't have that kind of budget, a USB microphone may be the best solution for recording your podcast.
These do not require an audio interface and can be connected directly via USB to a PC or laptop. However, the quality is lower than microphones with XLR connectors and separate audio interface, but usually quite sufficient for podcasters.
Popular USB microphones include the the t.bone SC 420 (59€), the Rode NT-USB Mini (95€) or the Rode Podcaster (189€).
Audio interface
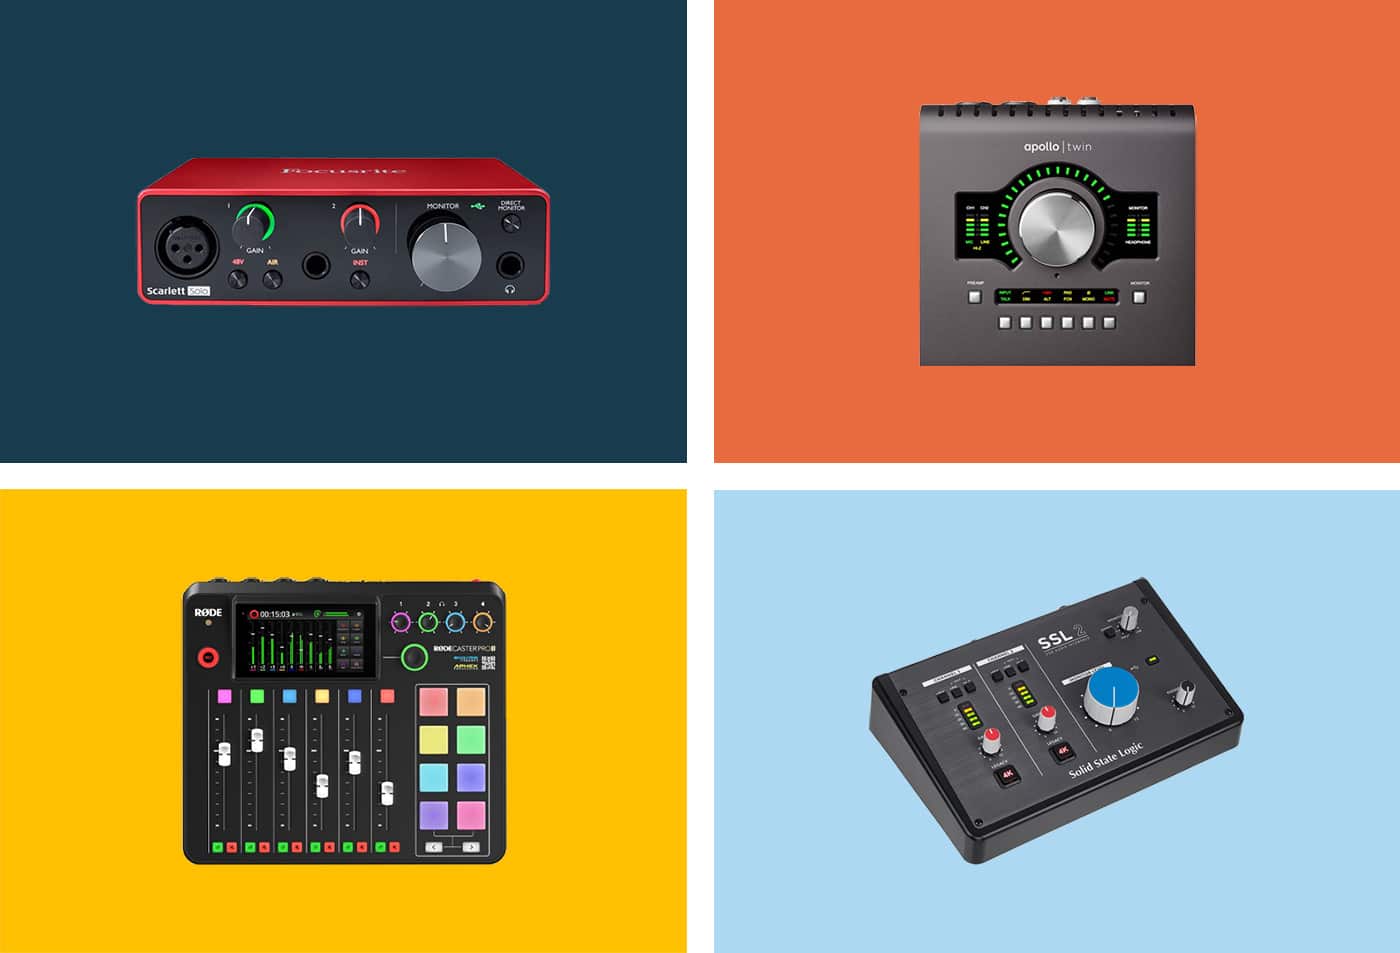
➔ Here you can find my full guide to the best audio interfaces on the market.
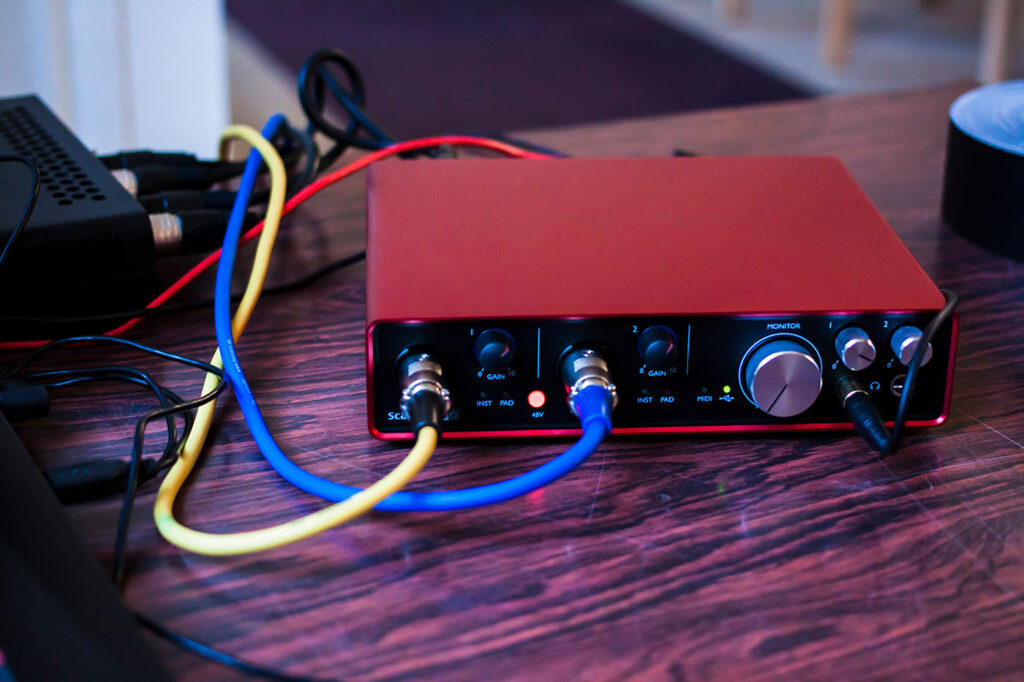
An audio interface is responsible for converting the analog audio signal that comes into the interface through an XLR cable into a digital signal that can be processed by your computer and DAW.
In order to listen to the recorded material, the digital output signal must be converted back to an analog signal that can be played back through studio monitors or headphones. This task is also performed by the audio interface, which is why every audio interface contains an AD/DA converter (analog to digital/digital to analog; i.e., in both directions).
USB microphones have a built-in A/D converter that internally converts the signal from analog to digital so that it can be digitally transmitted to the computer via USB.
Audio interfaces can have different numbers of input channels: the smallest and cheapest start with one input channel (so you can connect and record only one microphone) up to 32 input channels (so you can connect and record 32 microphones at the same time).
To record a podcast, you should have at least 2 channels so that you can connect 2 microphones (1 for the host, 1 for the guest) and record both voices with separate microphones. This gives you much more control in post-production, as you can make one voice louder and the other quieter, for example.
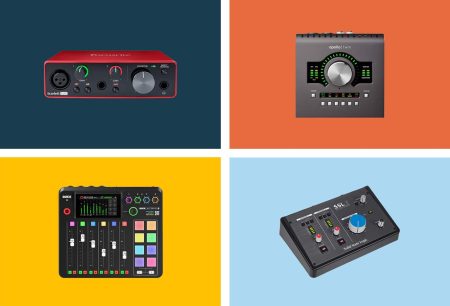
The Rode Rodecaster is an audio interface designed specifically for podcasters and is therefore highly recommended. However, it is quite expensive at over 500€. For under 200€ you can also get the Focusrite Scarlett 2i2 or the Behringer U-Phoria UMC - both very good interfaces that are perfectly adequate for any podcaster.
Headphones/Speakers
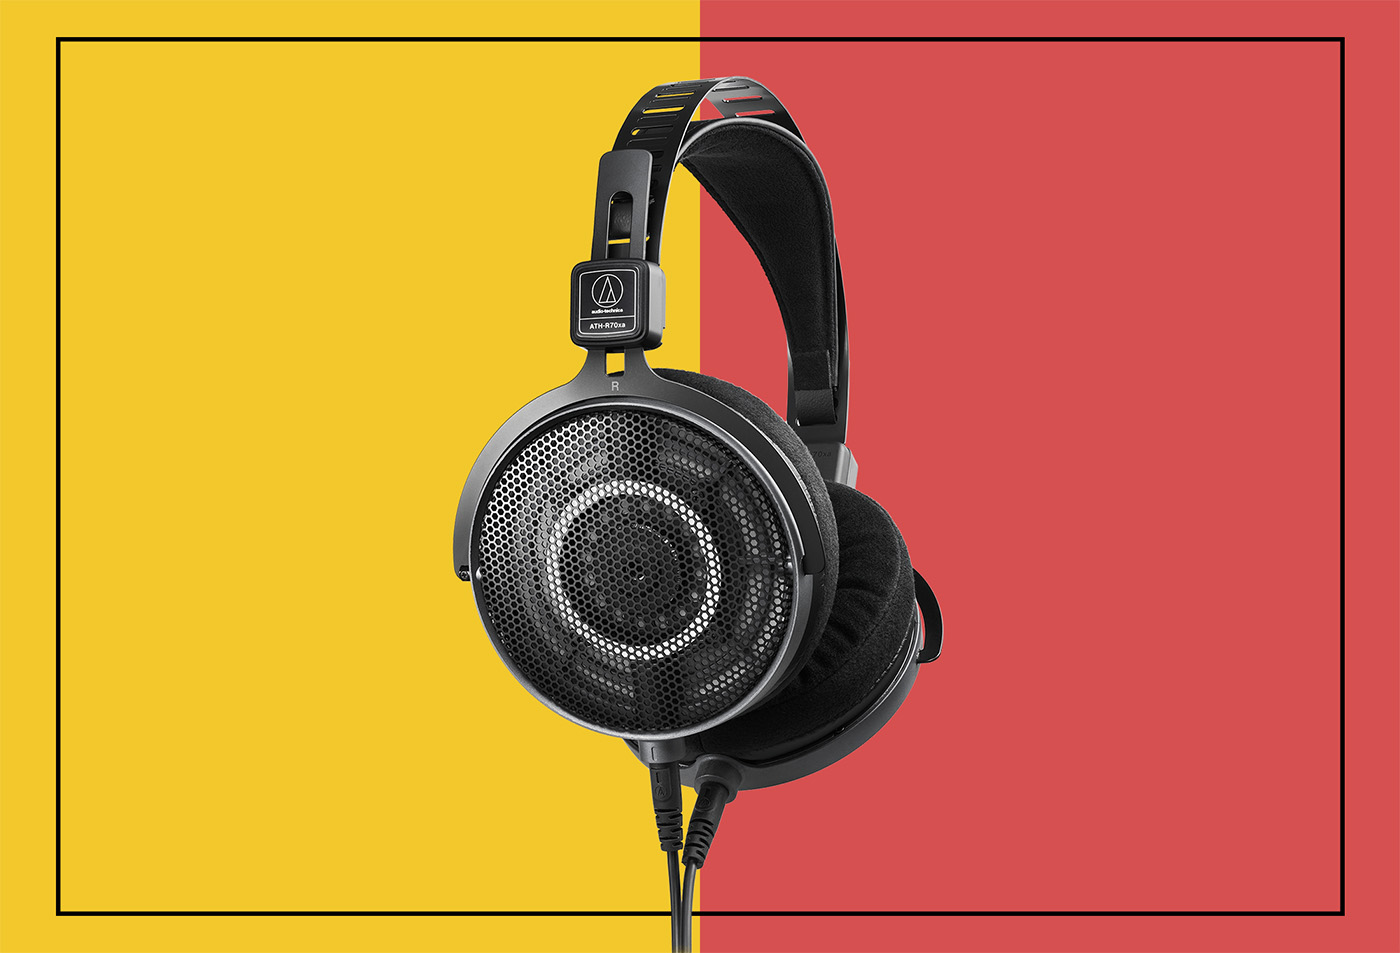
Headphones and speakers are only needed for post-production, not for recording the podcast. But post-production is at least as important as recording the podcast, so it is important to listen to the audio as well as possible. And while you are recording, it can be helpful to put on your headphones from time to time to hear how your recording sounds.
If you have the opportunity, working with speakers is much more comfortable than working with headphones. With headphones, your ear tends to get tired quickly, and it becomes tiring in the long run. However, speakers have the disadvantage of disturbing your neighbors or family, and you may not be able to work at night if a roommate is sleeping next to you.
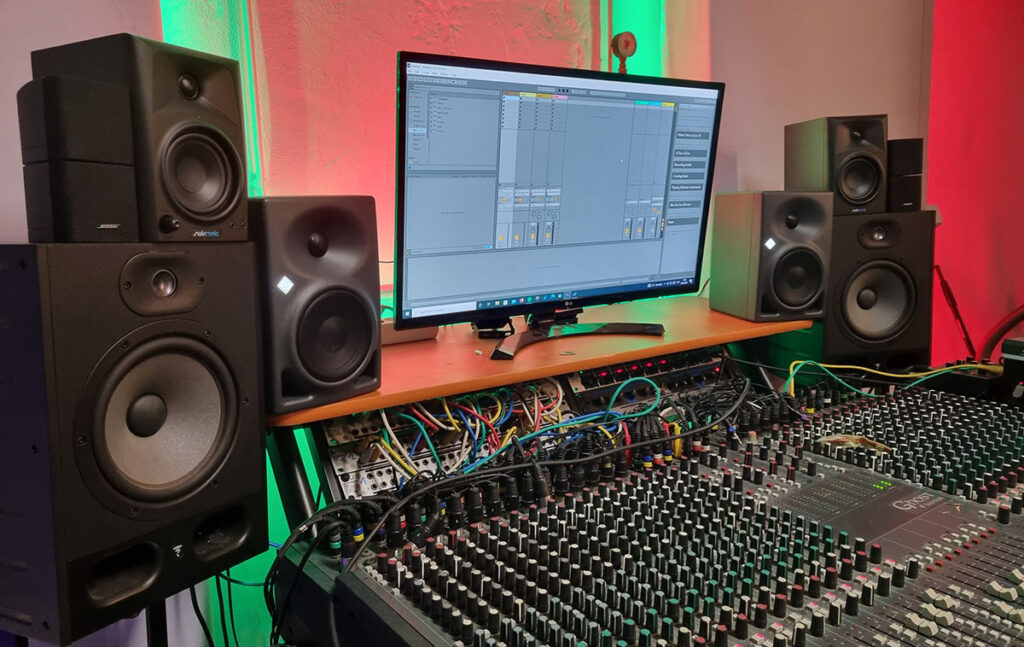
Depending on your situation, you may want to choose one or the other, or ideally both. For example, you might work with speakers during the day and use headphones at night to avoid disturbing your family.
If you just want to edit podcasts, cheap headphones or speakers will do the trick, since frequency balance or bass range are not that important. For a small budget, I can highly recommend the Swissonic A204BT speakers. For 100€ the quality is incredibly good (even music sounds quite good through these speakers) and they even have a Bluetooth function.
If you have a bigger budget and want to produce music, I recommend the Yamaha HS8. If you want to learn more about speakers and monitors, feel free to check out my article on the best studio monitors.
In terms of headphones, I can recommend the Superlux HD-660 Pro in the budget range, because the price-performance ratio is simply unbeatable. In the more expensive range, I would recommend the beyerdynamic DT-770 Pro - a worldwide standard in many recording studios. For more on headphones, check out my article on the best headphones.
Room acoustics
If you can afford it, you can acoustically condition your room to make your podcast recordings sound better. The sound waves you make when you speak reflect off the walls, ceiling, and floor, creating a slight reverberation or even an echo, depending on the size of the room and how many objects are in it.
Every room sounds different, so you should make some test recordings with your microphone to find out how good or bad your room sounds. In small rooms with many objects, recording with dynamic microphones may not require any room treatment. However, if you are recording with condenser microphones, you will definitely need to optimize the room acoustically.
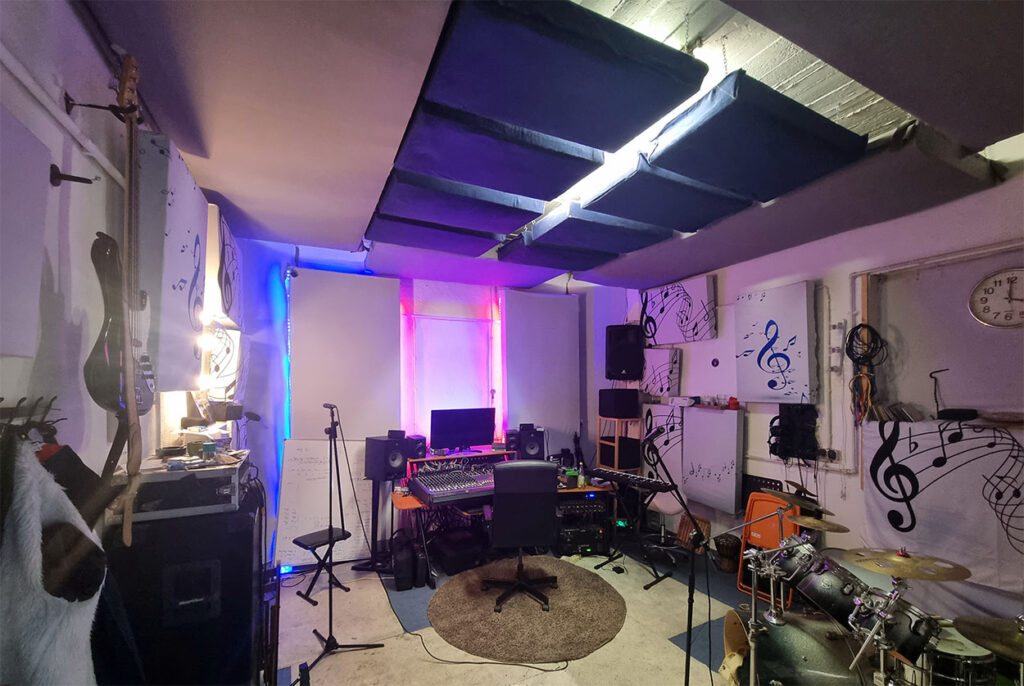
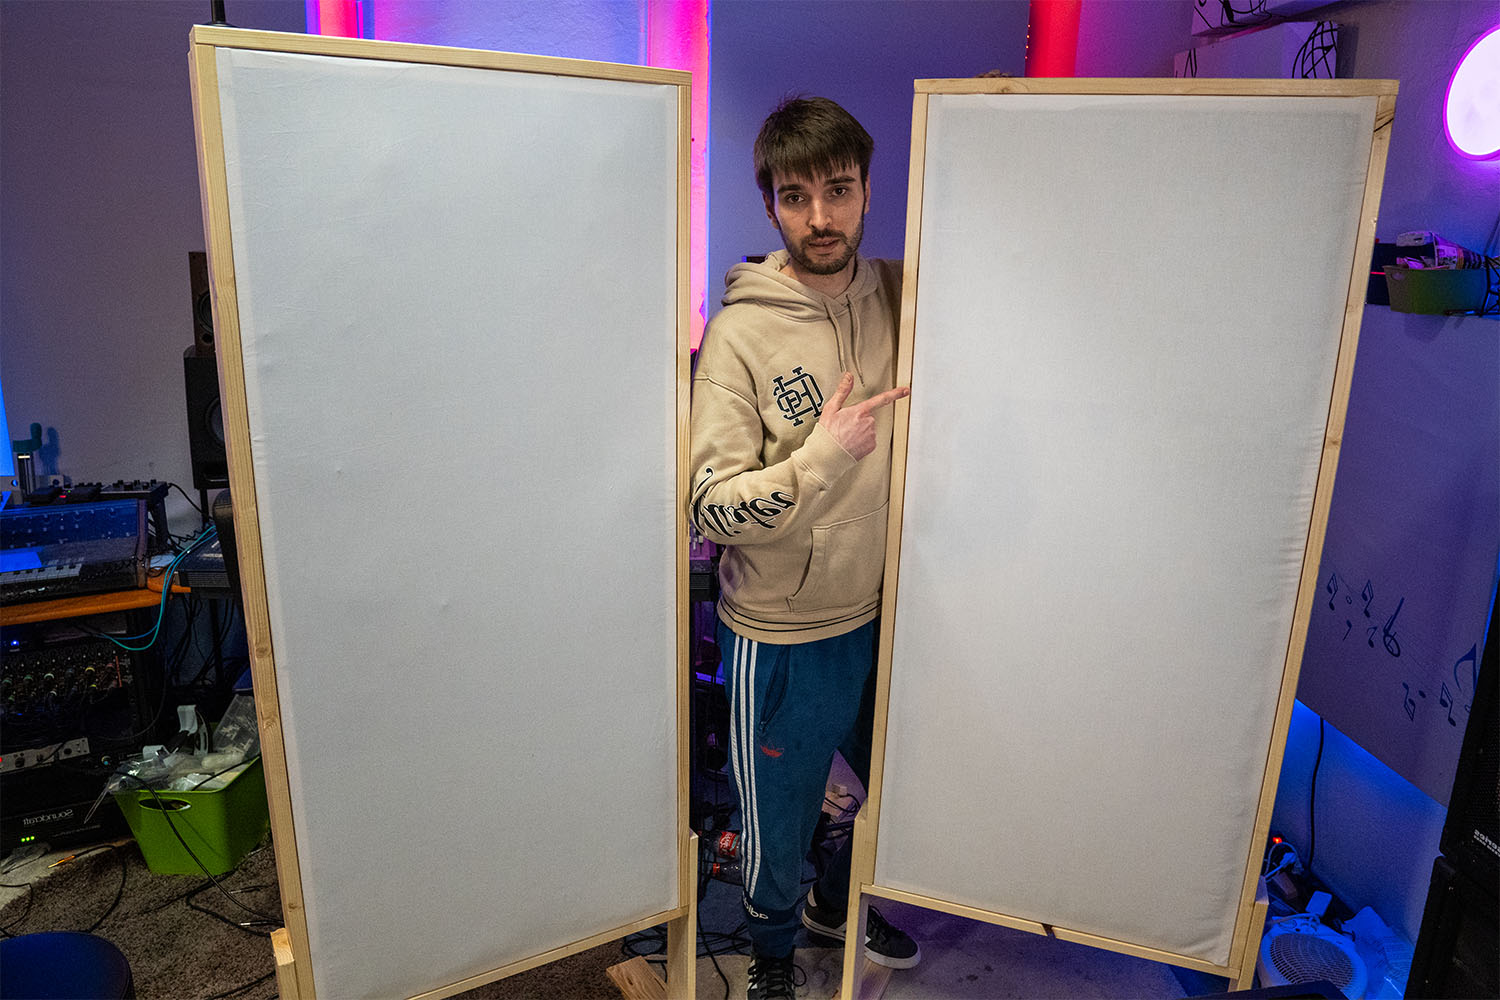
The first thing you need is a rug between the speaker and the microphone. Of course you can carpet the whole room, then the sound is even better. Then you should hang absorbers on the ceiling, again between the speaker and the microphone, preferably more. Finally, you can hang absorbers on the walls to prevent reflections from the sides.
This is just a rough and quick guide - if you want to learn more, check out my guide to optimizing room acoustics.
For a universal ceiling and wall absorber, I recommend the one from Addictive Sound. I have some at home and am very happy with them - they make a significant improvement to the acoustics.
Step 3: The software
To record, edit, and export, you need a DAW, or digital audio workstation. This is software that allows you to record to individual tracks and then edit (cut, move) and add effects.
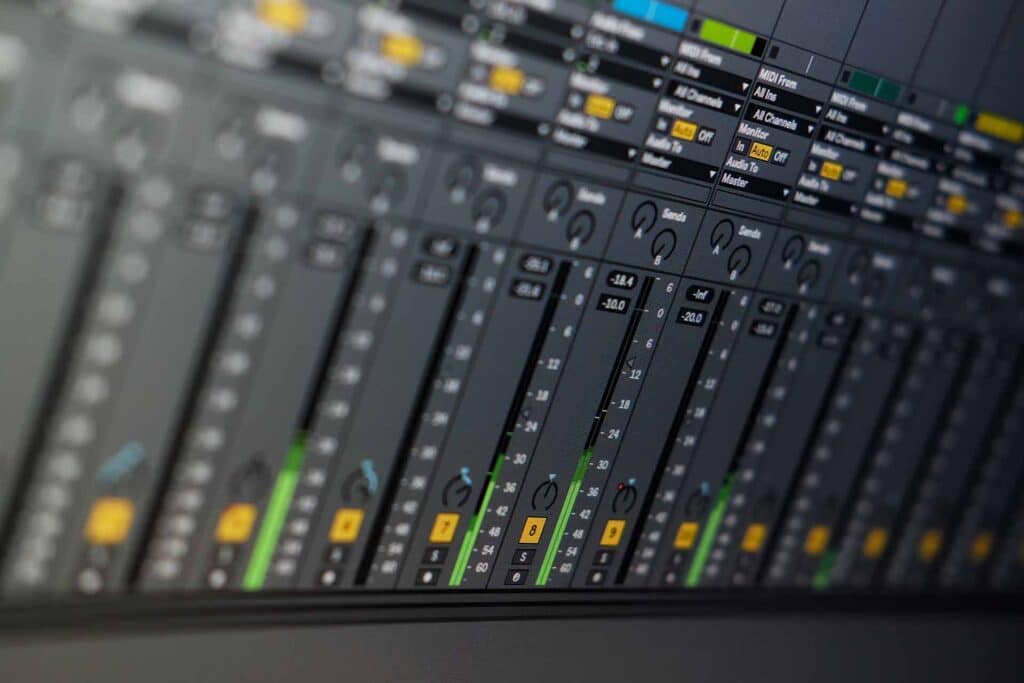
For most beginners, Audacity is the first choice because it is simply free and has all the important features. You can use it to record your microphones, edit the recordings to delete or shorten sequences, and add effects to filter out noise, for example.
If you have a Mac, you can use Garageband for free, which has all these features and is also a great DAW for music production.
If you're willing to spend the money, Hindenburg is the best software for podcasters you'll find. It's a DAW designed specifically for voice recording, and it makes the whole process extremely easy. There are no unnecessary features for music producers that only complicate the DAW for podcasters.
But if you also want to produce music, you should go for a professional, full-featured DAW like Ableton Live or Pro Tools, simply because they do both very well. However, they are much more expensive and therefore not worth the investment if you only want to record speech. If you want to learn more about such programs, I recommend my article on the best DAWs for music production.
Record a podcast - even remotely!
There are several ways to record a podcast with someone in another part of the world, provided you both have a computer with a recording setup and Internet access.
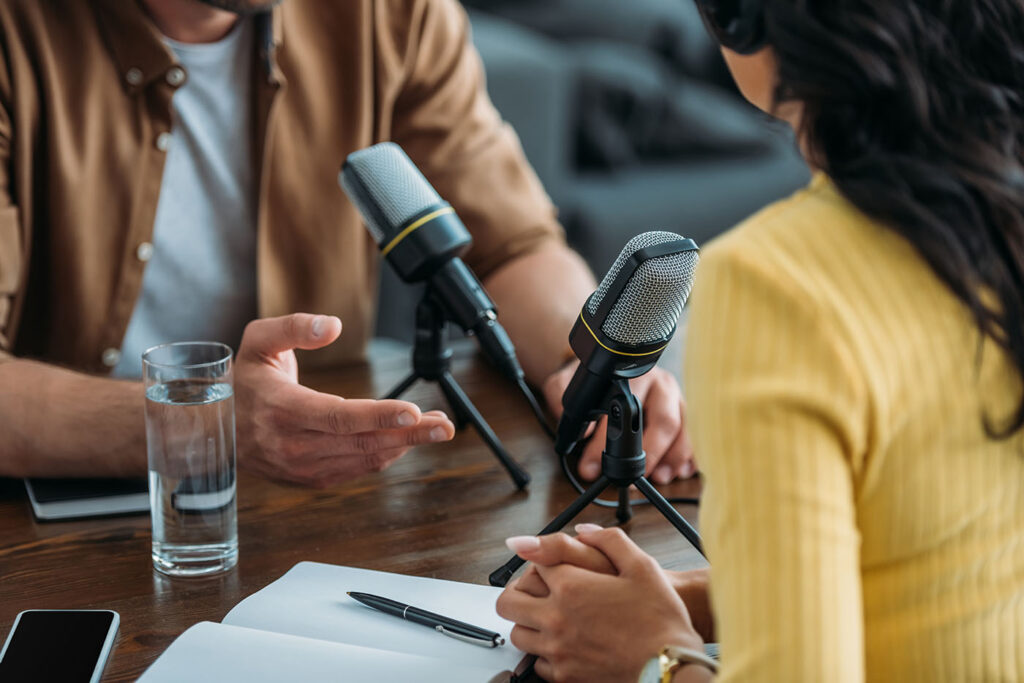
Zoom, of course, offers such an option, which is also quite simple. However, the audio quality is very mediocre and not really suitable for a professional podcast.
A professional option is doubler-ender recording, where both participants record locally on their computers and the recordings are synchronized later. This is the choice of most podcasters who do remote recording today.
There are two very popular software that can do this:
- Zencastr: One of the most popular podcast recording tools. Both participants receive a link and are invited into a virtual "room". The audio files are recorded separately and can be synchronized later.
- SquadCast: Similar to Zencastr, slightly cheaper.
This way you can have people from all over the world as "guests" on your podcast! And there is no loss of audio quality.
FAQ
Where do I upload my podcast when it's finished?
When the podcast is finished, it needs to be uploaded to a podcast hosting platform. Here are a few options:
- Anchor: This free platform offers not only hosting, but also simple tools for creating and monetizing podcasts. Anchor also automatically submits your podcast to many podcast directories, including Spotify and Apple Podcasts.
- Podbean: This service offers free and paid plans with different bandwidth and storage options. Podbean also offers built-in monetization options.
- Transistor: A paid service that offers high quality and ease of use. It also offers analytics and the ability to host multiple podcast shows under a single account.
Can you record a podcast with your mobile phone?
Yes, it's entirely possible to record a podcast with a smartphone - the Ringr app allows you to do so in relatively good quality. With a Smartlav microphone, the quality is even better.
The audio quality is not as good as a professional recording solution, but recording a podcast with your mobile phone is very convenient and possible everywhere.
Can you make money with a podcast?
Yes, you can, and many podcasters do. Some even do it for a living. As with any content creator who builds a large following/readership/listenership, you can make money from advertising, endorsements, sponsorships, or affiliate marketing.
You just need to build a large community that listens to your episodes regularly - then companies will be willing to pay money to advertise on your podcast.
Conclusion
Recording a podcast is not difficult and can be done by anyone with little effort. The challenge is to market the podcast well - that is, to reach new listeners. If you want to learn more about this, I recommend this article on podcast promotion from Podcast Insights.
Other than that, I can only say: Don't think too long and just start. That's the only way to learn and get your feet wet. Set up a simple recording setup and record a few episodes - that's the only way to really learn how to record a podcast.
More articles:
