We all know how cool beautiful studio desks are, but we also know how expensive some can be. Large models with enough room for screens and speakers start at $2,000, which is why many producers choose to build their own.
In addition to the enormous cost savings, flexibility and adaptability play an important role: anyone who builds or assembles their own table can customize it 100 percent to their personal needs.
So my table only costed about 270 € in total - but it is large enough for 2 people to work on it at the same time. With well-known brands, such a table would have easily cost ten times as much.
In this step-by-step guide, I'll explain how I planned and built my studio table so you can do the same for yourself.
If you're on a bigger budget and you're looking for a more elegant, finished table for your setup, you should have a look at my article on the best studio desks for music producers. I compare the most popular models on the market from €200 to €2500.
Step 1: Planning
First, it's always important to think carefully about what you need and how you envision your ideal studio desk. Depending on how much hardware you have, you may need more or less space.
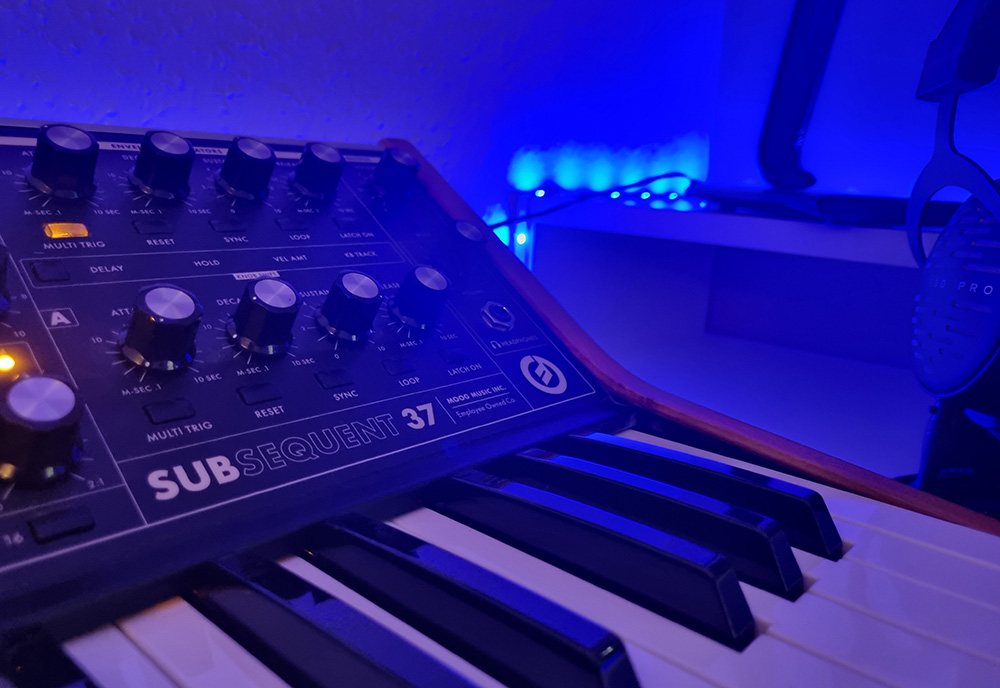
In my case, I needed a lot of space, because in addition to my MIDI keyboard and audio interface, I also have an analog synthesizer (Moog Subsequent 37) that is medium-sized and takes up space, as well as a rack with some gear.
Ikea offers a great 3D planning tool for this, which allows you to create a workspace in 3D from the furniture. I find this very good for getting a visual idea of the desk. Of course, if you know 3D modeling, you can do it yourself.
Simply enter the dimensions of the room and off you go.

Then you can select the different furniture and parts on the left to create your studio desk. It is very intuitive: you can change the position and orientation with the mouse on the screen, change the colors and much more.
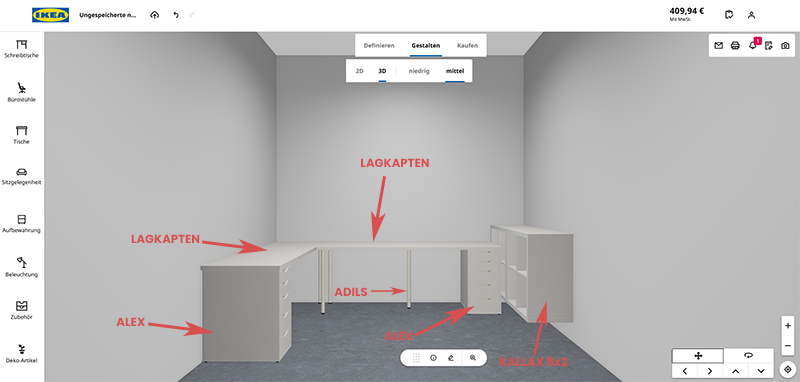
At the top right you can see directly what everything costs. In the end, I ordered the following parts:
- Ikea LAGKAPTEN Tipl 160×80 white (main desk) (49,99€)
- Ikea LAGKAPTEN Tipl 200×60 white (side desk) (59,99€)
- 2x Ikea ALEX drawer 36×70 white (2x 69,99€)
- 4x Ikea ADILS legs white (4x 5€)
I already had a Kallax at home, which I placed on the right side. But it's not really necessary, because the desk itself offers enough space.
Step 2: Build
When all the parts arrived, I finally got started. The assembly was really easy - only the ALEX drawers took some effort. However, they provide an incredible amount of storage space for cables, plugs, papers and all sorts of things right under the desk.
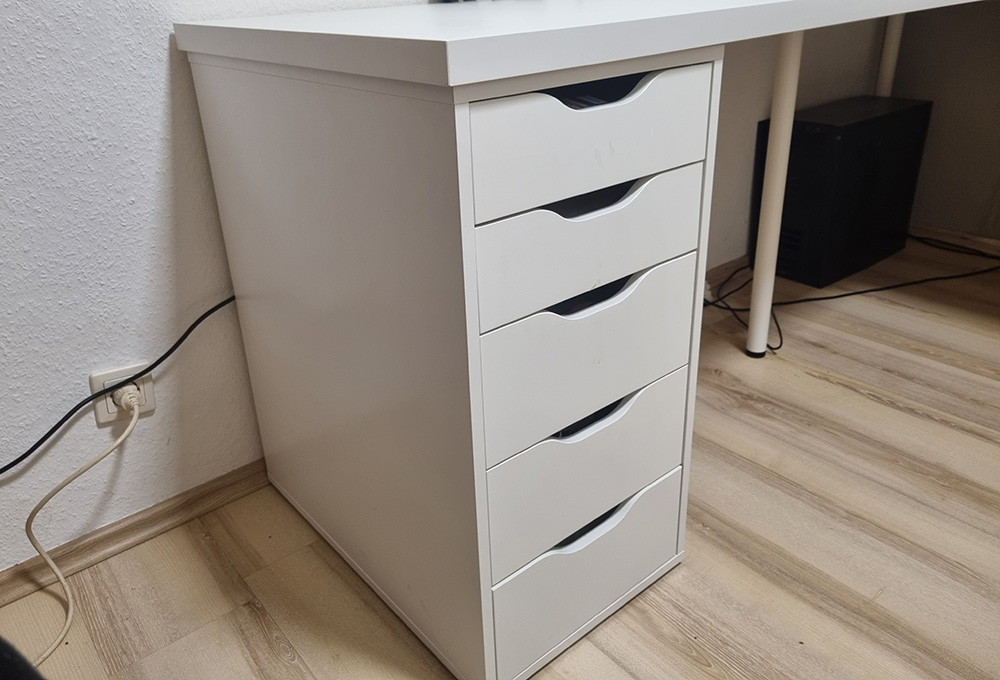
I used the two ALEX as feet, one at each end of the construction. For the main worktable, I left out the front left foot and instead used a flat connector screwed to the side panel. This gives me room to sit between the two tables without a leg in the way.
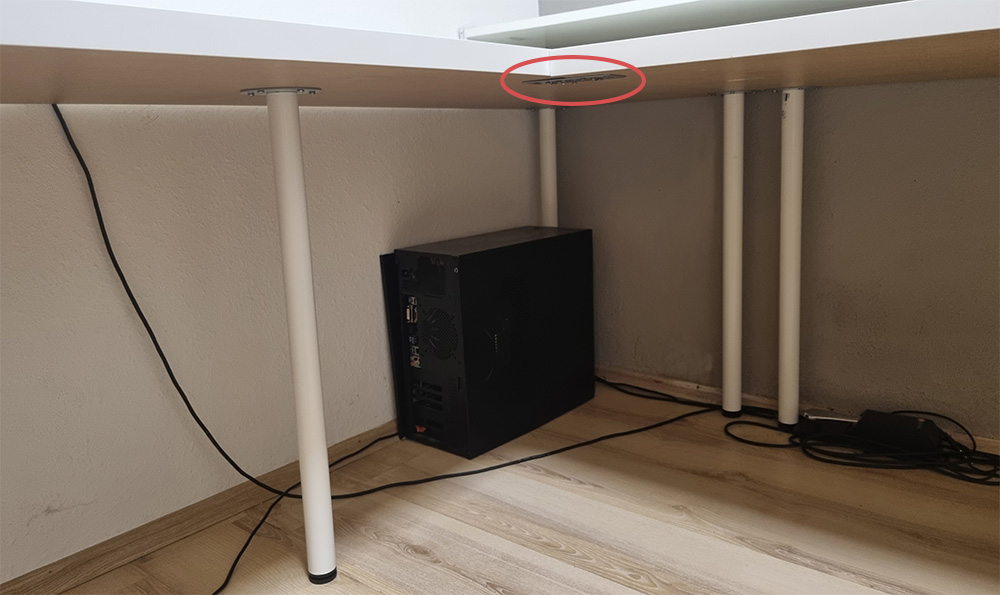
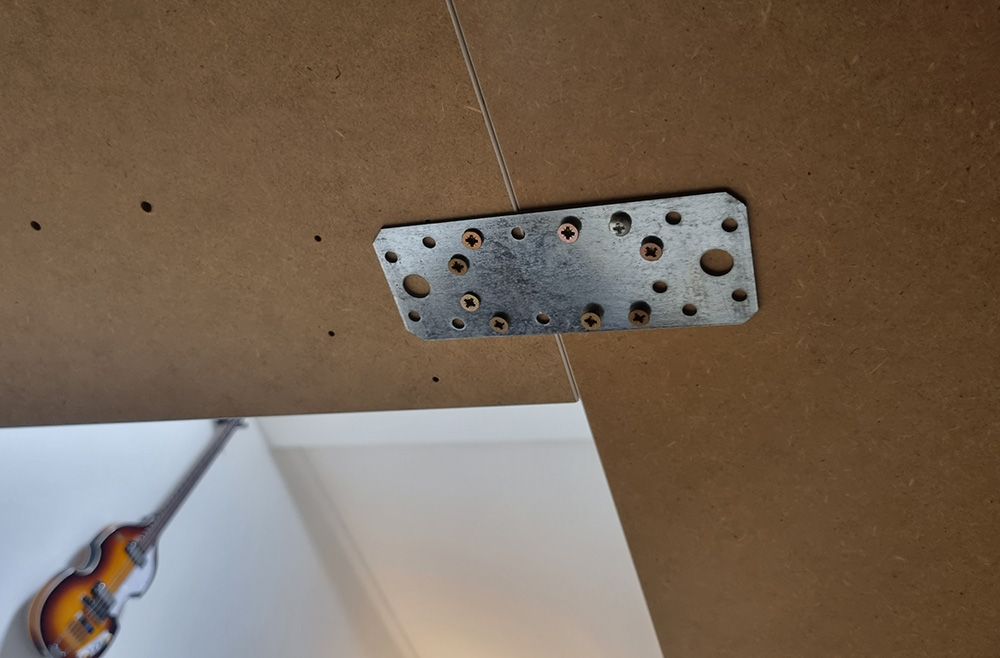
After two hours my desk was finished. The ALEX drawers and legs were simply screwed to the tabletop - that's all.
I had some concerns about the stability (because one leg is missing on one side) - but I even sat on it, and it is very stable. The flat connector is perfectly adequate.
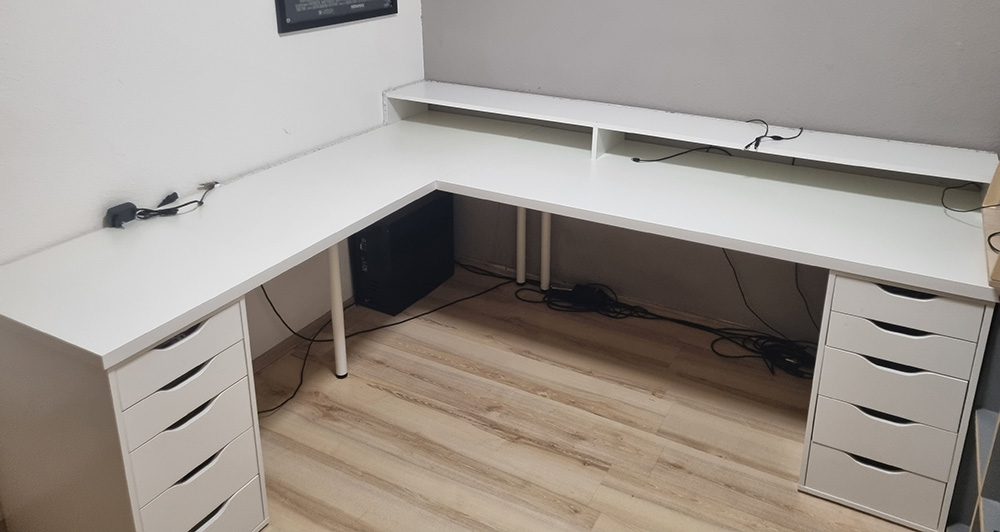
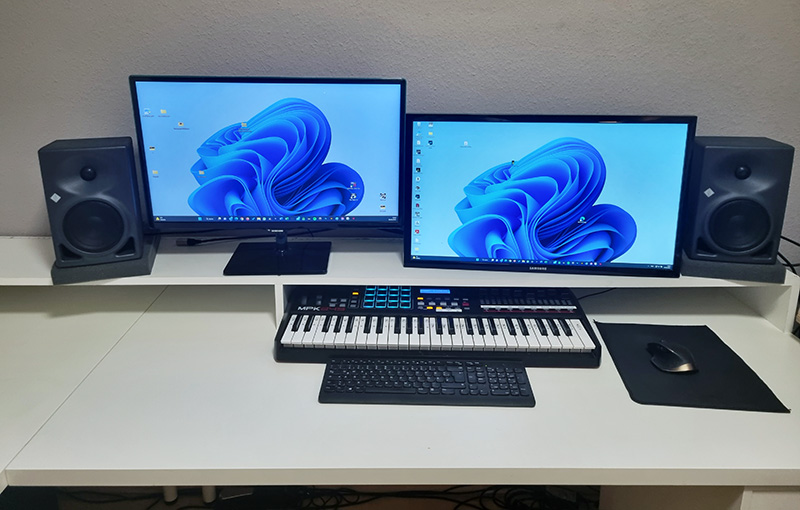
But what I really wanted was a second level on the table. That's where my computer screens and studio monitors are. And my MIDI keyboard is hidden underneath when I'm not using it.
I simply bought a long, white wooden board at the hardware store that was as long as the entire width of my table construction. I used 3 small pieces of wood (about 10 cm high) as feet. I just screwed them to the long board.

This "2nd floor" is not screwed to the main table, but remains stable, carrying much weight (2 screens and 2 speakers)
On the right I mounted another 8×2 Kallax because I still needed space for my rack. It's all rather cramped and not particularly nice - but functional.
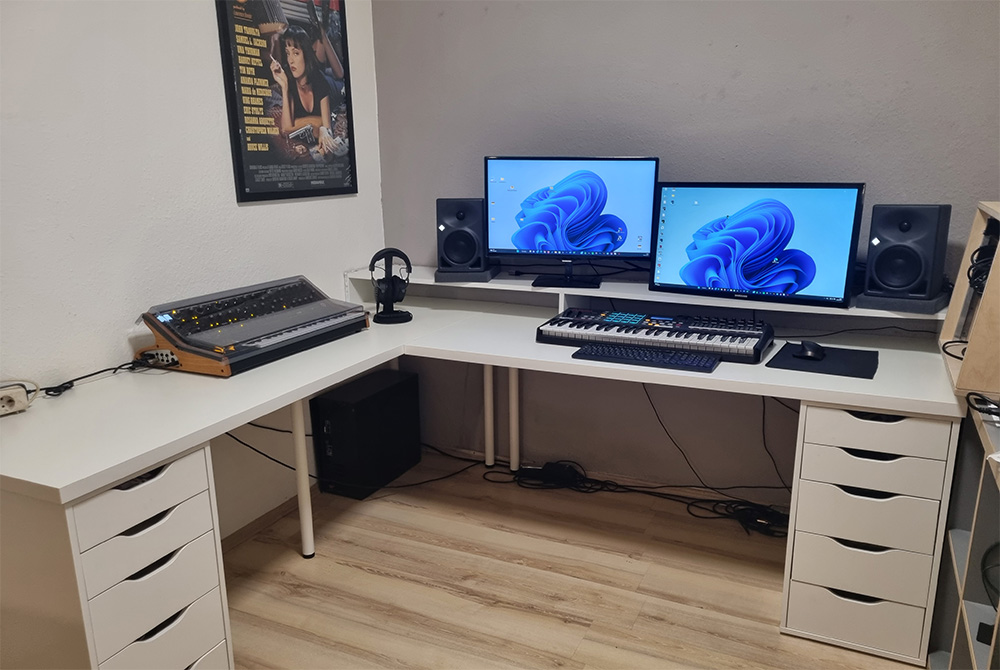
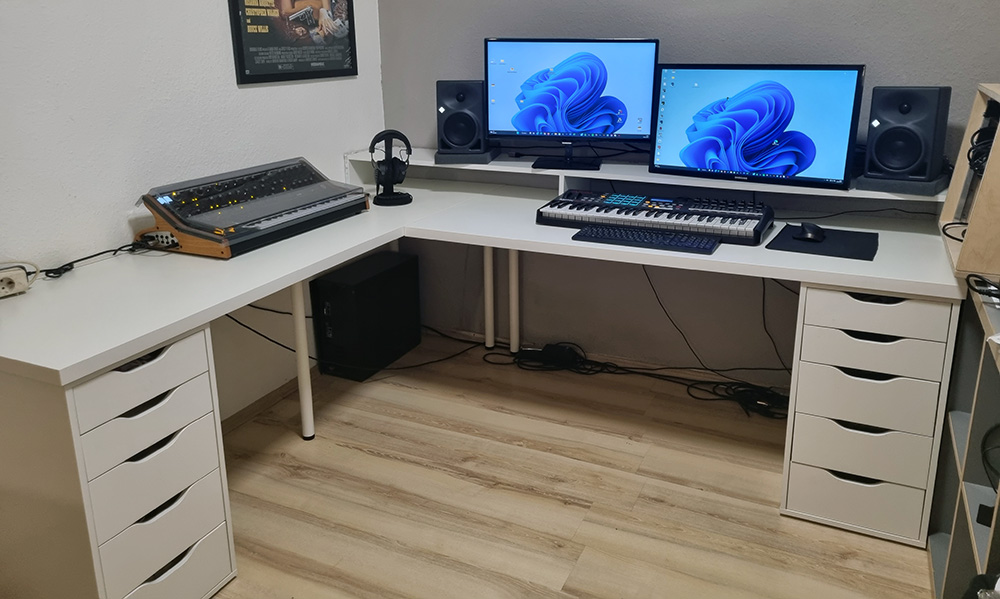
Then I set up all my equipment and voila! I think it looks great, I have a lot of space to work with and I can fit a lot more equipment in there (in case I buy some in the future).
Step 3: Extras
Stand for headphones
Of course, that's not a must, but it's always nice to have - otherwise, the headphones will always be in the middle or even fall off the table if they don't have a fixed place.
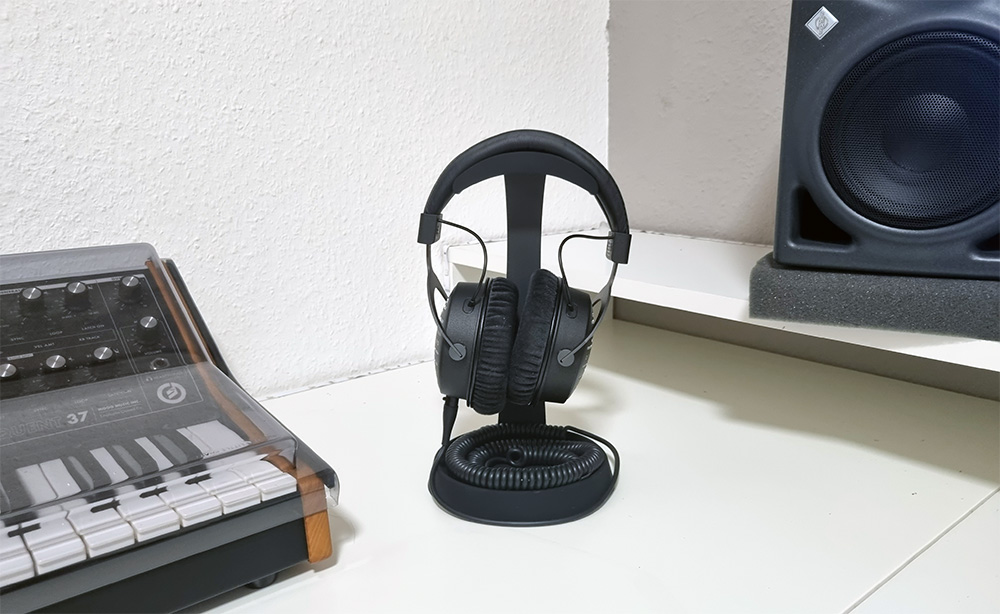
My headphones are large and heavy (Beyerdynamic DT-1990), so I needed a sturdy stand. I bought the KH-1000 from Dynavox and am very happy with it. The stand is sturdy and even has room for the cable in the front.
LED strip
LEDs are, in my opinion, an essential part of any modern studio - they add atmosphere at night and always look cool in photos and videos. And they are now very affordable, with very good models available from as little as €15.
The LED strips should be mounted so that the light is not shining directly on you, but on the wall or a surface (indirect lighting) - otherwise the LEDs can quickly become dazzling.
I bought the LED strips from Goovee because I've also used them in my recording studio and have always been happy with them - but any other model will work.
Rack for units
Since I still have some hardware, I bought a small 19" rack and put it on the right side of the Kallax. This is where I have my audio interface, my DI box, my headphone amplifier, my Thunderbolt hub and my laptop.
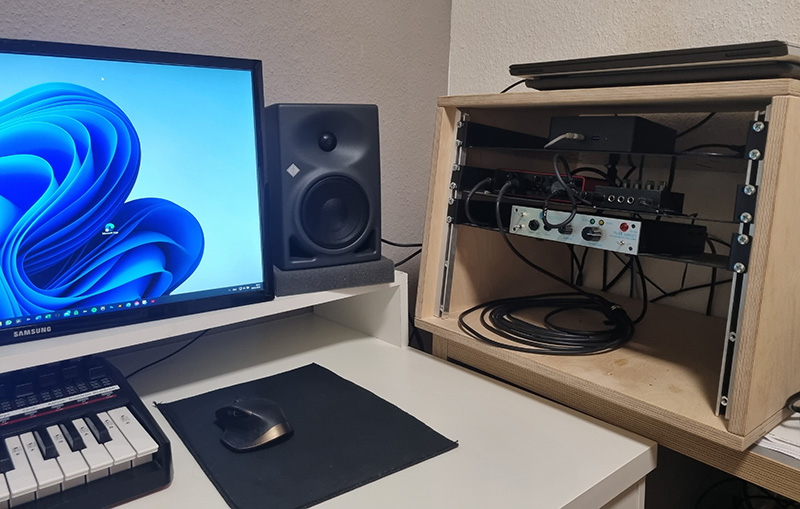
This keeps the work area tidy and free of cables because everything is attached to the side.
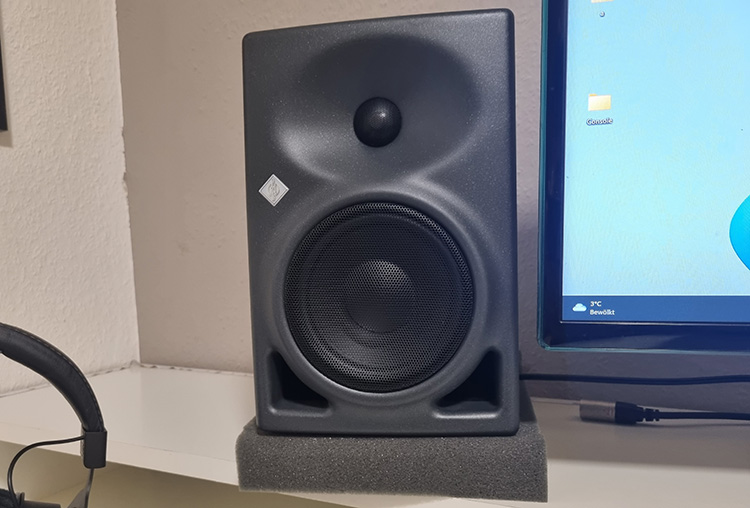
Monitor stand with insulation
Since the monitors are directly on the table, a monitor stand that acoustically decouples the monitors from the table is absolutely necessary. I use the t.akustik ISO-Pad 7, though there are nicer models, like the IsoAcoustics ISO-200, but are much more expensive.
Step 4: Equipment setup and wiring
Once everything was in place, it was a matter of putting all my equipment in place and wiring it up. I always tried to keep the wiring as neat as possible and as far away from the workstation as possible.
Since my synthesizer is almost 2 meters away from the interface, I had to order extra long cables. All the cables run under the table and behind the rack.
The MIDI keyboard fits perfectly under the screen - so it's out of the way when I don't need it. I have endless storage space and can keep my workspace tidy.
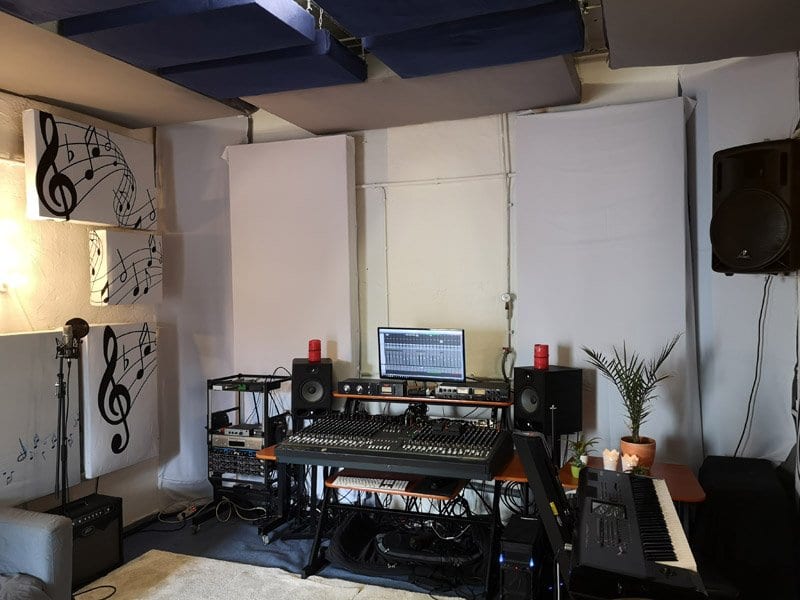
Step 5: Acoustics
I skipped this step in my home studio because I work almost exclusively with headphones. I have my actual recording studio, which I have also acoustically optimized - there I can mix and master without any issues. Acoustics don't really play a big role in my home studio, which is really just for composing and producing.
But if you want to do longer mixing sessions over studio monitors, you need to prepare the room acoustically a bit. At a minimum, this includes:
- Basstraps - I would cover at least 2 corners of the room. But the more, the better.
- Ceiling absorber - for the ceiling area between the monitoring position and studio monitors
- Side wall absorbers - for the wall area on each side between the monitoring position and studio monitors
Once again, the more of the room you can cover, the better. Our goal is to eliminate as many reflections in the room as possible, so that only the direct sound from the monitor is heard while you work.
For small rooms you can buy ready-made absorbers, they are not as expensive as they sound. For large rooms, however, I definitely recommend building them yourself - it saves a lot of money.
Conclusion
As you can see, I built a table with a huge working surface (160x80cm + 200x60cm) for just under 270€, which would easily fit 2-3 synthesizers or keyboards. A table like this normally costs more than $2,000 if you buy it ready built (and even then the work surface is smaller!) - so I'm very happy that I saved a lot of money.