In recent years, the landscape of the music industry has changed dramatically. Thanks to advances in technology and equipment, it is now easier than ever to produce high-quality music right from your home. Music production is no longer an exclusive club for those with access to expensive studios and professional sound engineers. Now the control is in your hands, and your passion and creativity are the only limits.
The idea of setting up a home studio can be daunting at first. The amount of equipment available and the technical aspects can be overwhelming. But don't be put off! With a little guidance and knowledge, anyone can transform a space into a productive and creative oasis.
In this article, I'm going to give you a comprehensive guide to setting up your dream home studio. From choosing the right microphone, to installing the right acoustic panels, to selecting the best DAW for your specific needs, my goal is to give you a solid understanding of the equipment you need and how it works. This will help you make informed decisions and bring your musical ideas to life.
What are the most important elements of a home studio?
Computer

Let's start with the most important part of setting up a home studio: the computer. It is the heart of our studio, allowing us to digitally record, mix, and master music.
It no longer matters whether you prefer PCs, laptops, or Macs-there are plenty of powerful computers in each category. Desktop PCs and desktop Macs are typically faster than laptops, but not as portable. The power of laptops like the MacBook Pro or DELL XPS 15 is more than enough to handle even the largest DAW projects with ease.
Everything else is connected through the computer. We all have a computer at home, but it needs to be up to date and have some power to run the audio tasks smoothly and without interruptions. I recommend the following minimum requirements:
- Windows or Mac
- Minimum processor: Intel Core i5 or AMD Ryzen 5
- At least 8 GB RAM.
- Fast hard drive (SSD)
- USB 3.0 is ideal for higher transfer speeds and better synchronisation, but 2.0 is also good
In addition to the audio interface, you will also need a driver. It is best to use a universal driver. One such driver is "Asio4all", which can be downloaded for free from the Asio4all website. The steps to follow are as simple as automatically running the download and saving the file. This program also helps to reduce latency and improve the performance of the interface.
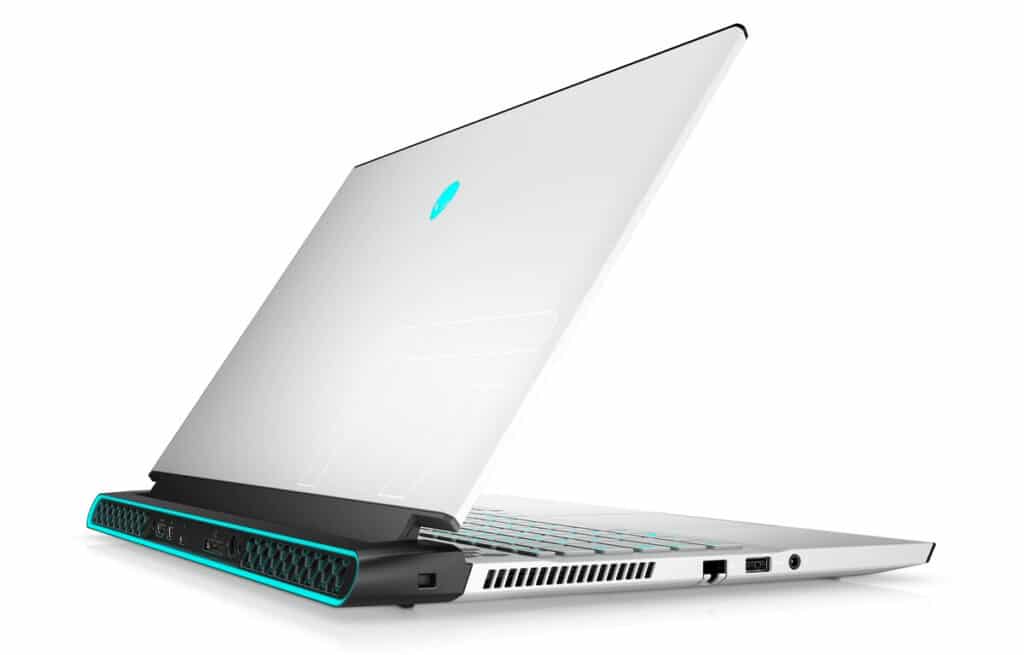
The better your computer, the faster and smoother you can work. As a rule of thumb, the more power your processor has, the better the performance for music production. I use an Alienware m17 R4 with an i7, which is a bit overkill for music production.
Related articles:
- The 12 best laptops for music production
- The 12 best desktop PCs for music production (Windows and Mac)
DAW
One of the most important considerations when setting up a home studio is choosing a DAW. Anyone who wants to produce music digitally today needs a digital audio workstation. The DAW is a kind of "digital mixer" with a recording function-you can record audio tracks, add effects, and mix them into a final stereo file.
The structure is also similar: tracks are side-by-side and have faders, inserts, sends and pans. In addition to the included plug-ins, you can install various third-party VST plugins in your DAW to expand the sonic palette.
But to make a long story short, it doesn't matter which DAW you choose, because now every DAW can do everything. It's just a matter of personal taste and purpose. But here are 3 suggestions for 3 different applications:
- If you want to produce hip-hop music (i.e., create beats), FL Studio is a great choice.
- For producing electronic music, I recommend Ableton Live.
- Pro Tools and Logic Pro are great for mixing and mastering.
Related articles:
Acoustics
Another important and often neglected aspect of a home studio setup is room acoustics. The acoustics in a home studio have little to do with those in a professional studio - we're not going to isolate the room from the outside or condition it perfectly, but we should follow some recommendations.
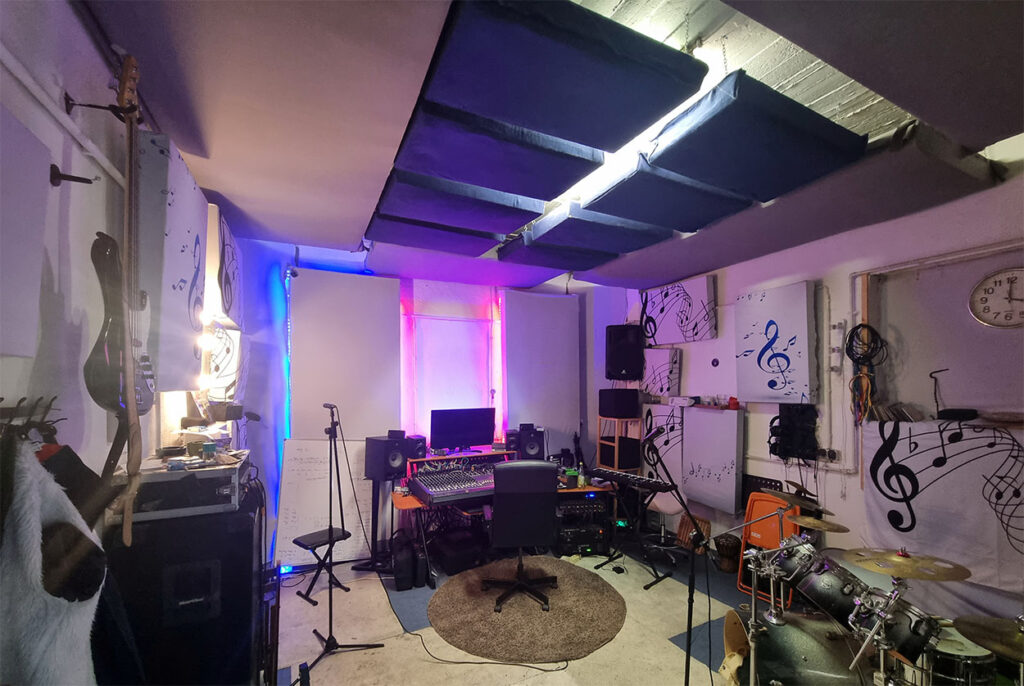
Essentially, the rooms of a recording studio must be treated acoustically in 2 ways:
Sound insulation: This is about reducing the amount of sound coming in and out of the studio. This is important, of course, so that the neighbors don't hear your loud music all the time, but also so that outside noise doesn't interfere with your recordings. However, such room treatment is very expensive (it usually requires room-in-room construction), so it is not worthwhile for home studios.
Acoustic treatment: The sole purpose is to optimize the acoustics in the studio for better recording, mixing and mastering. Acoustic absorbers and reflectors are used specifically for this purpose. The ultimate goal is to hear/record only the direct sound without picking up the reflected sound, so that the sound remains as transparent as possible during recording.
So we need to take acoustic measures to get a good sound in the room. To this end, I have written a detailed guide to improving room acoustics, in which I explain how to improve room acoustics enormously with little money.
Audio interface
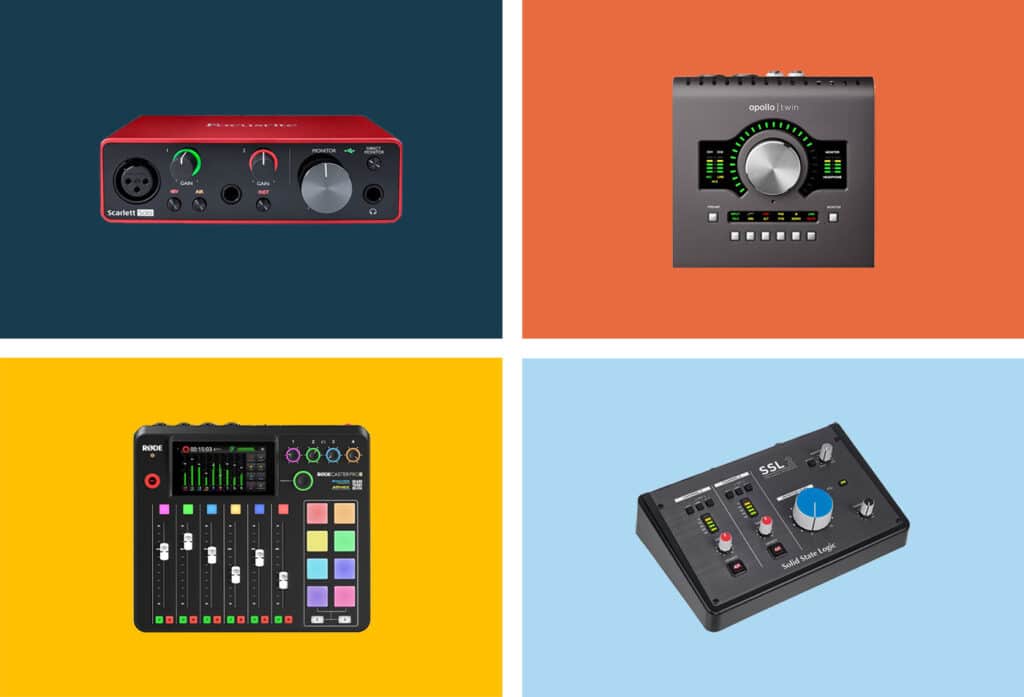
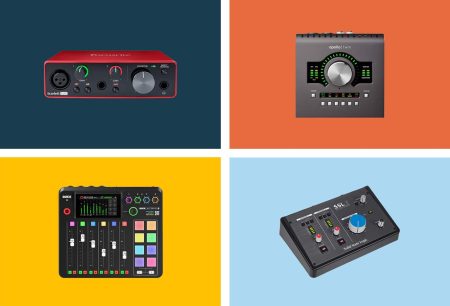
An audio interface allows you to connect your computer to any audio source and simultaneously record sound and send an output signal to your monitors. This device is one of the reasons we are now able to make high-quality recordings in our own home studios: It combines a preamp, AD converter, interface, and DA converter in one small, portable unit.
There are many different audio interfaces with different features, and as with all things, we need one or the other depending on our needs. For the time being, a two-channel interface will suffice, allowing us to record two tracks simultaneously on different channels and send a stereo output to our studio monitors or headphones.
For beginners and small budgets, I recommend the Behringer UMC interfaces (I had the UMC202)myself). They are really unbeatable for the price: great preamps for the price and lots of inputs and outputs. In addition, it offers all the features an interface should offer for only 83 €. For a slightly larger budget, I recommend the Focusrite Scarlett 2i2, one of the best interfaces in this price range.
But if you need something more comprehensive, check out the interfaces from RME or Universal Audio.
Related articles:
Monitors/Headphones
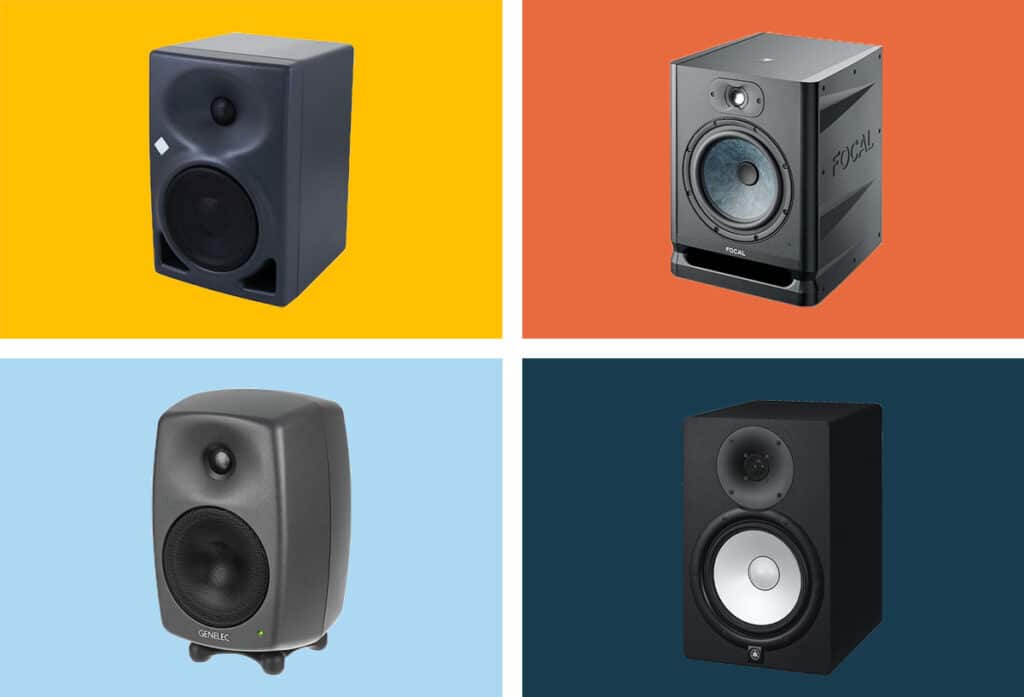
Studio monitors or headphones are also one of the most important pieces of equipment when setting up your home studio - they are the bridge between the music and your ears. Studio monitors should have a flat frequency response - that is, they should reproduce the music as close as possible to how it was produced. No frequency range should be overemphasized or sound quieter than it actually is.
Because: If the monitors are too bass heavy, you will subconsciously compensate and your tracks will sound too weak in the low frequencies on other monitoring systems. Or, if the studio monitors are too weak in the highs, you will compensate for the lack of highs when mixing, and your mix will sound too sharp and bright on other monitors.
To set up a stereo monitoring system in our home studio, we need a few monitors and/or headphones. The choice of monitors depends on the size of the room in which they will be placed and the amount of power we want to use. As a rule of thumb, the bigger the monitor, the more accurately it will reproduce low frequencies.
But if you don't have the option of acoustically treating your room, or have neighbors who might be disturbed by the music, you can also work with studio headphones. You will get tired more quickly than with studio monitors, but with enough breaks during mixing you can achieve similarly good results.
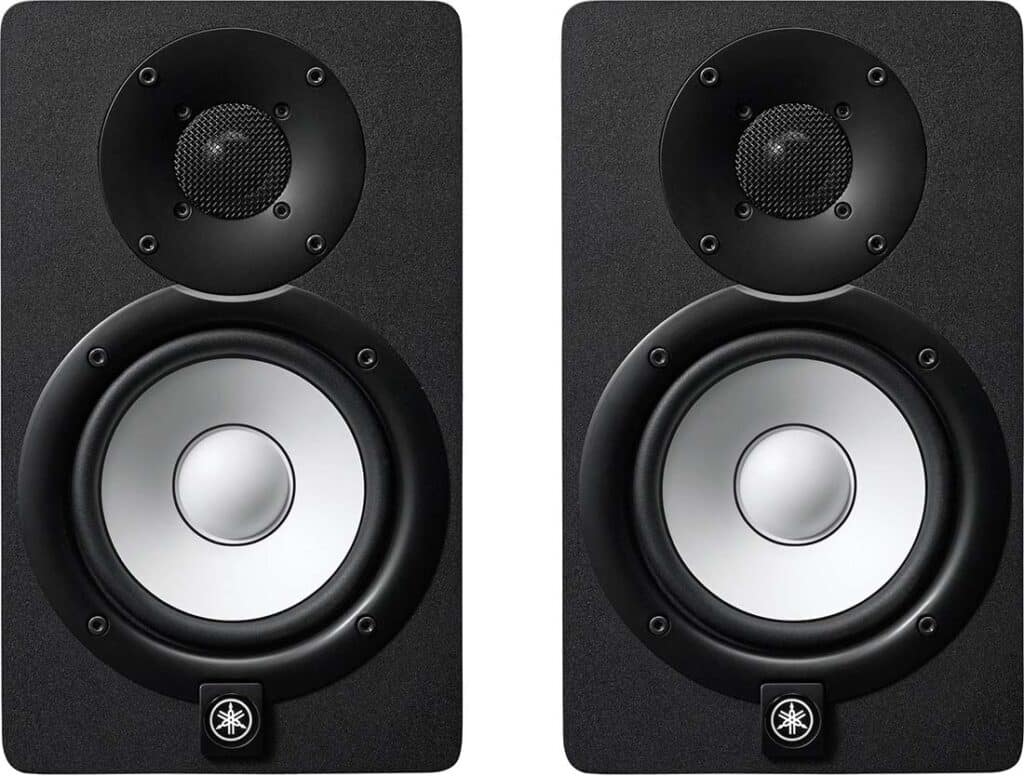
The KRK Rokit, the Yamaha HS5 or the ADAM T7V are very good options that are not particularly expensive.
If you prefer eight-inchers:
The Krk RP8 Rokit G4 Monitors are a good choice: for an affordable price you get a pair of high quality monitors with an exceptional design and a characteristic yellow membrane. The price-performance ratio is very good.
Otherwise, I can also recommend the Yamaha HS8, although they are a bit more expensive.
If you can't afford monitors yet, or if your neighbors are annoyed by your monitors, you can work with headphones. A good option is the Beyerdynamic DT-990, a pair of open headphones (open headphones sound more transparent than closed headphones) with a good frequency response, perfect for a home studio. Even though we have monitors, it's always good to have headphones for comparison.
Some tips to consider when setting up a home studio:
- The monitors should not be placed near walls or corners, as this will result in an unbalanced bass response. However, if this is unavoidable, try using an equalizer (most monitors have at least a 2-band EQ) to lower the bass of the monitors a bit.
- The tweeters should be at ear level.
- The monitors should form an equilateral triangle with your position for a balanced stereo image.
- It is important to avoid bare walls, windows and smooth surfaces... The use of carpets, foam, and elements that act as diffusers can help improve acoustics.
Related articles:
MIDI Keyboard
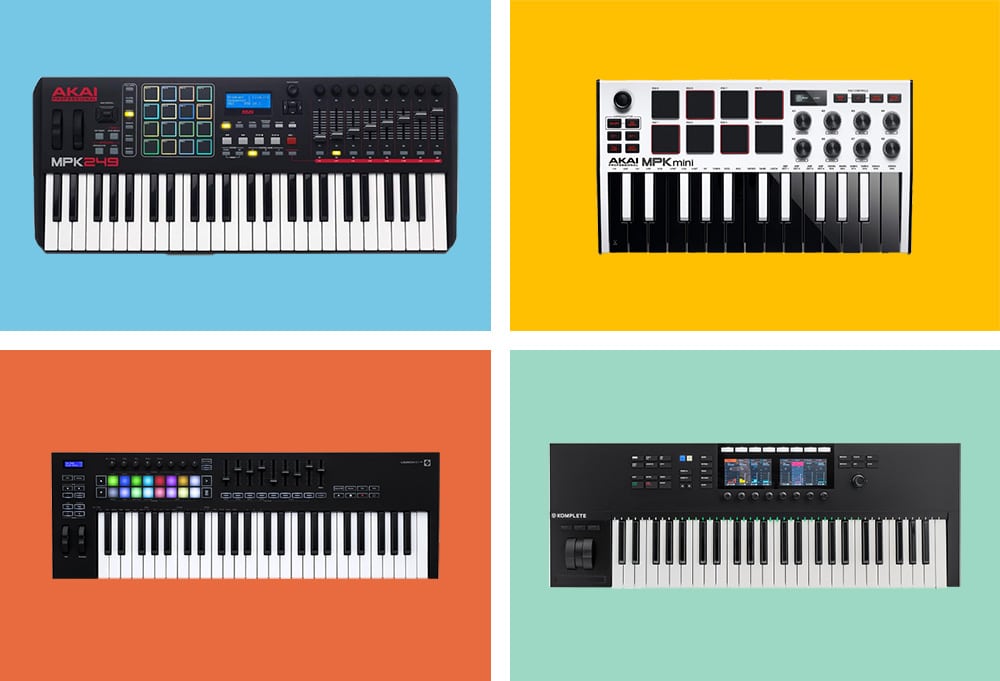
A MIDI keyboard is not absolutely necessary, but can be very helpful, especially when composing. Such a keyboard cannot produce sounds itself, but only controls other VST plug-ins or synthesizers that produce sounds. So you can play all kinds of instruments with it: Guitar, piano, drums or samples - as long as you have the right plugin.
Our suggestions:
- Akai MPK: With the MPK series, Akai offers very good Midi controllers that are well suited for home studios. The model is available in different versions: 25, 37 or 61 keys. Each Midi keyboard also has at least 8 drum pads. I use the 61-key version in my home studio.
- The second option is the Native Instruments Komplete Kontrol. This MIDI controller is a little more expensive, but more comprehensive and offers perfect integration into Native Instruments software.
Here is a comprehensive comparison of the best MIDI keyboards of all sizes on the market.
Microphones
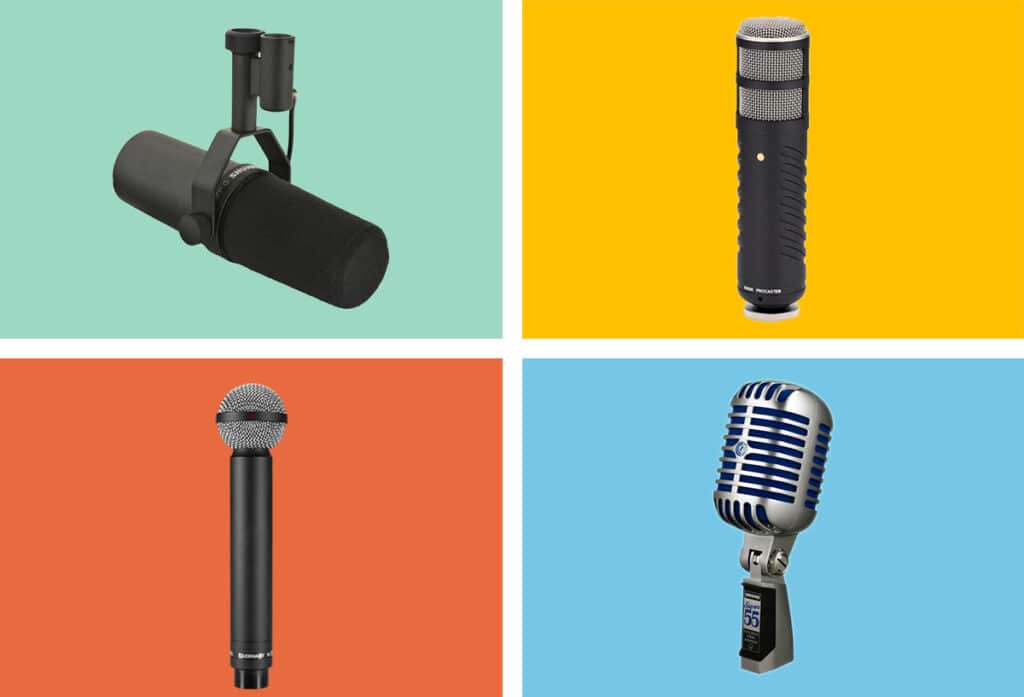
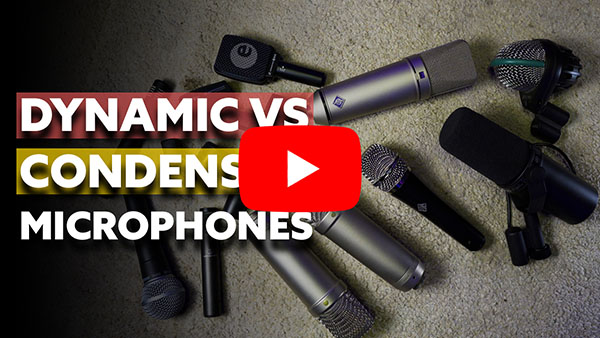
Depending on the project, you may be interested in one type of microphone or another. There are thousands of microphones for different purposes, but in a home studio it is best to have a microphone that is versatile. This means that it should sound good with as many instruments and vocalists as possible.
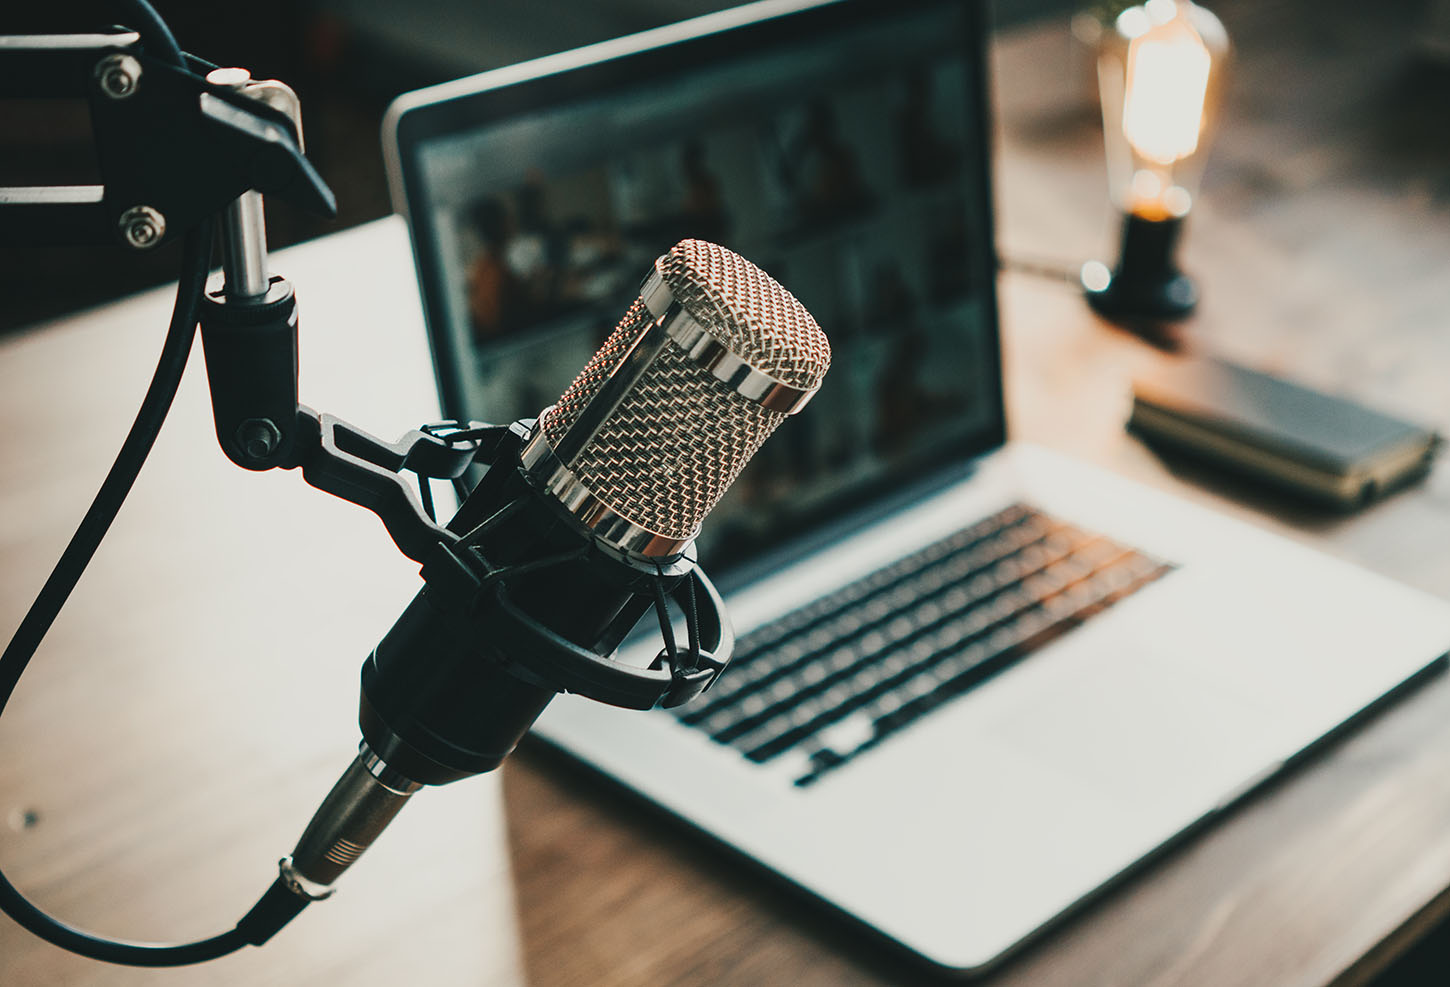
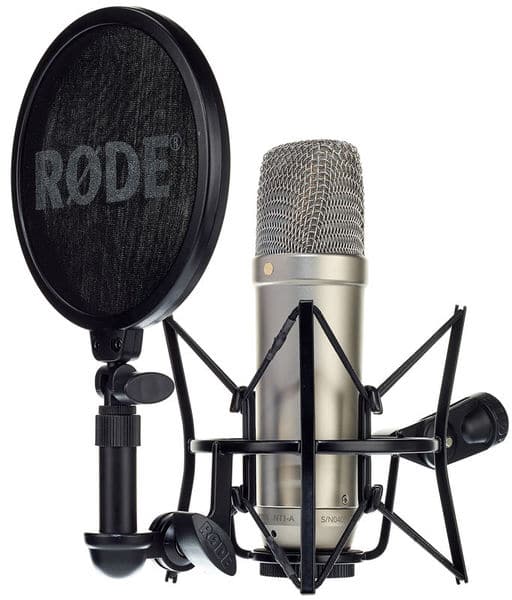
The Rode NT1A is the most widely used microphone in home studios. And for good reason: it offers great, crystal-clear sound for little money. The sound is not far off from more expensive microphones like the Neumann U87. However, a condenser microphone like this requires good room acoustics.
If the room acoustics are not good, a dynamic microphone should be used, as it picks up less ambient noise and more direct sound. The Shure SM7B is one of the best dynamic microphones on the market, but it's not cheap. The Shure SM58 or SM57 are also recommended for the home studio and are much cheaper.
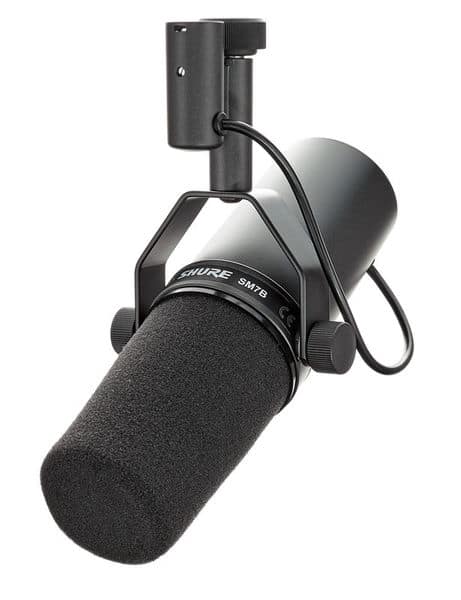
In short, there are many ways to make high-quality recordings. There are many different microphones to choose from, you just have to find the right one for your needs.
It is also advisable to use a pop filter for the microphone, especially for condenser microphones. It is inexpensive and the results are clearly audible in speech and vocal recordings.
The Pop Shield reduces the impact of plosives-letters such as "P" and "B" that create a powerful blast of air when spoken. Without the Pop Shield, this blast of air can hit the microphone and create an annoying popping sound called a "pop. The pop shield filters out this air blast, preventing pops from occurring in the recording.
Related articles:
- The 8 best microphones for rappers
- Dynamic microphones: explanation, how they work + the 11 best models
Studio furniture
All you really need is a desk. Ideally, another shelf is placed on top of the desk to create two heights. This makes it easier to adjust the monitors and handle accessories.
Alternatively, you can purchase a pre-built studio desk that can accommodate 19-inch equipment, speakers, and monitors. Some home studio equipment comes in a special format for rack mounting, but does not necessarily need to be rack mounted to fit on the table.
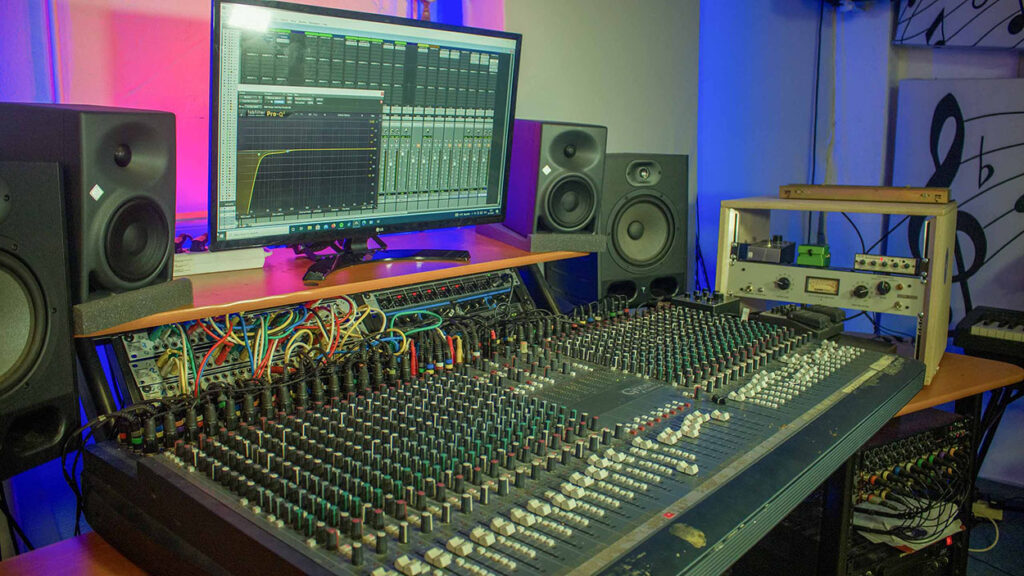
Here's my comparison of the best studio desks - there's something for every producer, regardless of studio size and budget. But for my home studio, I built a huge studio desk out of cheap IKEA parts for 300€.
Other accessories
Once we have the basics, we can build out our home studio with additional components:
- Analog effects units such as equalizers and compressors are things to consider when setting up your home studio. Although both are virtually available in audio software, analog hardware usually offers better sound than digital plug-ins, but is more expensive and less convenient.
- When recording electric guitar or electric bass without an amplifier, a DI box can be very helpful to improve signal quality.
- Many interfaces only have one headphone output. If you are recording two voices, for example, it makes sense to output them separately so that you can listen to them individually. To do this, you need a headphone amplifier, such as Behringer HA-4000, which has independent volume controls for four channels.
- It is advisable to use balanced cables to reduce noise and interference.
Setting up your home studio: conclusion
I hope this guide helps you set up your own home studio. And remember, think about what you want to do first, then choose the components that best fit your needs and budget - not the other way around. This will help you avoid bad purchases and save you money in the end.

