What are equalizers and how can they help?
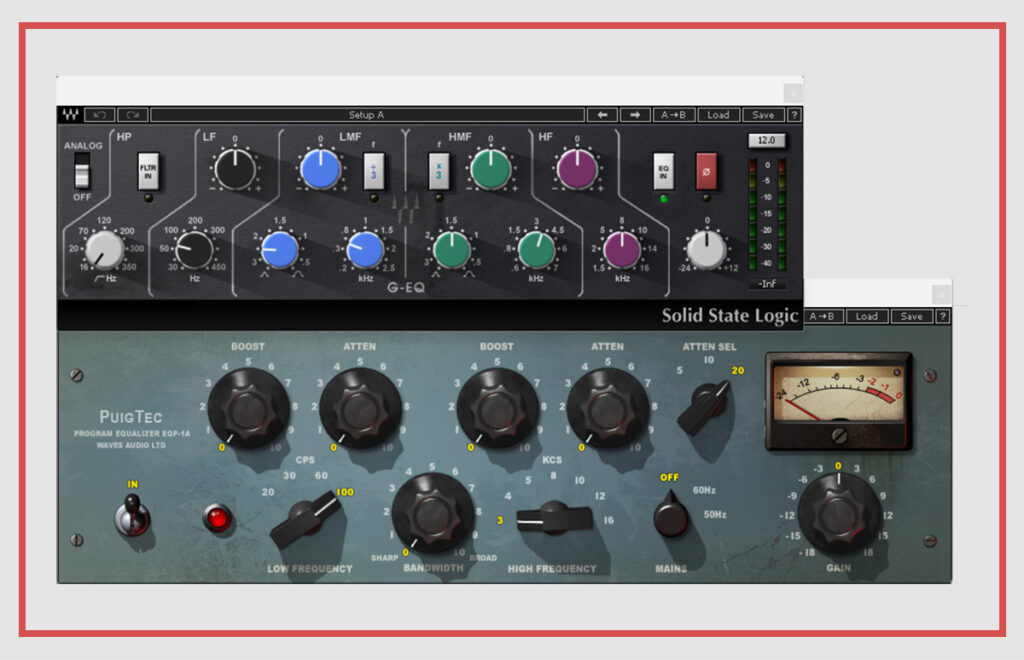
An equalizer, whether analog or digital, is an audio effect used to raise or lower certain frequencies in an audio file. The use of an equalizer always has one of two purposes:
- Correcting a problematic audio signal: An equalizer can be used when the music has problems or does not sound good (sometimes the problem is not with the music itself, but with the music-speaker-room combination in which it is being played). An equalizer can then be applied to the amplifier to correct these problems.
A classic example: In an acoustically untreated room, the bass often sounds too strong. To correct this, you can simply lower the bass frequencies of the amplifier with an equalizer to compensate for the room's acoustic problems. - Improve/optimize a track: Equalizers can also be used to emphasize certain frequencies that you like, changing the overall sound to your liking.
A classic example: At parties and clubs, an equalizer is often used to boost the low frequencies to make the music more danceable. The harder the bass booms, especially in dance music, the more you want to dance.
Equalizers can be used anywhere in the signal chain, depending on where they are needed - in the preamplifier during recording, in the appropriate channel of a mixing console, in the DAW or in the power amplifier or the studio monitors.
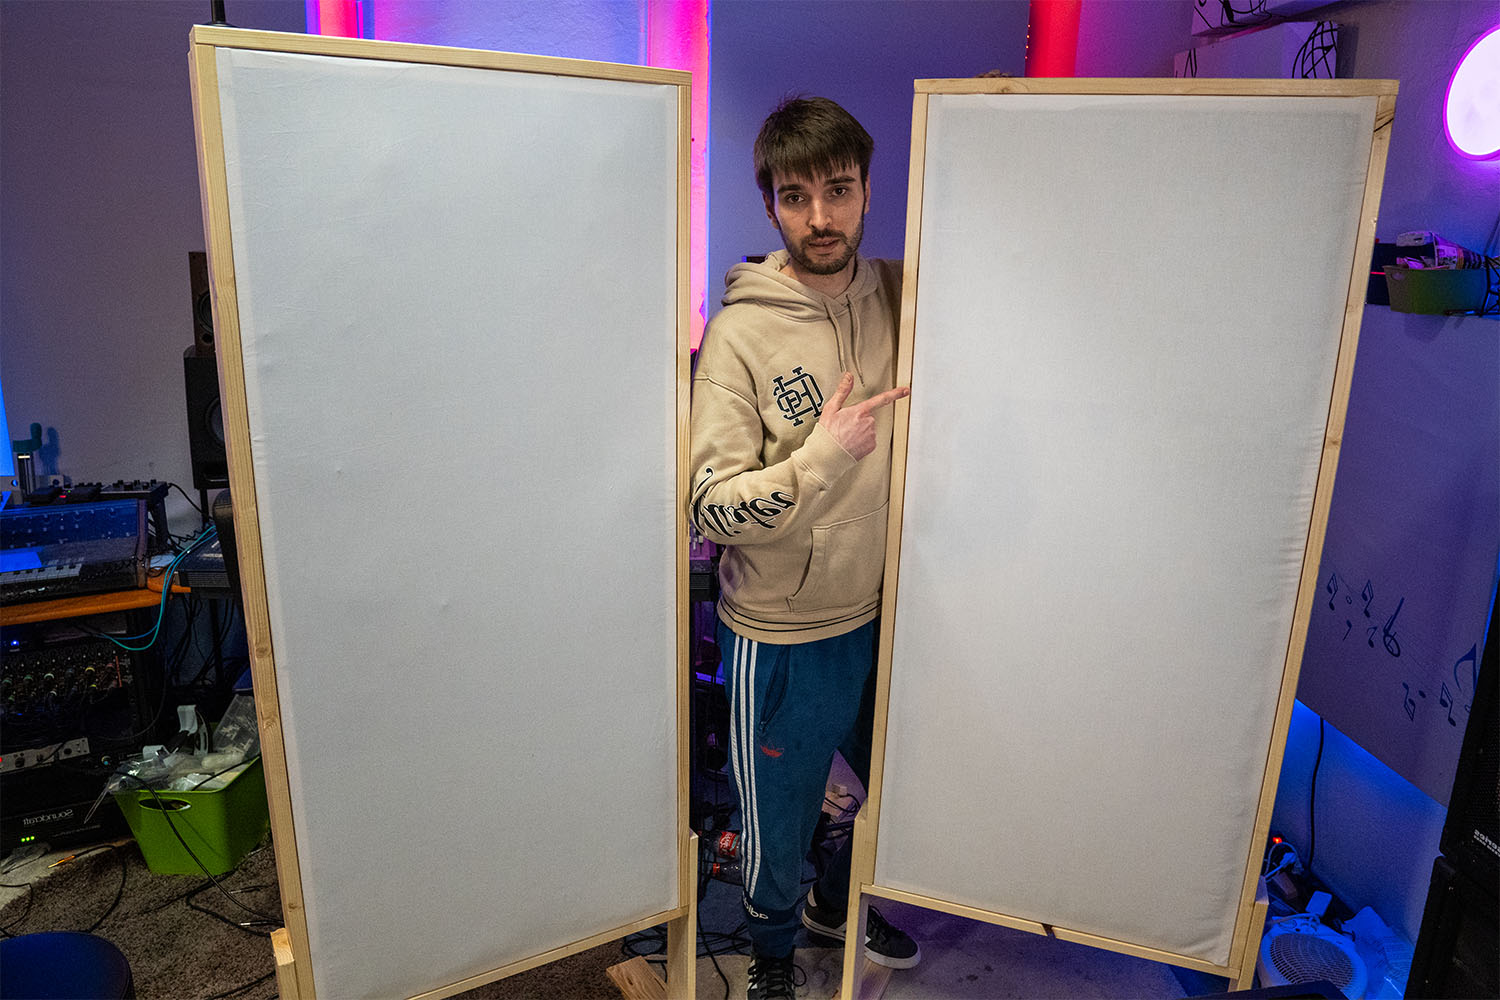
Keep reading: Improve your room acoustics - here's how to do it yourself!
Equalizer setting parameters
Basically, there are 3 parameters to consider when adjusting the equalizer:
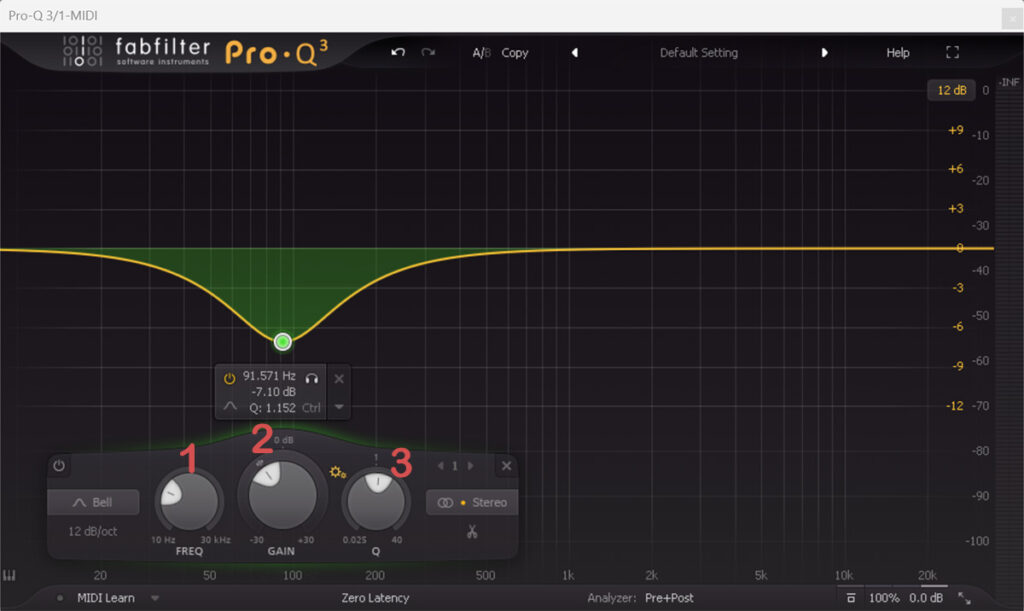
- Frequency: This refers to the specific frequency or range of frequencies being processed. In music, lower frequencies correspond to lower notes (such as bass guitar or kick drum), while higher frequencies correspond to higher notes (such as flute or hi-hat).
- Gain: This is the volume or intensity of the selected frequency. By adjusting the gain, a specific frequency can be boosted or cut. A positive gain increases the volume, a negative gain decreases it.
- Bandwidth or Q-factorThis parameter determines how wide or narrow the frequency range is around the selected frequency that is affected. A high Q-factor affects a narrower frequency range, while a low Q-factor affects a wider range.
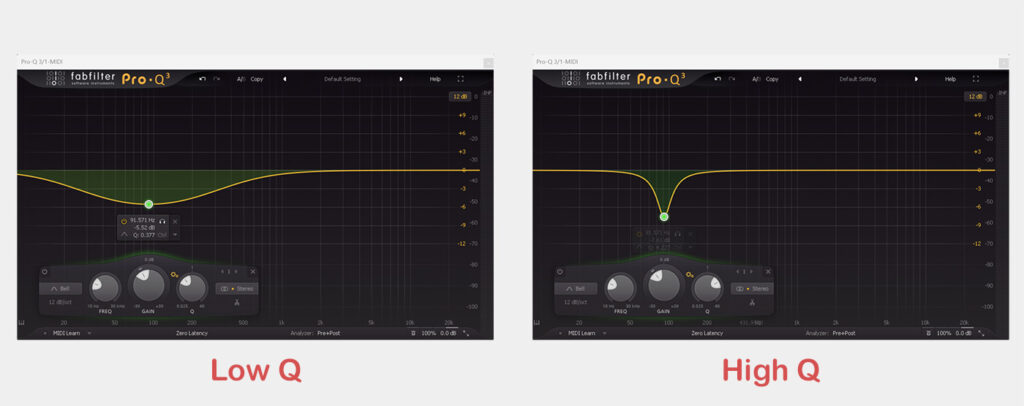
Adjusting the equalizer for listening
In order to hear and enjoy music through speakers in your home or car, you need to compensate for room acoustic problems with an equalizer. These problems are usually in the low frequency range. In most cases, it is sufficient to attenuate these frequencies.
However, it is not so important to get a "balanced" or "neutral" sound here, since the music is only meant for you/your family - it has to please you and no one else.
So if you like to listen to music with a lot of bass, you can set the equalizer to boost the low frequencies. For example, I like to boost the treble a bit in my car to simulate a "high-end" sound.
Many hardware and software devices have a set of "presets" that generally serve as a reference for different genres. Spotify offers the following modes, among others:
- Hip-hop: This is where the bass frequencies are boosted to make the beat thicker and give the listener the classic "head nod".
- Pop: Here, the very low and very high frequencies are cut and the mids are boosted to bring the voice to the front.
- Latin: Latin music is about highs and lows, so these are raised, especially the highs (for winds and percussion).
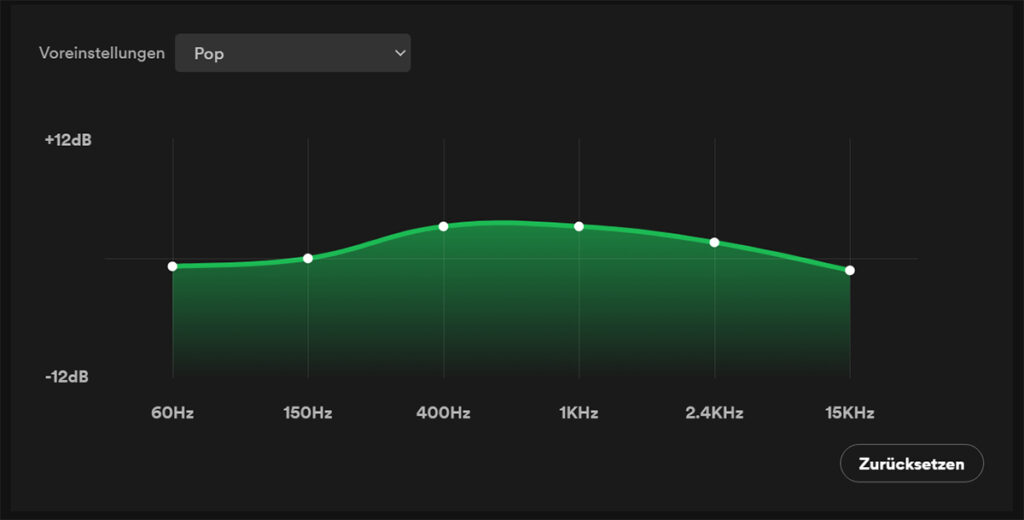
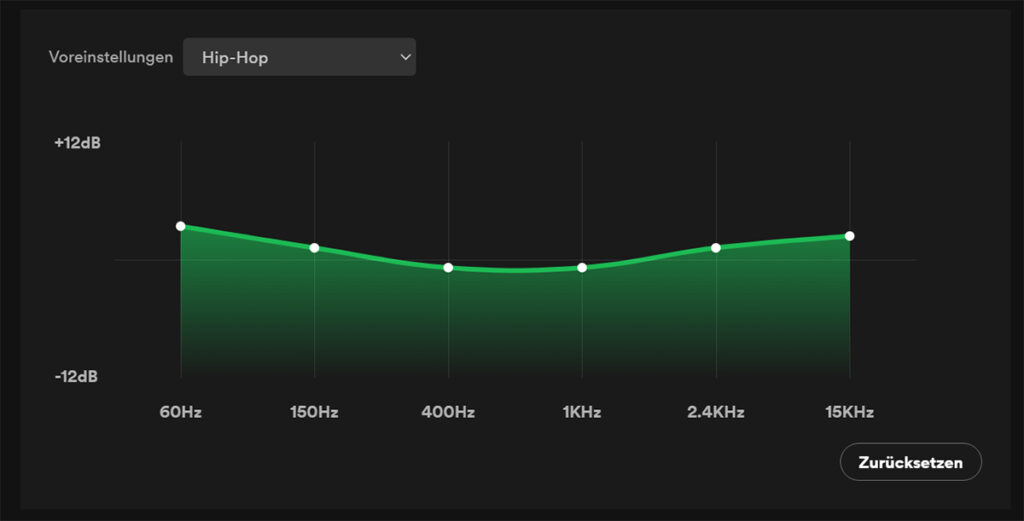
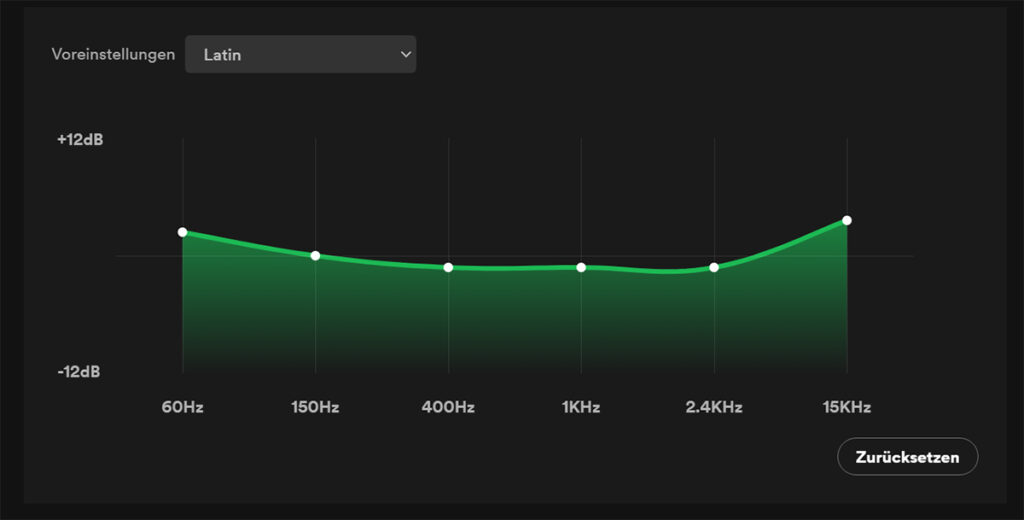
Personally, I don't really like presets, but I do recommend that you find one or two settings that you're comfortable with, and then listen to everything with those settings. That way you get used to the speakers and the room, and you can judge whether a track is good or bad.
Adjusting the equalizer for analytical listening
When listening analytically, you should try to keep the sound as neutral as possible. This means that you should try to set your equalizer's frequency response to a "flat" setting, where no frequencies are emphasized or attenuated.
We want to hear the music as it is - no matter if the sound is too "thin" or too "dull" for you - but we don't want our music to sound better or fatter than it is. Because then the mix sounds good on my system, but not on anyone else's.
Of course, you can adjust the EQ here to correct problems with the room acoustics. The best way to do this is to use a measuring microphone + appropriate software if you do not have much experience with acoustics yourself.
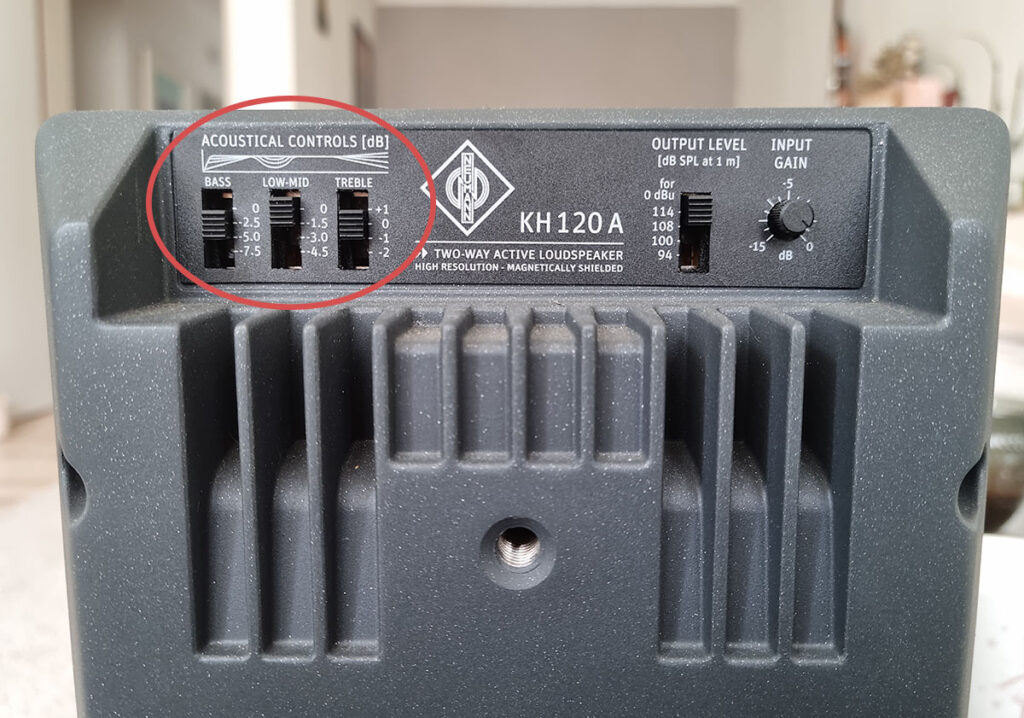
But as I said before, try to keep the sound as neutral as possible - it's easy to get caught up in boosting the bass to make all your music "fatter". Then your productions will sound good on your speakers, but on other systems a lot of bass will be missing.
Adjusting the equalizer for a clean voice
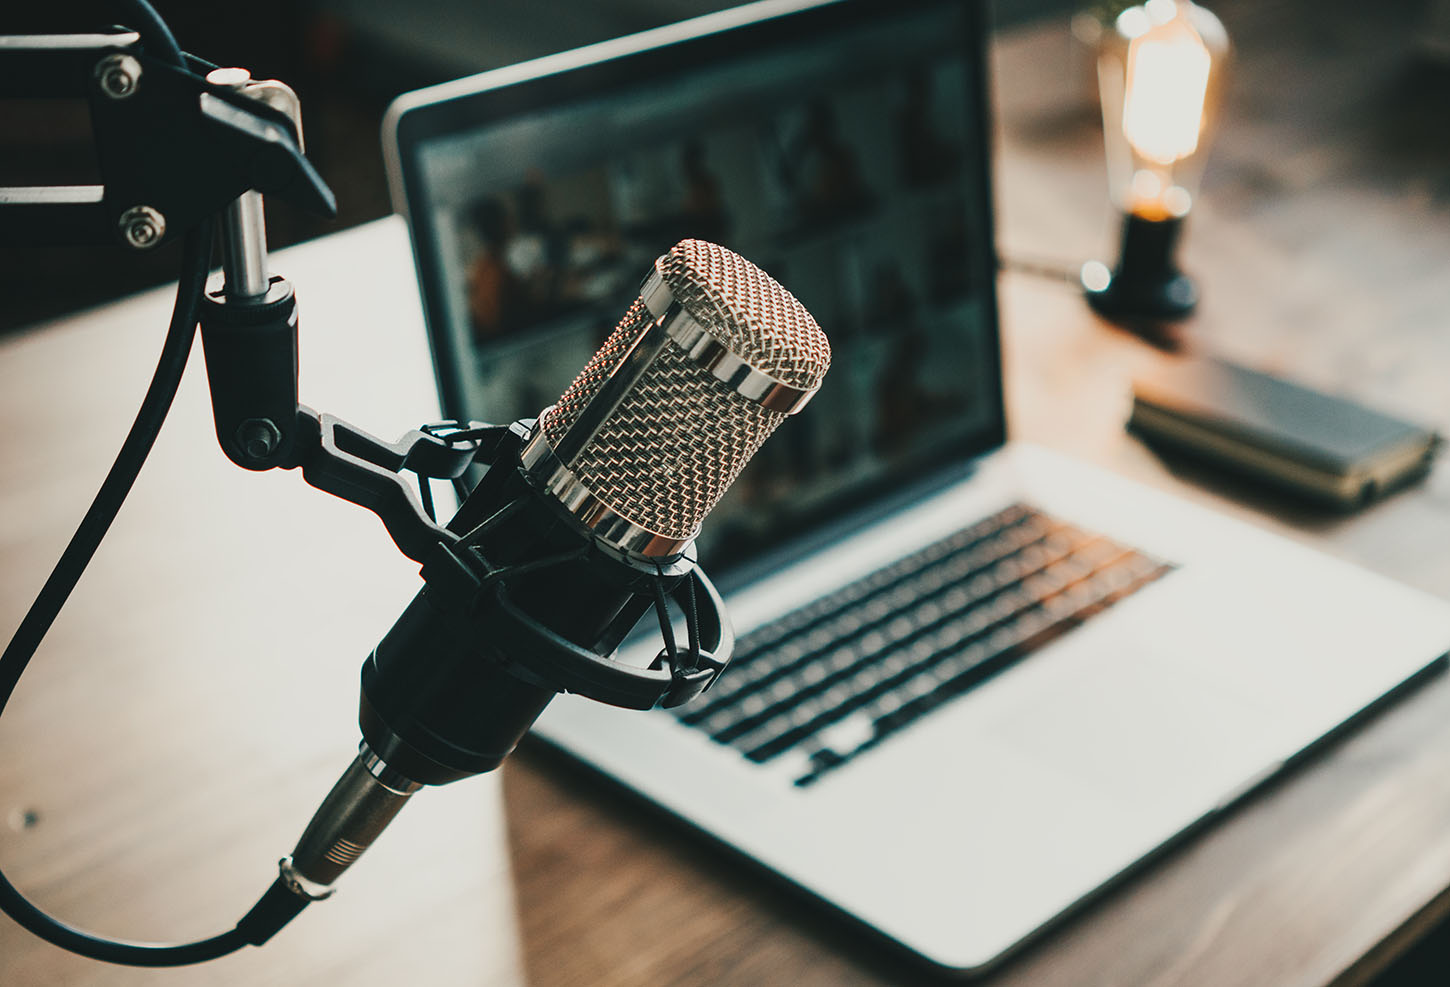
When recording vocals for podcasts or songs, it is often recommended to use an equalizer to keep the track "clean". This is usually done by using a high pass filter around 60Hz to remove low frequency noise. This allows all frequencies above the selected frequency to pass, while attenuating or even removing all frequencies below it.
This is the baseline - after that you can continue to work with the equalizer, but the settings have to be adjusted individually for each singer/talker, it is difficult to give general guidelines here. However, here are a few tips to help you get the EQ just right for your voice:
- If the singer/talker has been singing too close to the microphone and the voice sounds too powerful in the low frequency range (200-500 Hz) due to the proximity effect, you can simply use an equalizer to reduce the low frequencies a bit. This can also help if the voice sounds too muffled or muddy in general.
- With an equalizer, you can raise the mid and high frequencies (2kHz-10kHz) a bit. This makes the voice come through better in the mix.
- Slightly raising the very high frequencies (from about 12 kHz) can help give a sense of "air" or "presence" to the voice.
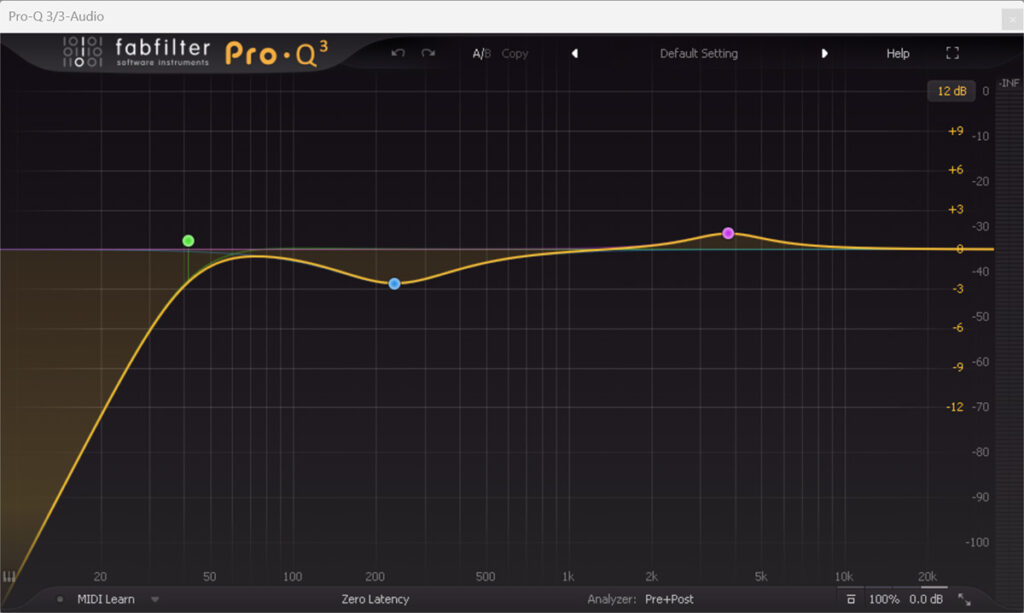
I recommend using the equalizer in the DAW rather than in the preamp because you can change the settings later in the mix, whereas an EQ in the preamp cannot be changed after recording.
Tip: You can find more on the topic of vocal mixing in my ultimate mixing guide.

