Sound absorbers are an essential element in every studio for optimizing the room acoustics. They minimize sound reflections that can cause unwanted acoustic interference. However, the convenience of buying them ready-made comes at a price: especially in larger quantities, the costs can quickly add up – a problem that many music producers are familiar with.
High-quality absorbers also need to be a certain thickness to be effective, which pushes the price up even further. A single absorber can easily cost €250. If you need eight of them – about four for the side walls, two for the back walls and two for the ceiling – you can easily invest 2000 euros to properly equip your studio.
But there is an inexpensive alternative: with a little craftsmanship, you can build sound absorbers yourself - and at a fraction of the cost. In this article, I'll show you how you can make high-quality absorbers for less than 40 euros each.
Material list for the construction of sound absorbers
1. wooden slats for the inner frame
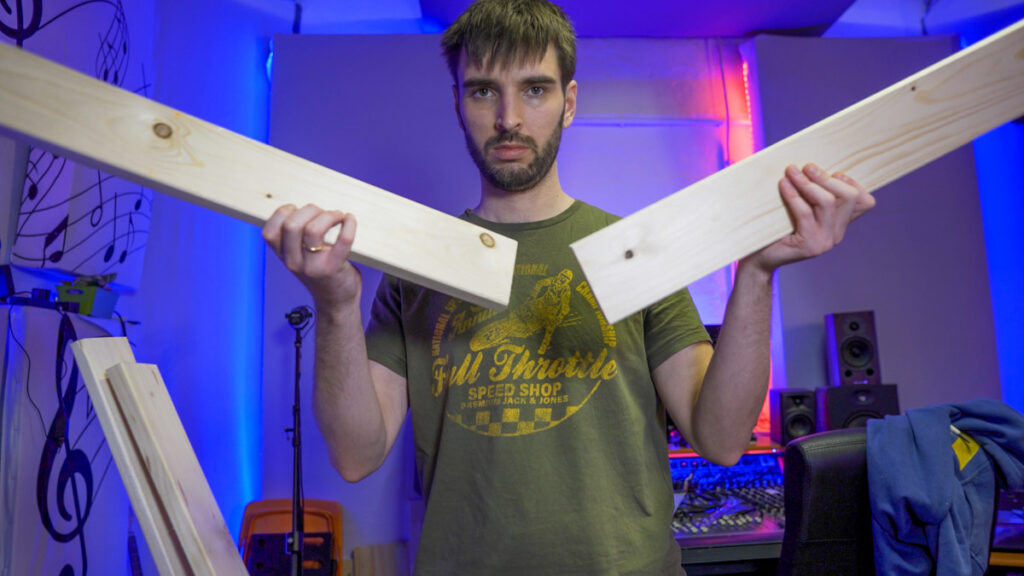
For my construction, I use two slats of 65.3 cm and two of 135 cm. If you don't have a saw to hand, you can have the slats cut to the desired length at a DIY store. The depth of the frame is crucial for its effectiveness: I recommend at least 20 cm to effectively absorb low frequencies.
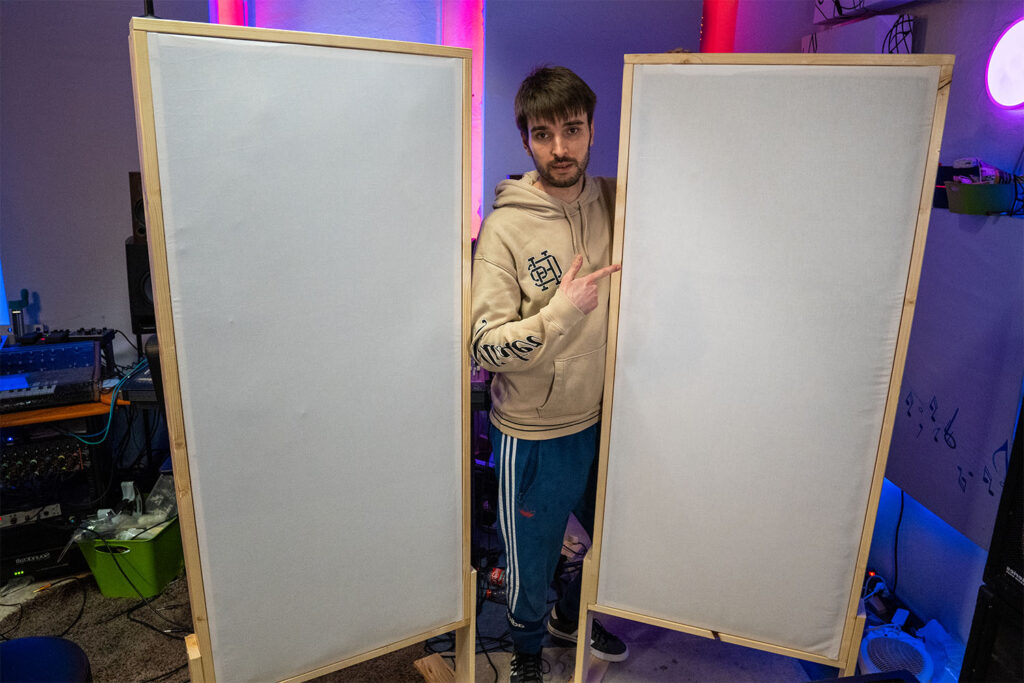
In my first studio, I built absorbers with a depth of only 10 cm. I later realised that this was not enough for the low frequencies. For my current studio, I therefore made all the absorbers with a depth of 20 cm - as you can see in the following picture. The result: significantly better sound absorption.
Picture de nuevos Absorber
I deliberately chose the dimensions of the frame so that they correspond exactly to the length of the rock wool slabs. This eliminates the need to cut the rock wool to size, which not only saves time, but also avoids a lot of dirt - because anyone who has ever cut rock wool knows how dusty and unpleasant this process can be.
Of course, it is possible to cut the rock wool to smaller dimensions if you want to build a frame in other dimensions. However, my experience shows that it is much easier and cleaner to adapt the frame directly to the panel size. This saves you unnecessary work and ensures a precise result.
2. wooden slats for the outer frame
Optionally, you can build an outer frame that fulfils visual purposes. The length of the slats must be adjusted according to the dimensions of the inner frame plus the wood thickness. Although the outer frame is not technically necessary, it gives the absorbers a higher quality appearance.
3. rock wool or alternative insulation materials
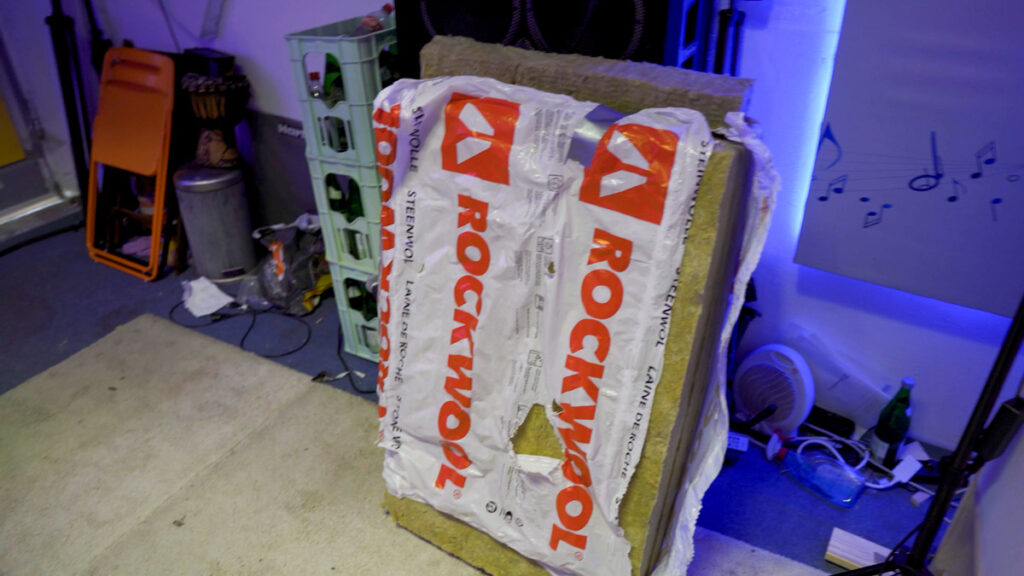
Rock wool is my first choice - it is inexpensive and available almost everywhere. Alternatives such as Basotect or glass wool can also be used, but are usually more expensive.
4. fabric

The fabric keeps the rock wool in the frame and gives the absorbers a clean finish. You can choose any colour you like. I prefer white as it is neutral and harmonises well with different wood colours.
5. screws
You will need enough screws to connect the wooden slats together and make the frame stable.
6. wood varnish or wood stain (optional)
If you want to enhance the look of the wooden frame, you can varnish or glaze it. I didn't do this in my first studio, but now I paint the outer frames for a more appealing design. However, this step takes more time.
7. stapler and staples
You will need a stapler and suitable staples to attach the fabric to the wooden frame.
With this list of materials, you are ideally equipped to build high-quality sound absorbers yourself and improve your studio acoustics in a really affordable way.
Step 1: Cut the wooden slats to size

Start by cutting two long and two short sides to build a stable rectangular frame. I plan the dimensions of the frame so that the rock wool slabs fit in exactly without having to cut them to size. In Germany, rock wool slabs usually have the following dimensions 135 x 62.5 cmwhich is why I adjust the lengths of the slats accordingly:
- Long pages: 135 cm
- Short pages: 62.5 cm + 2 x the thickness of the wood.
As my wooden slats are 1.8 cm thick, the total length of the short sides is 66.1 cm.
If you use different dimensions for your rock wool, you can adjust the lengths of the battens accordingly. You can either cut the slats to size yourself or have them cut to the required dimensions at a DIY store.
Step 2: Screw the wooden slats together
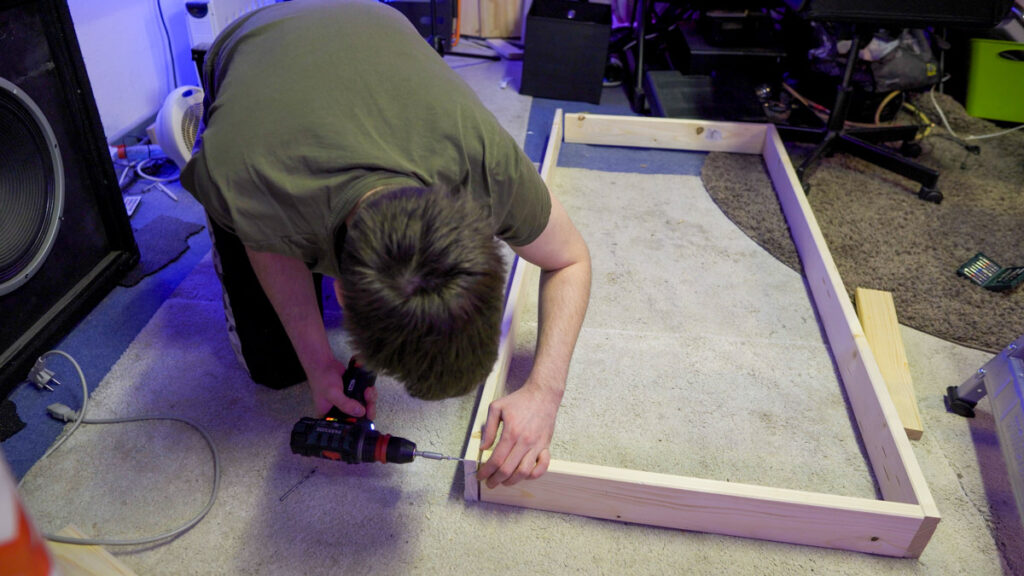
To join the slats together stably, first drill holes in the short sides. I recommend Two holes at each end of the short slats to protect the wood from splintering. You can then join the short sides to the long sides.
Tip: Use the thickest possible screws to ensure maximum stability. Screw the slats together with a cordless screwdriver and make sure that the connections are exactly right.
To ensure that the construction is square, you should work carefully and check the alignment regularly. A right angle is important so that the absorbers can later be mounted properly on the wall or ceiling. For longer frames, it can be helpful to use a Crossbar in the centre to further increase stability.
Step 3: Insert rock wool and cover with fabric
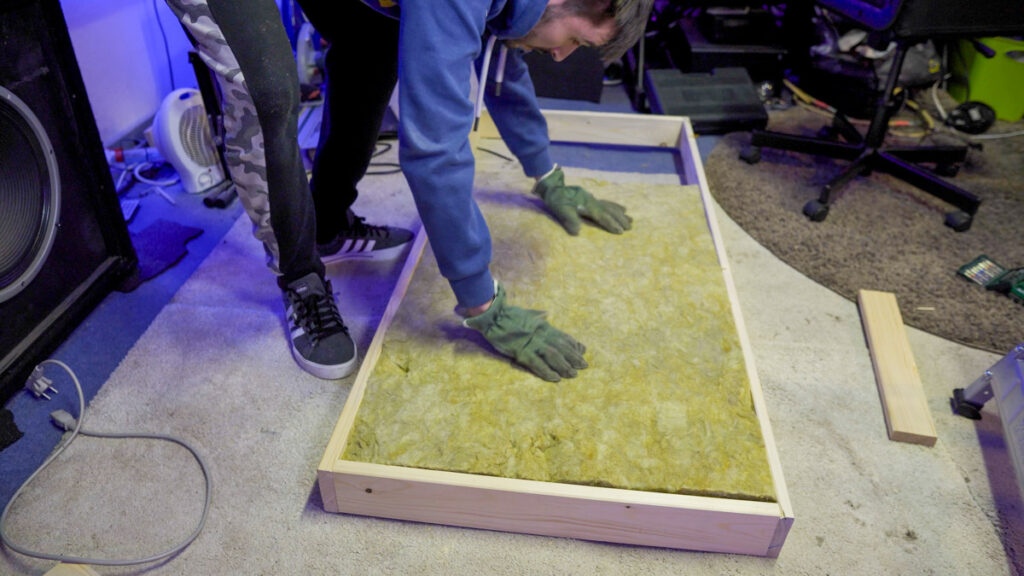
Once the frame has been assembled, the rock wool can be inserted. I start by covering one side of the frame with fabric before inserting the rock wool. This way, the wool is not lying directly on the floor and remains clean while it is already securely fixed in the frame.
Fasten the fabric:
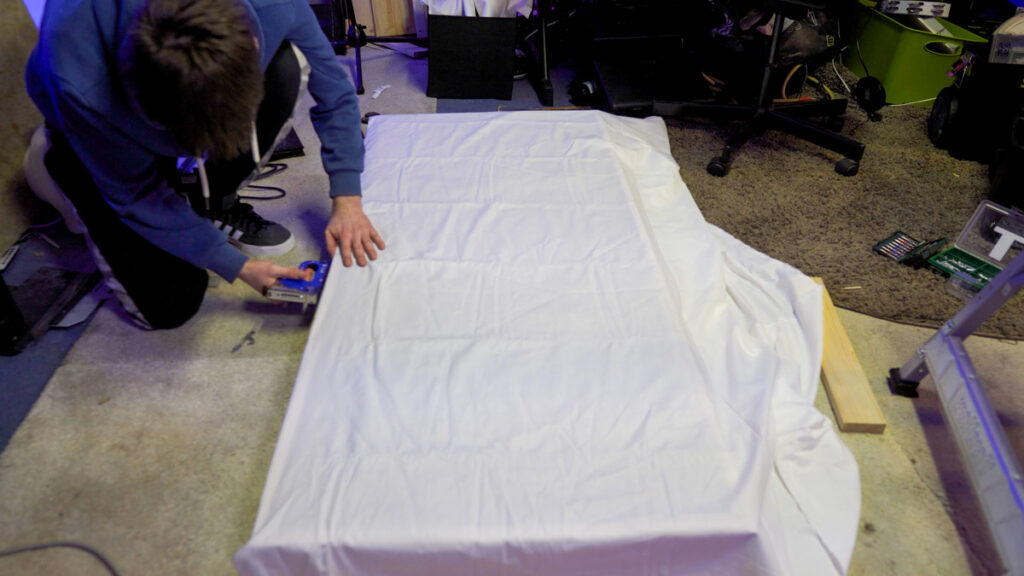
I stretch the fabric tightly and staple it along the sides of the frame. I make sure that the staples are only placed on the sides so that they are not visible from the front later on. If, like me, you also plan an outer frame, the staples on the sides will be hidden anyway and won't be visible.
Insert rock wool:
The rock wool can now simply be placed in the prepared frame. Make sure that the depth of the frame is a multiple of the depth of the rock wool slabs. In my case, the frame has a depth of 20 cm, while the rock wool slabs are each 4 cm thick. This means that exactly five panels fit into the frame on top of each other without anything protruding.
Close frame:
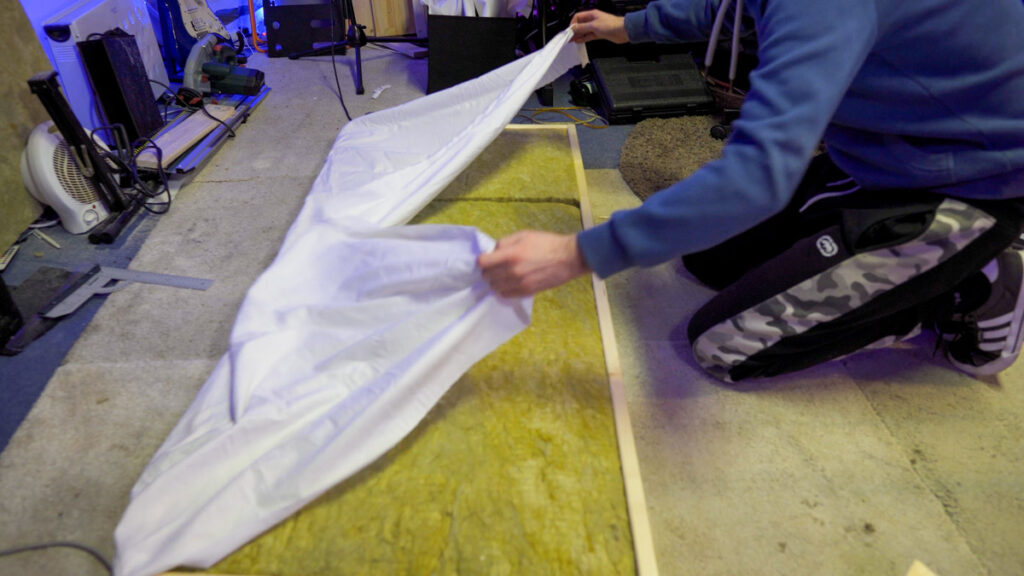
As soon as the rock wool has been inserted, the second side is covered with fabric. The following applies:
- Without outer frame: Staple the fabric to the back of the absorber. This way, the staples remain invisible from the front. The back of the absorber is always aligned with the wall anyway, so the staples do not interfere there.
- With outer frame: Staple the fabric to the sides as before. These staples will later be covered by the outer frame and are therefore not visible.
This approach means that the front of the absorber always remains clean and attractive, while the back remains functional - regardless of whether you add an outer frame or not.
Step 4: Building the outer frame
Now the outer frame is manufactured, which not only provides additional stability, but also enhances the absorber's appearance.
Determine dimensions and cut battens to size
The outer frame also consists of two long and two short sides. The dimensions are based on the inner frame, whereby the short sides are extended by twice the thickness of the wood.
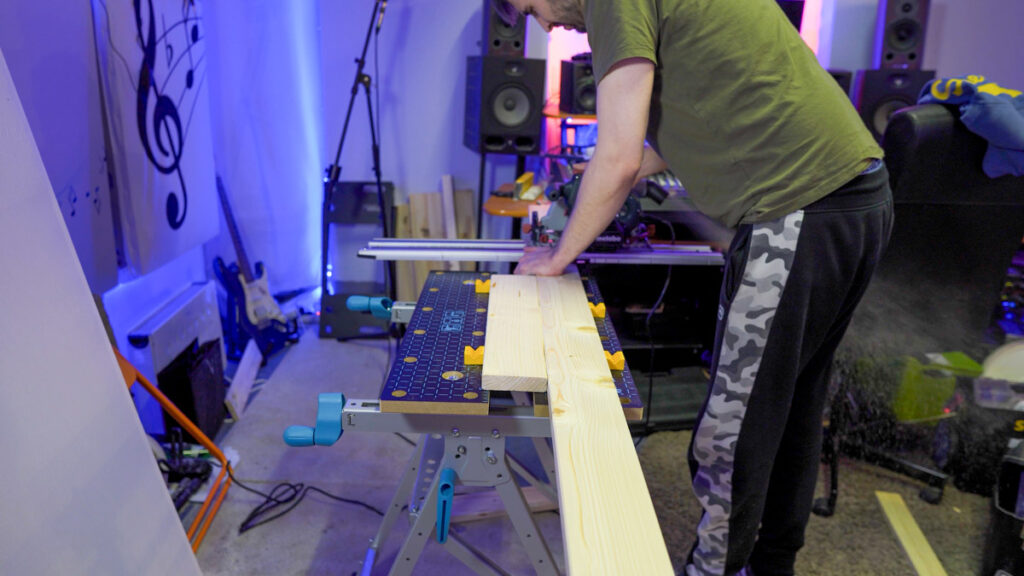
In my case, the inner frame measures 138.6 cm x 66.1 cm. I therefore have the following dimensions for the outer frame:
- Long pages: 138.6 cm
- Short pages: 66.1 cm + 2 x 1.8 cm (wood thickness) = 69.7 cm
If you use other dimensions, adjust the length accordingly.
Optional: glaze or varnish wood
If you want to enhance the look of the outer frame, you can sand it and then glaze or varnish it. I personally prefer varnish as it emphasises the wood structure and protects the wood at the same time.
Glaze tip:
- First sand the slats thoroughly so that the surface is smooth.
- Apply the first coat of glaze and allow to dry completely.
- Sand again and apply a second coat to achieve an even and elegant look.
This step requires a little patience, but ensures a high-quality finish. If you prefer the natural wood look, you can also leave the frame untreated and install it directly.
Fitting the outer frame
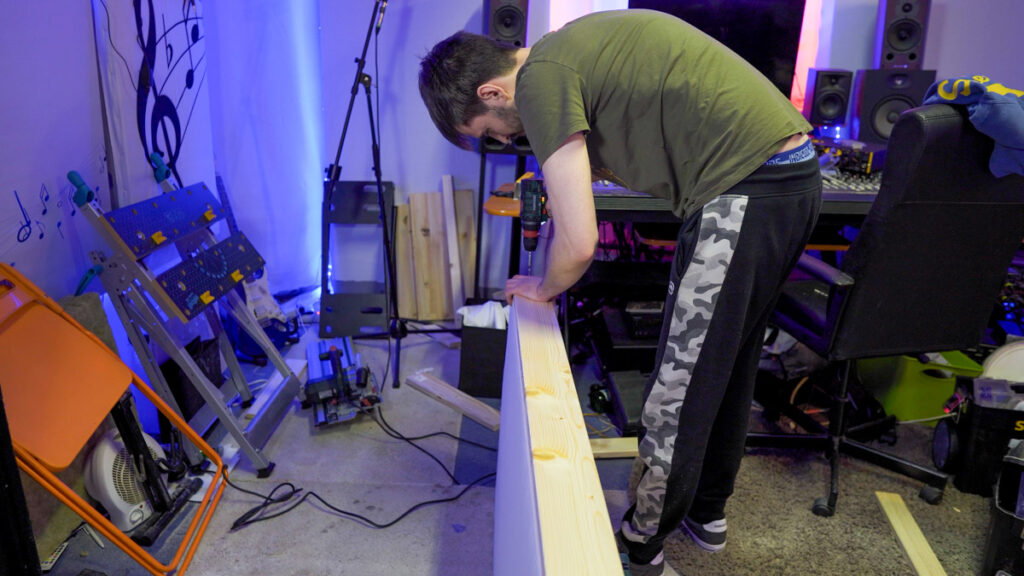
Once the slats have been cut to size and treated (if required), you can attach the outer frame to the inner frame. To do this, attach each side of the outer frame to the corresponding side of the inner frame using two screws. It is not necessary to additionally screw the slats of the outer frame to each other - the stability is ensured by the connection to the inner frame alone.
The result
The finished absorber not only looks high-quality and professional, but also impresses with its functionality. Such a sound absorber would cost between 200 and 300 euros costs - by building your own, you not only save money, you can also customise it.
Possible applications for self-built sound absorbers
These sound absorbers are extremely versatile and should not be missing in any studio. Thanks to their 20 cm thickness, they offer an excellent acoustic effect and are suitable for various applications:
- Bass traps: Ideal for placement in corners to absorb low-frequency sound waves and reduce room modes.
- Wall absorber: To reduce sound reflections on the side walls and behind the speakers.
- Ceiling absorber: Particularly useful for minimising reflections between speakers and ceiling.
- Vocal booths: With several absorbers, you can build an improvised vocal booth that is perfect for voice and vocal recordings.
My work in the studio
I have integrated these absorbers in various places in my studio:
- As a bass trap in the corners: Each corner is fitted with an absorber. There is another absorber next to each corner absorber on both sides to treat the entire corner acoustically. This minimises the 90-degree anglethat are acoustically problematic are effectively eliminated.
- Rear wall absorber: I fitted these absorbers behind my workstation to reduce the sound reflections from the rear wall.
- Absorber behind the loudspeakers: They minimise reflections directly behind the monitors and ensure a clearer sound.
- Side absorber: Placed to the left and right of my workstation, they prevent distracting first reflections.
- Ceiling absorber: I have built an absorber twice the size of the speakers, which hangs above my workstation. This is responsible for absorbing the reflections of the speakers from the ceiling. I attached it with sturdy chains - a simple but extremely effective solution.
Conclusion
Thanks to their versatility and high absorption performance, these DIY sound absorbers are a cost-efficient and effective solution for almost any studio application. Whether you want to get problematic bass frequencies under control, minimise annoying reflections or simply improve the overall acoustics of your studio - these absorbers are the perfect and, above all, the most affordable choice.


