Recording the bass guitar is usually the second step in a production, after recording the drums. The bass guitar is responsible for the low end of the song - it serves as the groove foundation on which other instruments like guitar or piano build.
Even though the bass guitar tends to take a back seat in most genres, it's an incredibly important part of any production - without it, songs sound thin and weak. That's why it's so important to record it well so that you end up with the best possible sound.
In this tutorial I will show you 3 ways to record an electric bass into your PC:
- Via a DI box
- Via the bass amplifier with one (or more) microphone(s)
- Directly via the audio interface
In most recording studios, you usually record with the first two methods at the same time, i.e. with a DI box and with a microphone via the bass amplifier. This gives you more possibilities to change the sound by combining the different channels (DI and microphone).
Method 1: Recording bass via DI Box
The bass is one of the few instruments that can sound pretty good through a DI box alone. This is mainly because the electric bass doesn't usually get a lot of effects, and a direct, dry sound is often exactly what you want. Even if you record the bass through a bass amp, the DI signal is always recorded for later mixing.
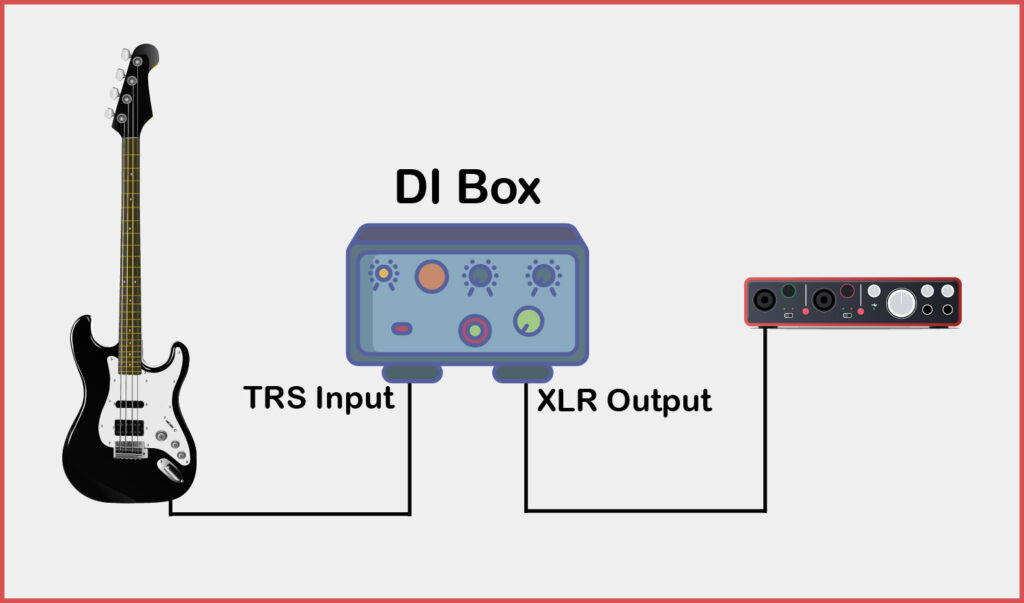
WHAT YOU'LL NEED
- Bass guitar
- DI box
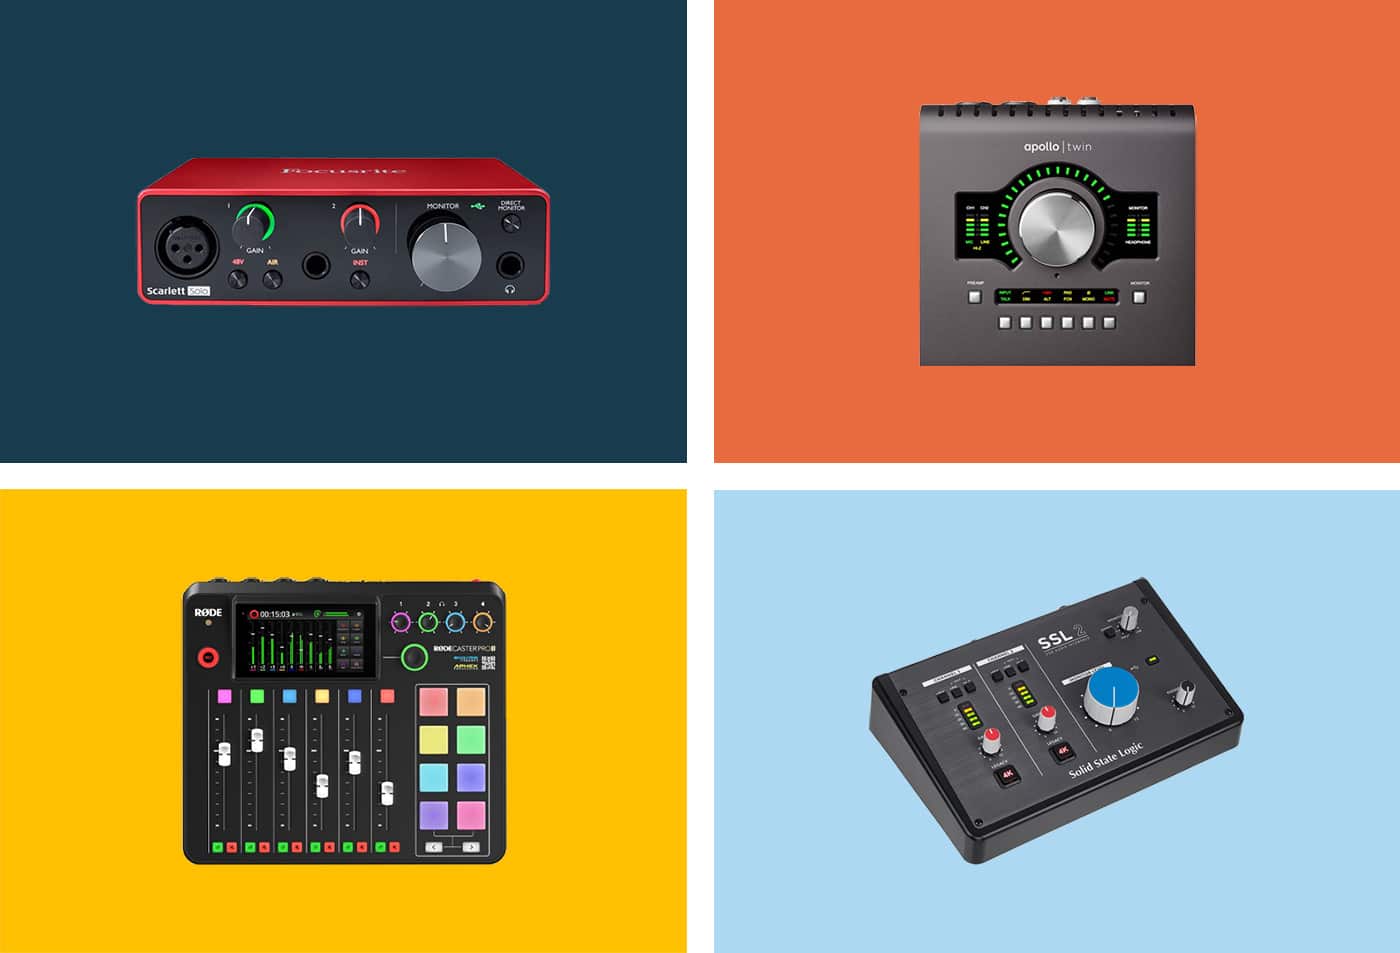
- Audio interface
ADVANTAGES
- Very simple method
- No feedback problems
- No headphones necessary
DISADVANTAGES
- High-quality DI box required for the recording to sound really good
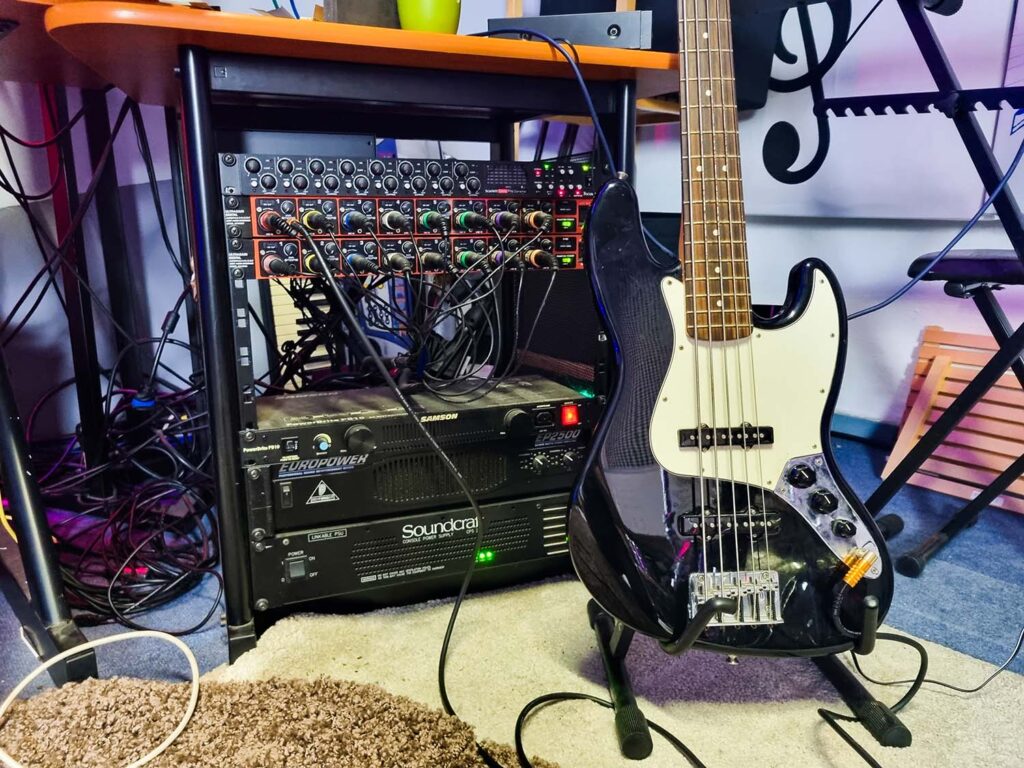
The process is quite simple: the bass guitar is connected with a jack cable to the DI box, which is then connected to the interface/preamp through the XLR output. You don't have to worry about feedback, microphone placement, etc., and you can monitor through speakers while recording (since no microphones are used, the sound can't go back into the microphone and create a feedback loop).
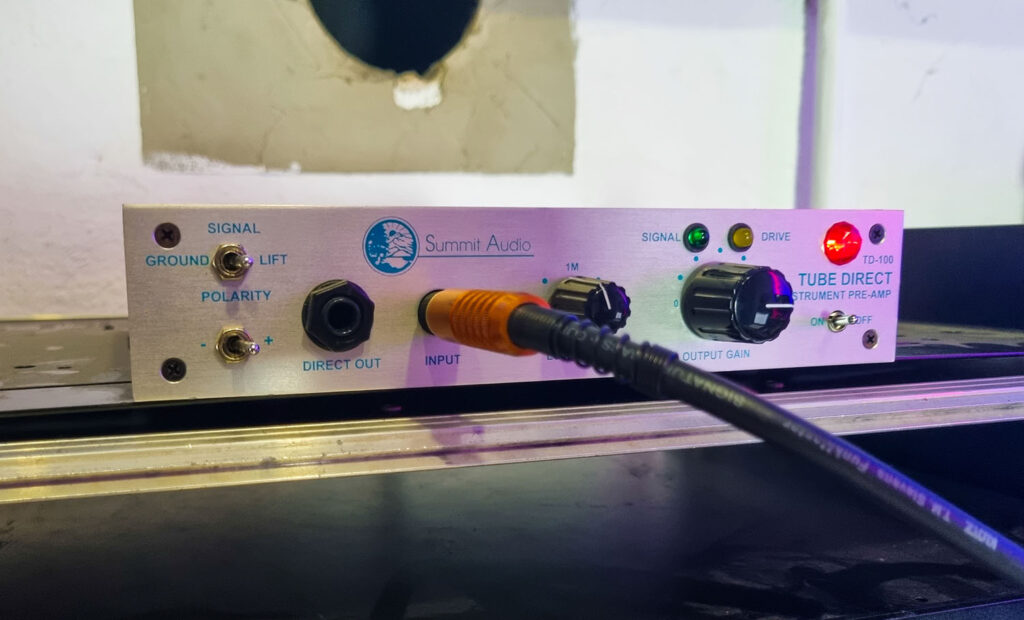
In this case, apart from the bass, the DI box plays a very important role because it is the only element in the chain that can influence the sound. I recommend using a tube DI box (or a high quality DI box in general) because it really makes a difference in the sound.
Personally, I use the Summit Audio TD-100, which is a bit expensive, but always delivers a sound I'm very happy with. And I am very demanding when it comes to bass sound! (I am a bass player, after all).
After recording, you get a dry bass signal that you can either use directly in your mix (this is often the case with tube DI boxes), or you can run it through all the virtual bass amps on your computer to change the timbre. For example, you can make it sound clean or distorted using a virtual amp.
You can also run this signal through a real bass amp and then record it with a microphone - this is called reamping and is a very popular technique. So you have a lot of options after recording!
Method 2: Recording the bass amp with microphone(s)
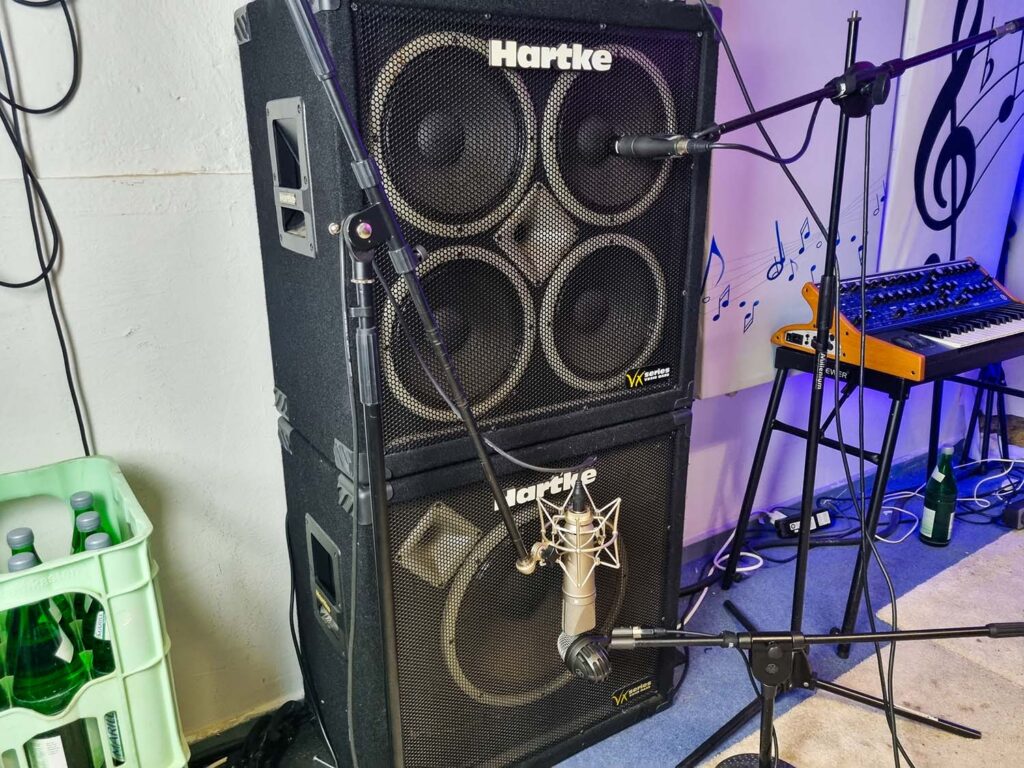
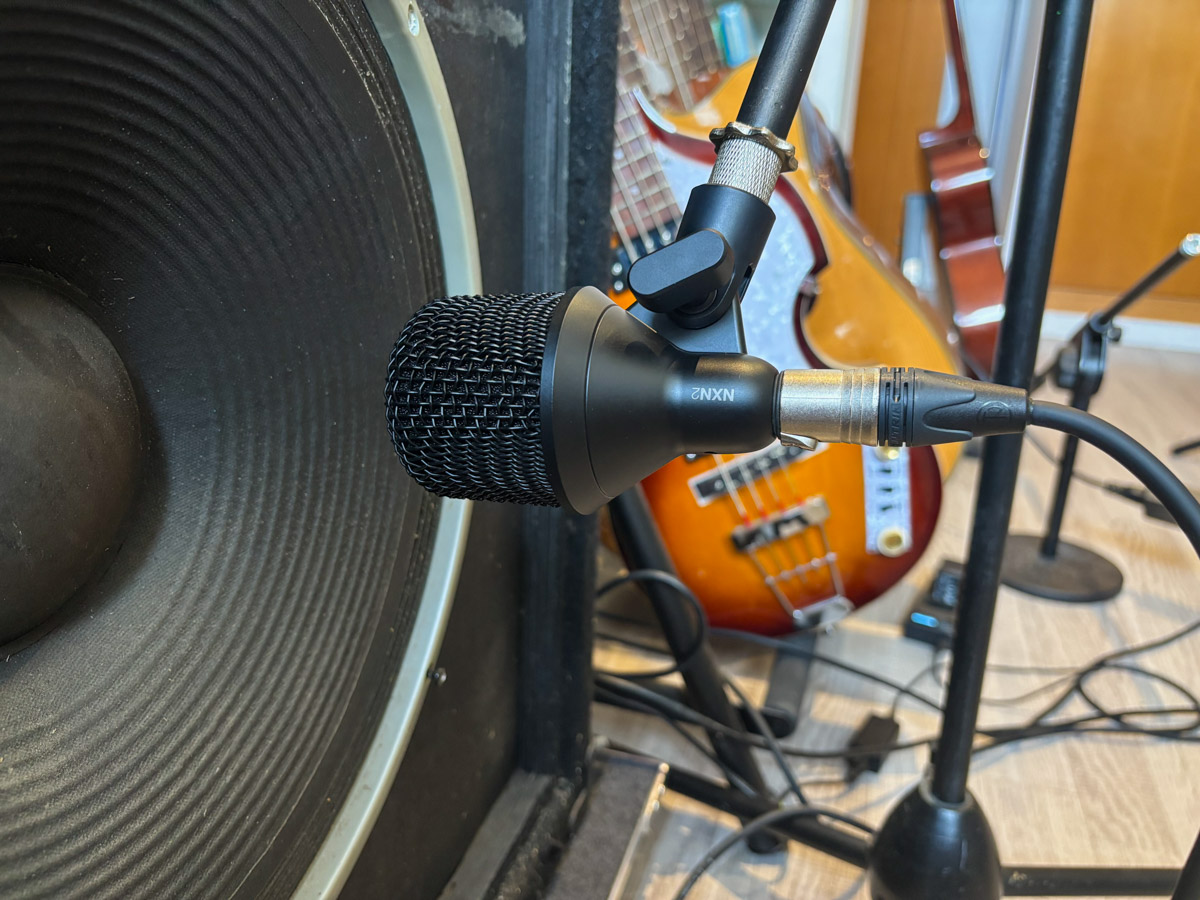
The classic method of recording a bass is to mic the bass amp, similar to recording an electric guitar through a guitar amp. This involves placing one or more microphones directly in front of the cabinet's speaker to capture the direct sound.
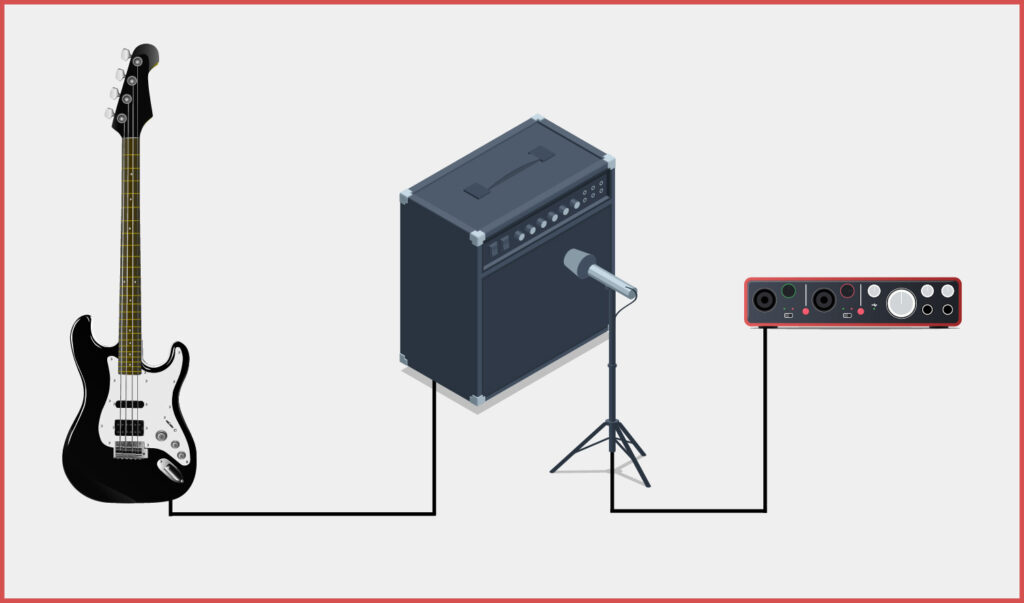
WHAT YOU'LL NEED
- Bass guitar
- Bass amp
- Microphone(s)
- Audio interface
ADVANTAGES
- The full sound of the amp can be recorded (usually sounds better than digital amp simulations)
- Different microphones and cabinets can be combined depending on the desired sound.
DISADVANTAGES
- Very loud
- Requires headphones or a studio with two rooms
This method should always be used if you have a good amp that you like, because this is the only way to get the "real" sound. Even if the amp itself has a DI output, it always sounds better and more natural to record the bass with mics in front of the cab rather than using the amp's DI output.
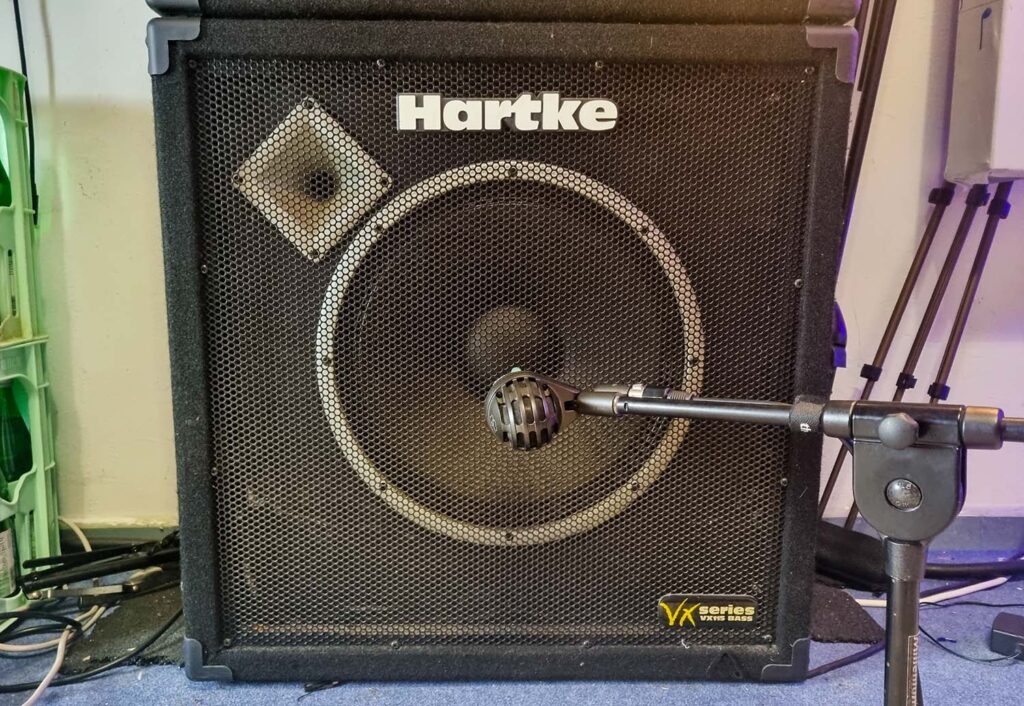
However, it is a good idea to record the DI output as well to have more options for coloring the sound later. The DI output usually produces a dry sound with a lot of midranges, while an amp can go much deeper. Depending on the sound you want, you can mix more of the DI signal or more of the mic signal.
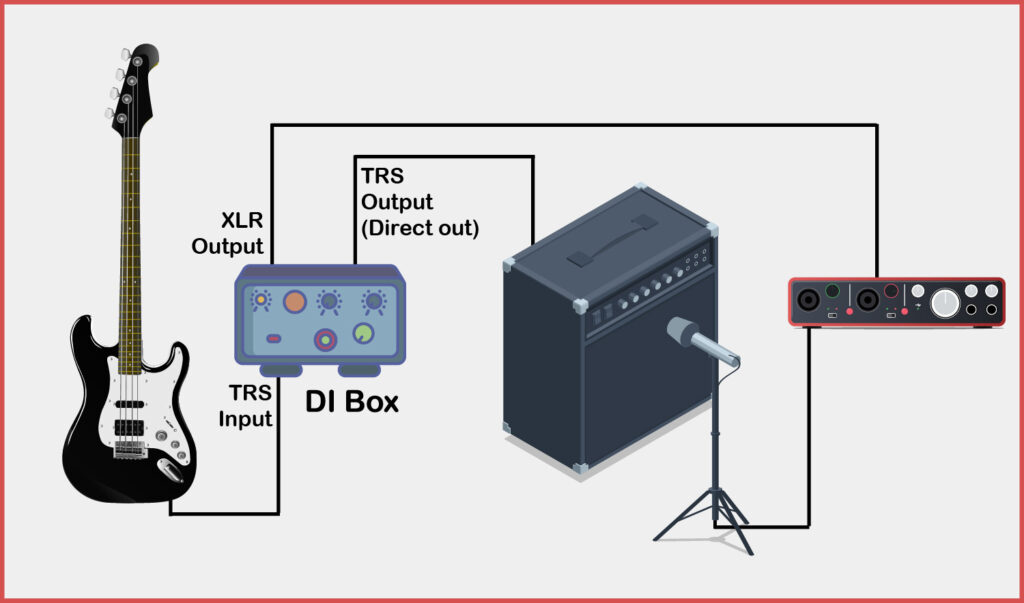
To do this, connect the bass to the DI box, then connect the DI box via XLR to the interface (for the DI signal), and then connect the DI box via the "Direct Out" output to the bass amp. Then put a microphone in front of the amp. You now have two channels for the bass, one from the DI box and one from the miked amp.
If a separate DI box is not available, the DI output of the amplifier can be connected to the interface via XLR.
Which microphone should I use to record bass?
Many microphones, both condenser and dynamic microphones, are suitable for recording a bass amp. However, they should definitely have a large diaphragm. Personally, I always use a dynamic and a condenser, so I can combine them later.
The following dynamic microphones are very popular for recording bass: AKG D 112, Shure Beta 52A, Shure Beta 91A, Electrovoice RE-20, Sennheiser MD-421 or Shure SM7B.
Common condenser microphones for this purpose are the Neumann U87, the Rode NT1, or the AKG C414, but any condenser microphone with a large diaphragm can be used.
Dynamic microphones deliver a more "percussive" sound (the attack is clearly audible), while condenser microphones deliver a very deep, "boomy" sound. The combination of both signals and the DI signal offers almost endless possibilities for sound design.
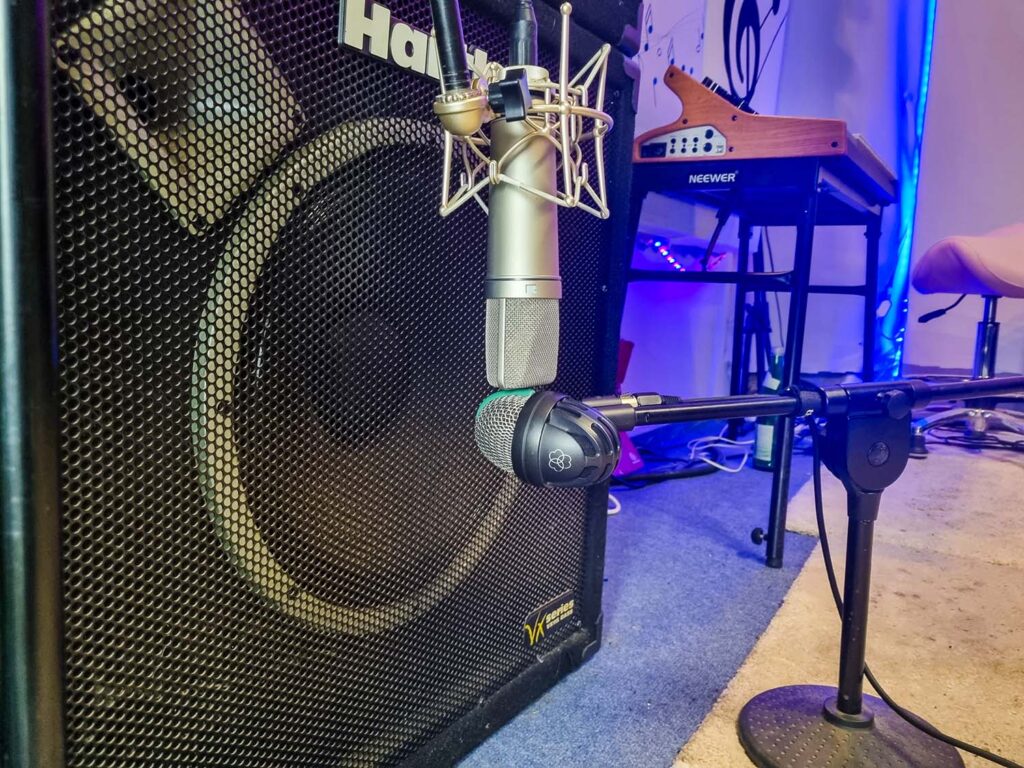
Personally, I always use the AKG D112 + Neumann U87Ai to record my bass amp. And if I want the bass to stand out in the mix and have a little more mids and highs than normal, I add a Shure SM57.
This microphone is not really suited for bass recording, but it is a great "extra" microphone because it has a slight midrange boost. This gives the bass more punch. However, I would never use this microphone alone for bass recording because the sound would be way too thin.
The microphone position is very important
Microphone placement plays an important role: The closer the microphone is to the speaker, the more the proximity effect emphasizes the bass. For bass guitars, this can be a great advantage if you want a deep sound. On the other hand, if a brighter, more natural sound is desired, either an omnidirectional microphone (with good room acoustics) can be used, or the cardioid microphone can be moved further away.
When the capsule is aimed directly at the center of the speaker cone, the sound is brighter than when it is aimed off-center. The difference is small, but noticeable. A good starting point is between the center and the edge of the cone, and from there you can listen and adjust the position as needed.
What cabs should I use for recording bass?
If you have multiple cabs, the same goes as with mics: try them out and see what works best for the song. Cabinets with large speakers (1×15") will have a deeper sound than cabins with smaller speakers (12" or 10") - but these cabins tend to have stronger mids.
If you have enough microphones, you can even record multiple cabs at the same time, giving you even more control over the sound when you mix, because you can combine the sound of the different cabs.
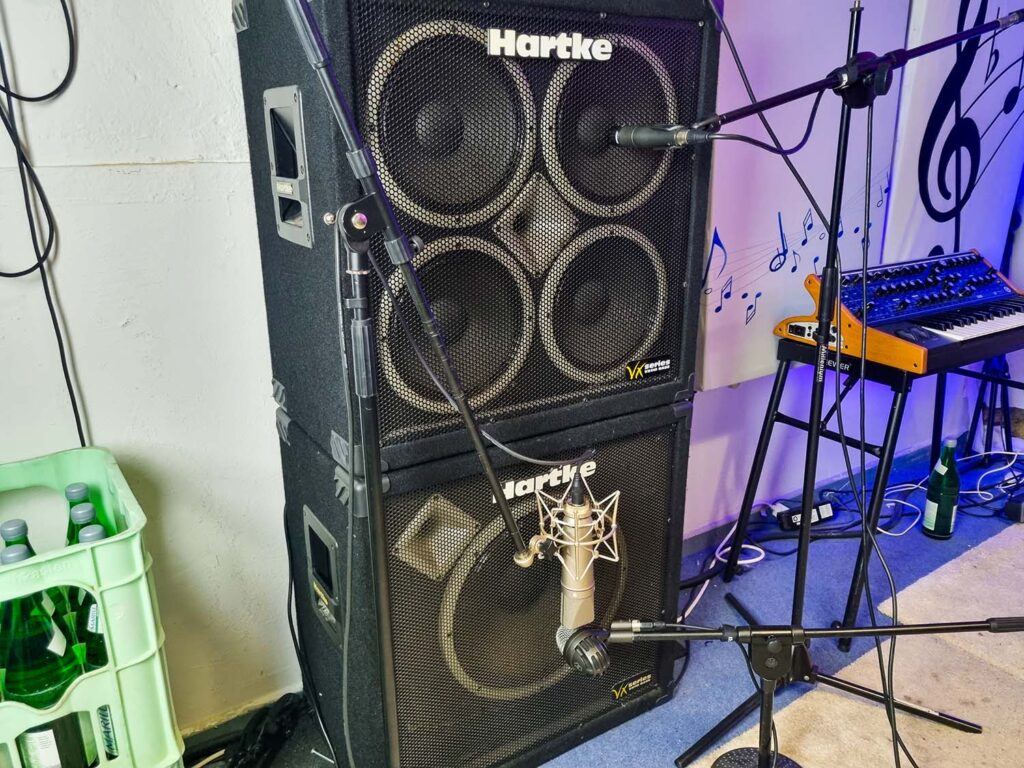
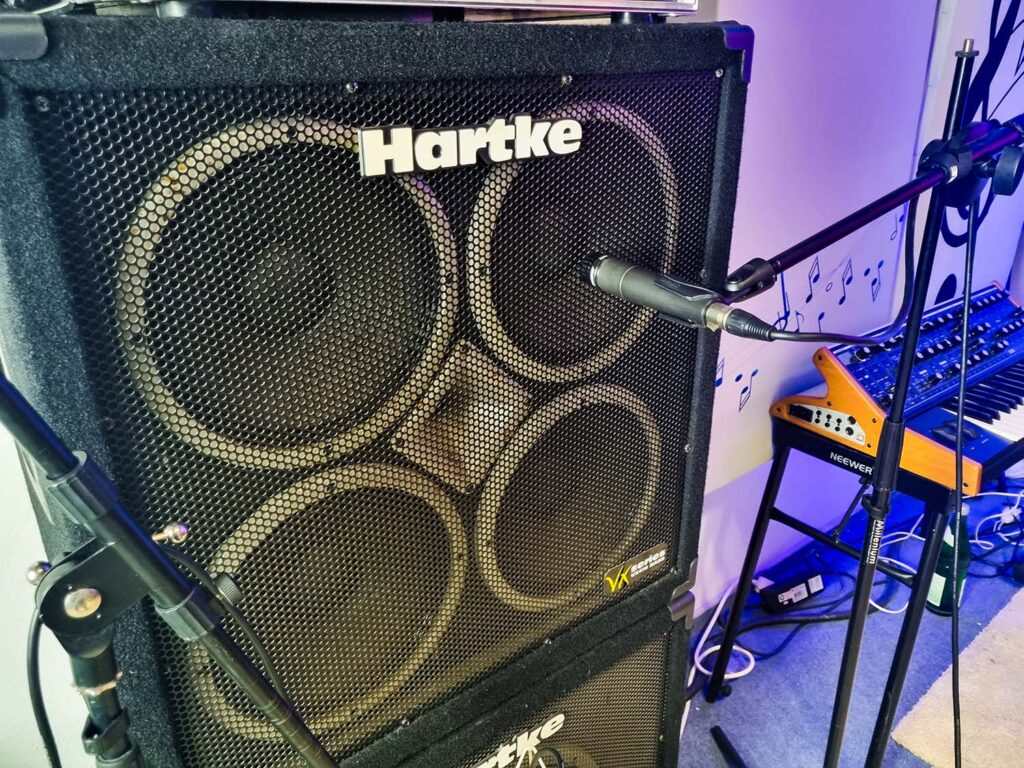
For example: I often use the AKG D112 and Neumann U87 for my 1×15" cab (both mics have a strong low end), but the Shure SM57 for the 4×10" cab (this one takes more of the mid frequencies). This gives the SM57 channel even more highs to add to the mix as needed.
Ultimately, you are completely free to choose your cabinets, and it is best to try all the available combinations with different mics to fully explore the sonic characteristics of the equipment. There is no such thing as a better or worse combination, only a better or worse combination for a particular song. What works for one song may not work for another.
Method 3: Connecting the bass directly to the audio interface (cheap option)
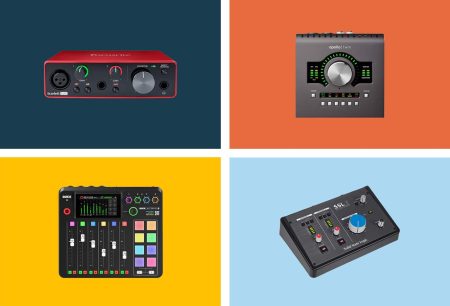
This last option is also the most cost-effective, since only one audio interface is needed. All modern audio interfaces can handle instrument levels, so using a DI box is not absolutely necessary - the bass can be connected directly to the interface via a jack cable.
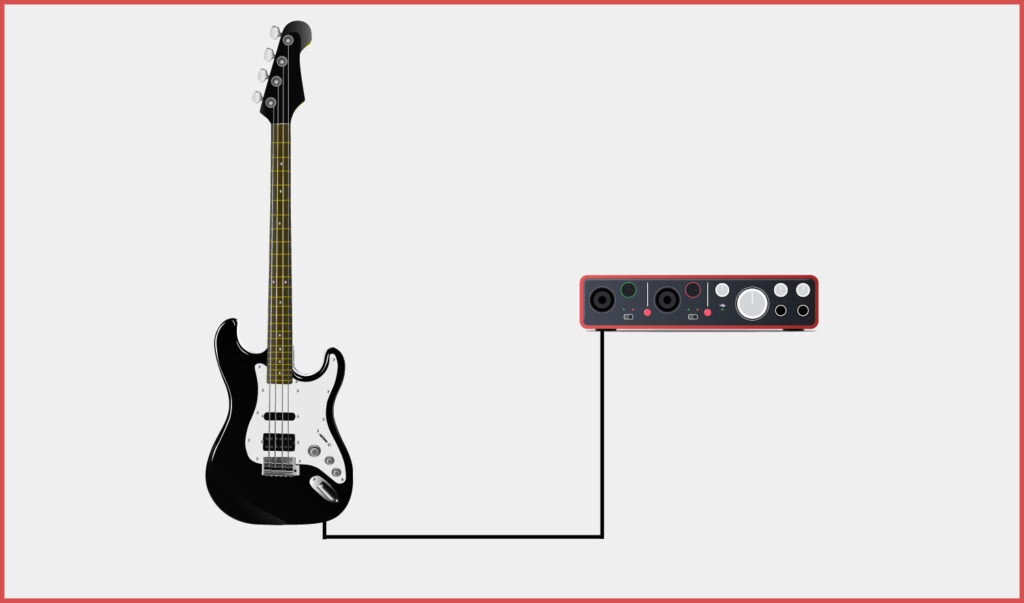
WHAT YOU'LL NEED
- Bass guitar
- Audio interface
ADVANTAGES
- Very simple and inexpensive method
- No feedback, no headphones required
DISADVANTAGES
- Sound quality is not the best (depending on the audio interface)
Sometimes you need to adjust the instrument input level using a knob on the interface - often labeled "INST" or "HI-Z". The process is the same as with a DI box: The bass is recorded dry and then sent through an amp simulation in the DAW to refine the sound.
The sound is usually not as good as a good DI box, because DI boxes are designed for that purpose, while the preamps of audio interfaces are designed especially for microphones. Depending on the mix, however, the difference isn't that great - I've done some pretty good recordings at home with my little Focusrite 2i2 when I didn't feel like going to my studio.
Leveling correctly
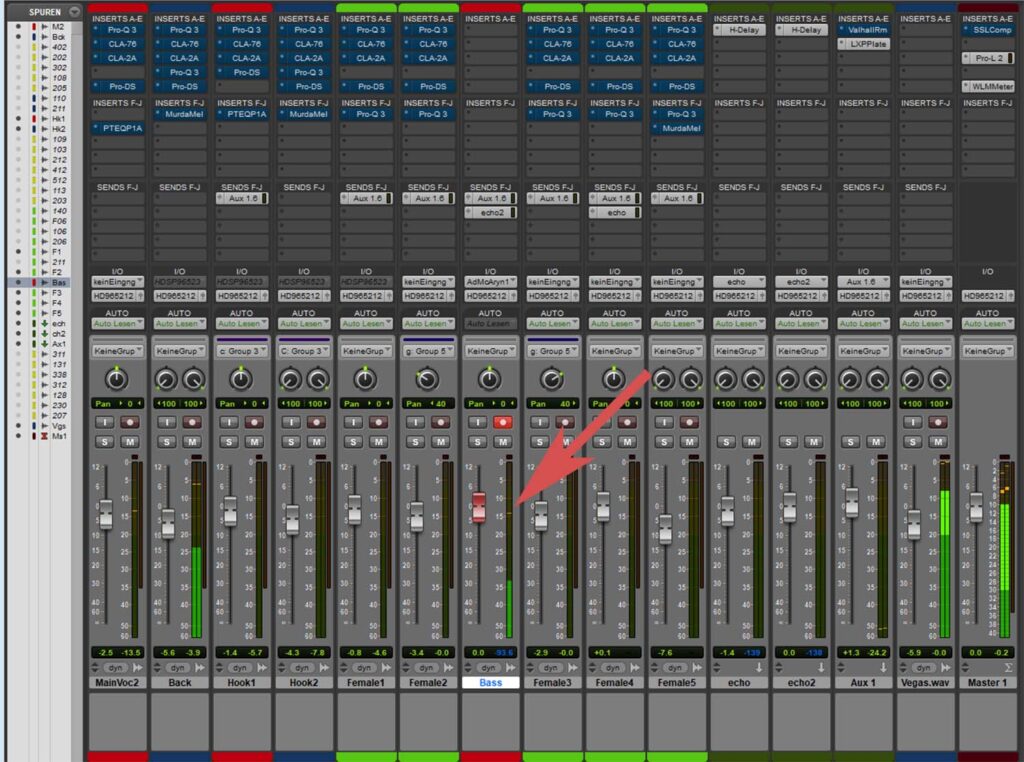
Once you have your recording setup, you're ready to go. If you're using a modern DAW, you'll be working at 24-bit depth. This means you don't have to worry about low levels and the associated noise problems.
You can level far away from the upper limit, as long as you are careful not to exceed the digital headroom. You can stay in the green range and occasionally go into the yellow range during loud passages. If you find the bass too soft, you can simply turn up the monitoring.
Monitoring during bass recording
If you have a powerful PC or laptop that runs at low latencies and doesn't crash, you can work directly with the effects. Personally, I always use a compressor because it's always there when I'm mixing, so I can adjust my playing to the compressor while I'm recording.
If that's not possible because your computer isn't that powerful, that's not a bad thing either - then you have to set your interface/mixer so that you hear the direct recording signal and not the monitor signal of the bass, and then set the buffer size so that your computer doesn't crash.
Conclusion
As you can see, any producer can easily record an electric bass at home or in the studio, with or without a good amplifier. No matter which method you choose, with a little experience and the right use of your equipment, you can achieve absolutely professional results with all three methods.
Here are some more detailed instructions for home studio recording:

