Since I started playing the drums over 20 years ago, I must have changed my setup at least a dozen times! Yet it can be a fascinating journey of self-discovery, in which you learn how to make the most of your skills and the equipment you have.
Today, we’ll analyse each aspect of arranging our drumkit, and highlight what you should focus on to create the perfect environment for your drumming sessions. This is valuable for beginners but also seasoned players who want to enhance their style of play by making their drumming as fluid and effortless as possible.
Keep reading:
- How to record drums - the ultimate guide
- The best electronic drum sets for beginners and professionals
- The best drum sets and e-drums for kids
- How to read drum notation
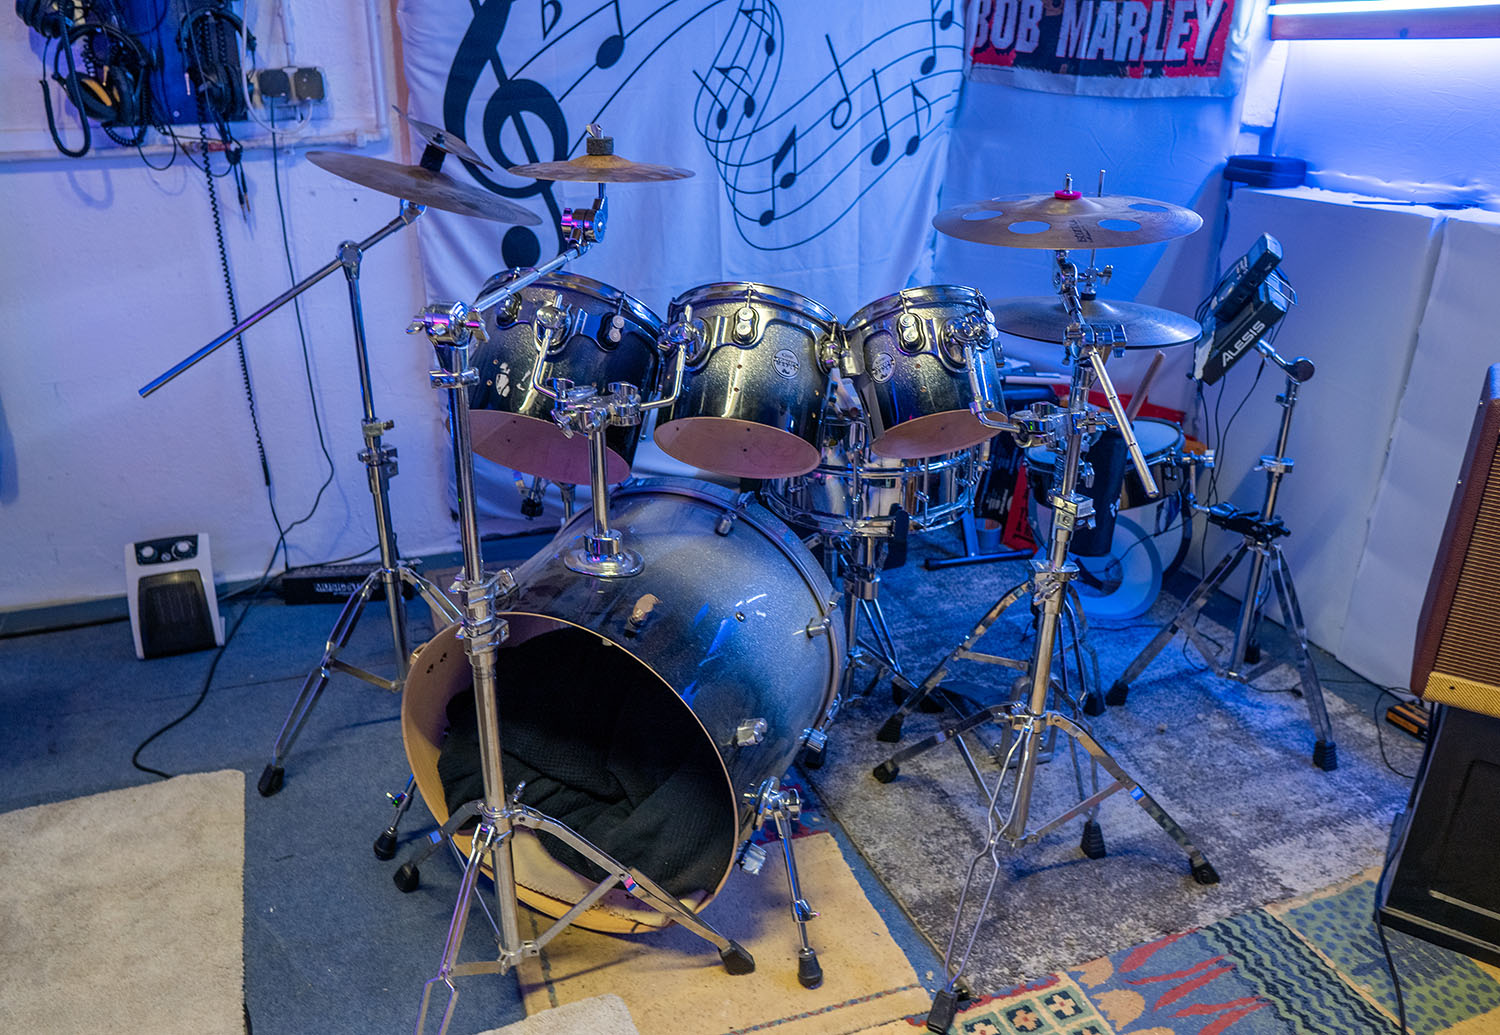
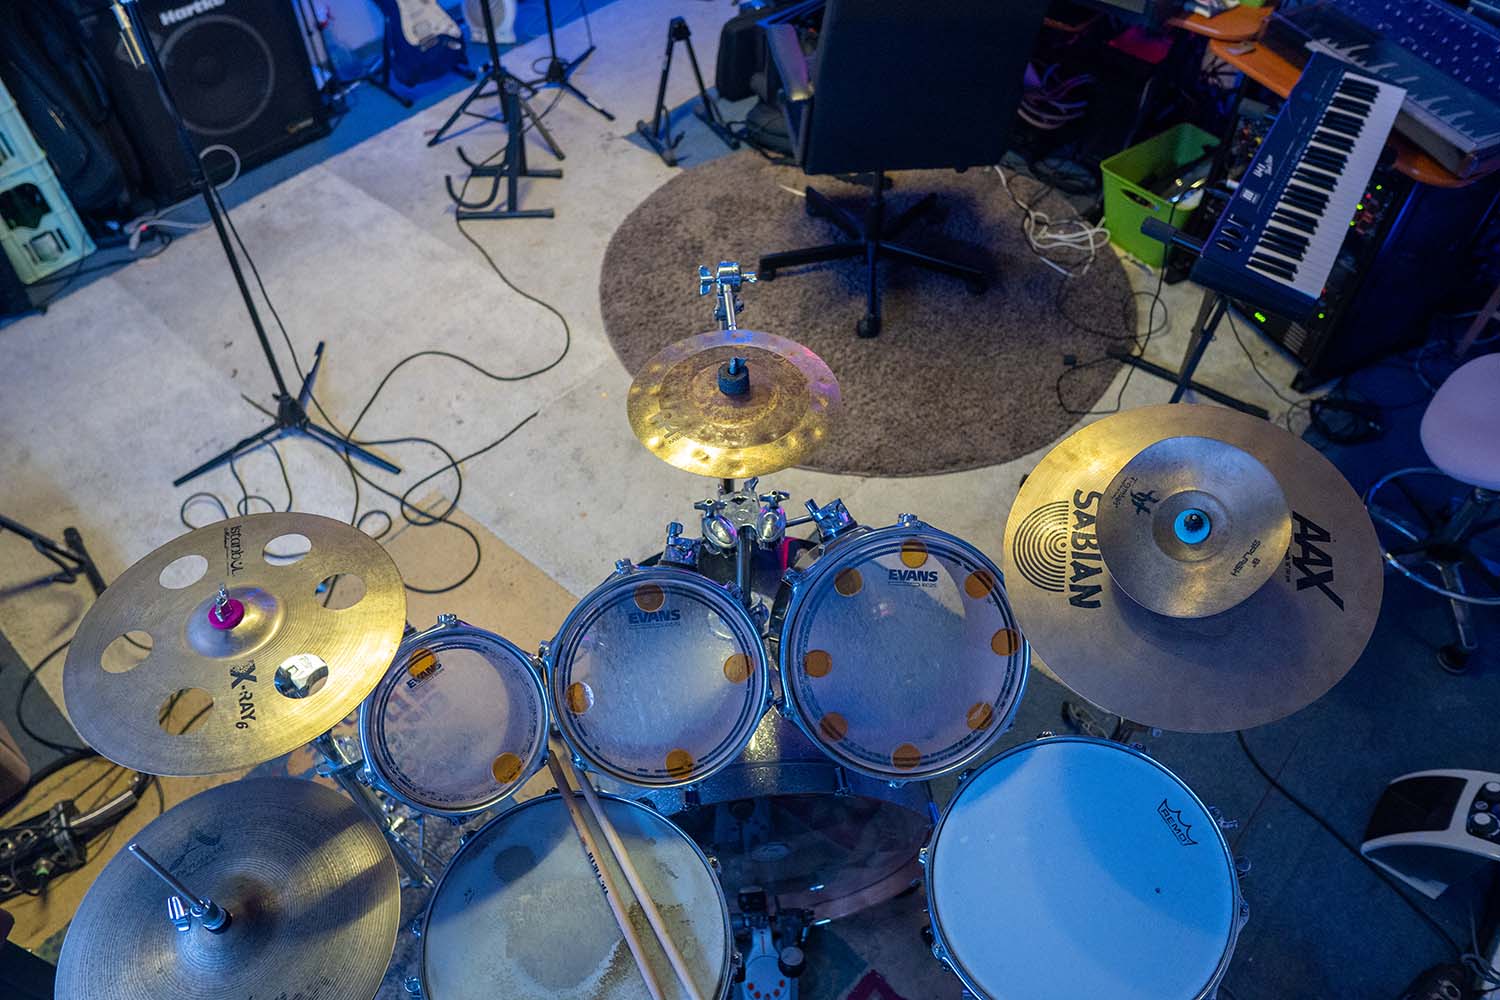
Carpet on the floor
The carpet under your drum set serves multiple purposes: it anchors the drum set to the floor, so it won't move when you hit the bass drum, and also helps with acoustics. In particular, the carpet absorbs some of the frequencies, reducing the amount of echo in the room, which is crucial in untreated practice spaces like a garage or a cheap rehearsal room. They can also protect the floor from scratches and scuffs caused by your pedal.
Choose a carpet that's large enough to fit the entire drum set, including the throne and any additional hardware: in this way, your weight will keep the drumkit and all its components in place. The carpet should also be thick enough to offer grip and sound absorption without sacrificing the stability of the drum stands.
Bass drum
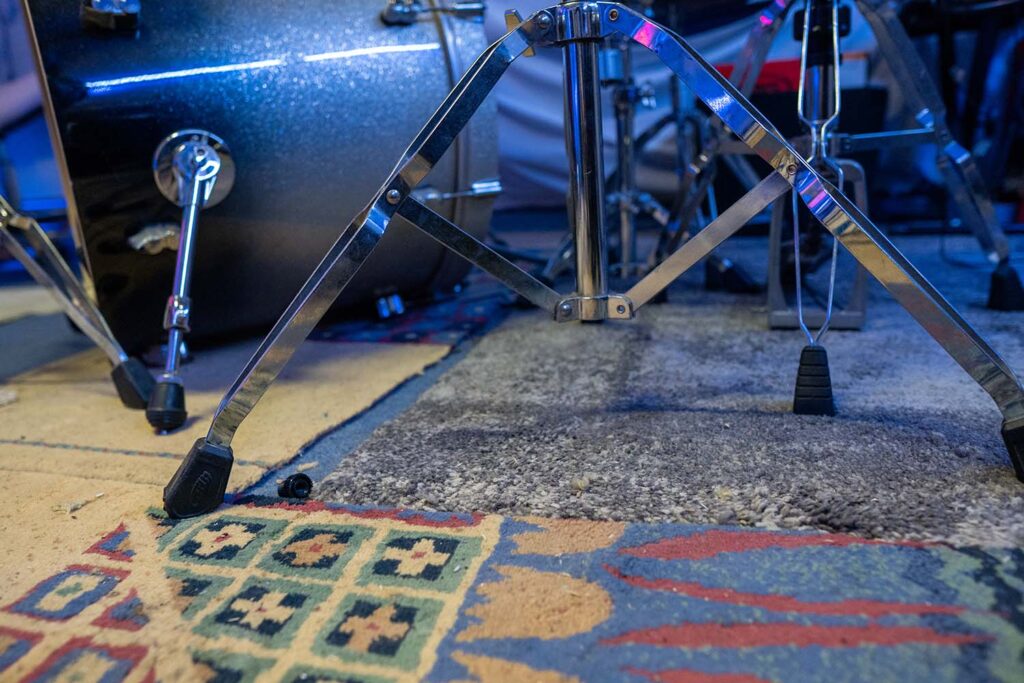
Once you positioned the carpet, put down the bass drum so that its angle and location will allow you to place the rest of your kit comfortably within the carpet. If you're often playing with others, consider checking where your bandmates will be during your sessions so that you can look at them while you play when needed.
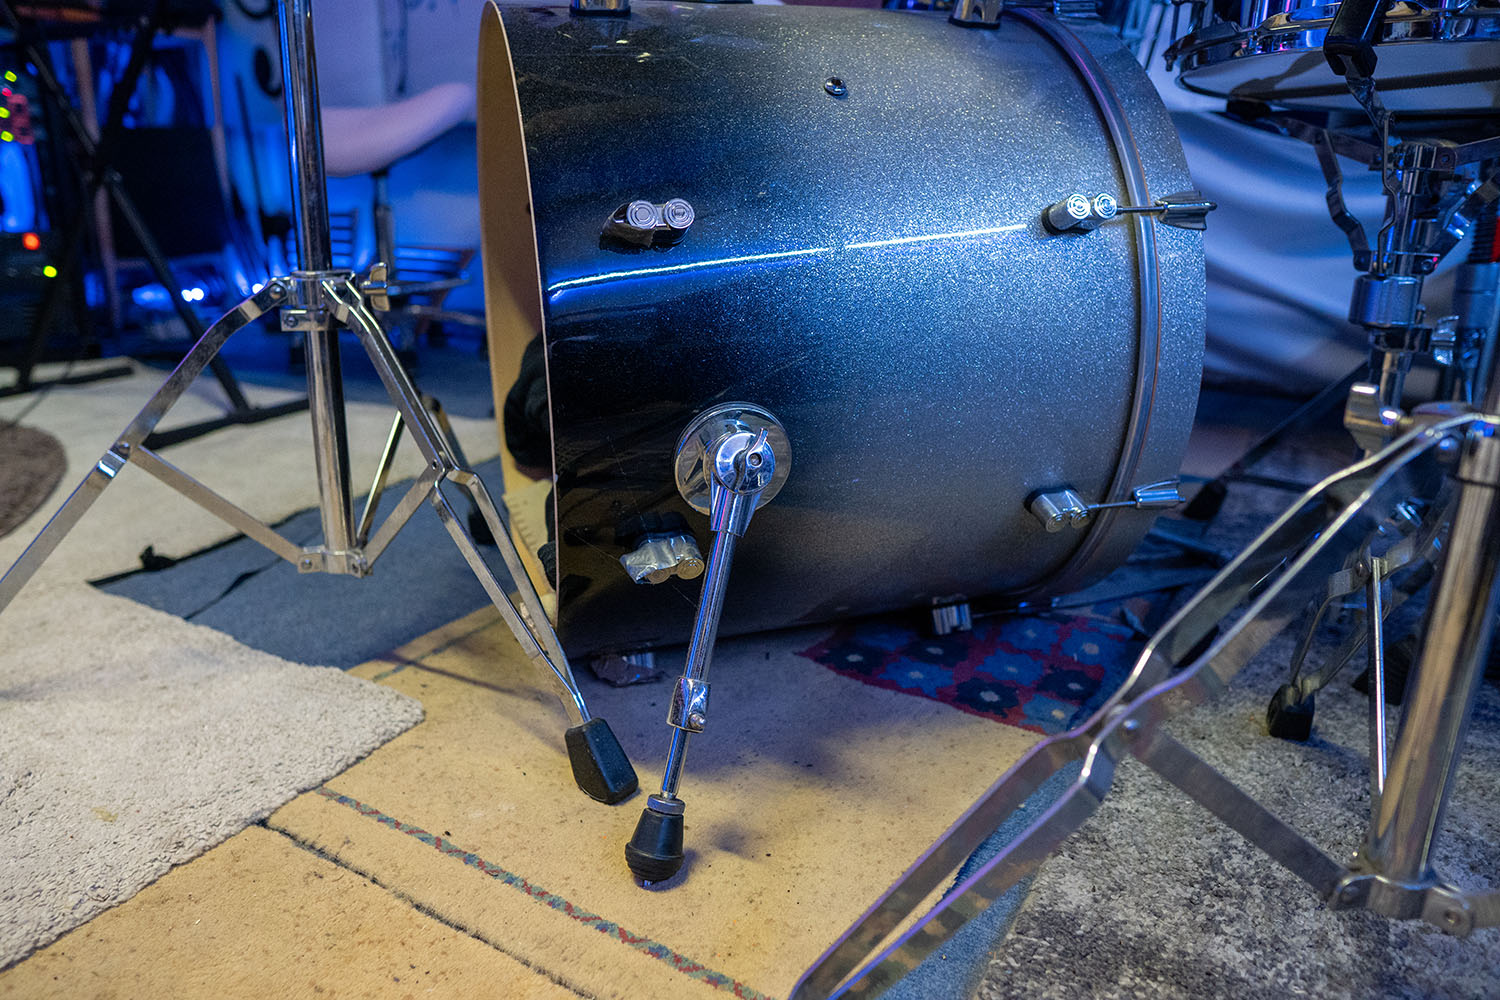
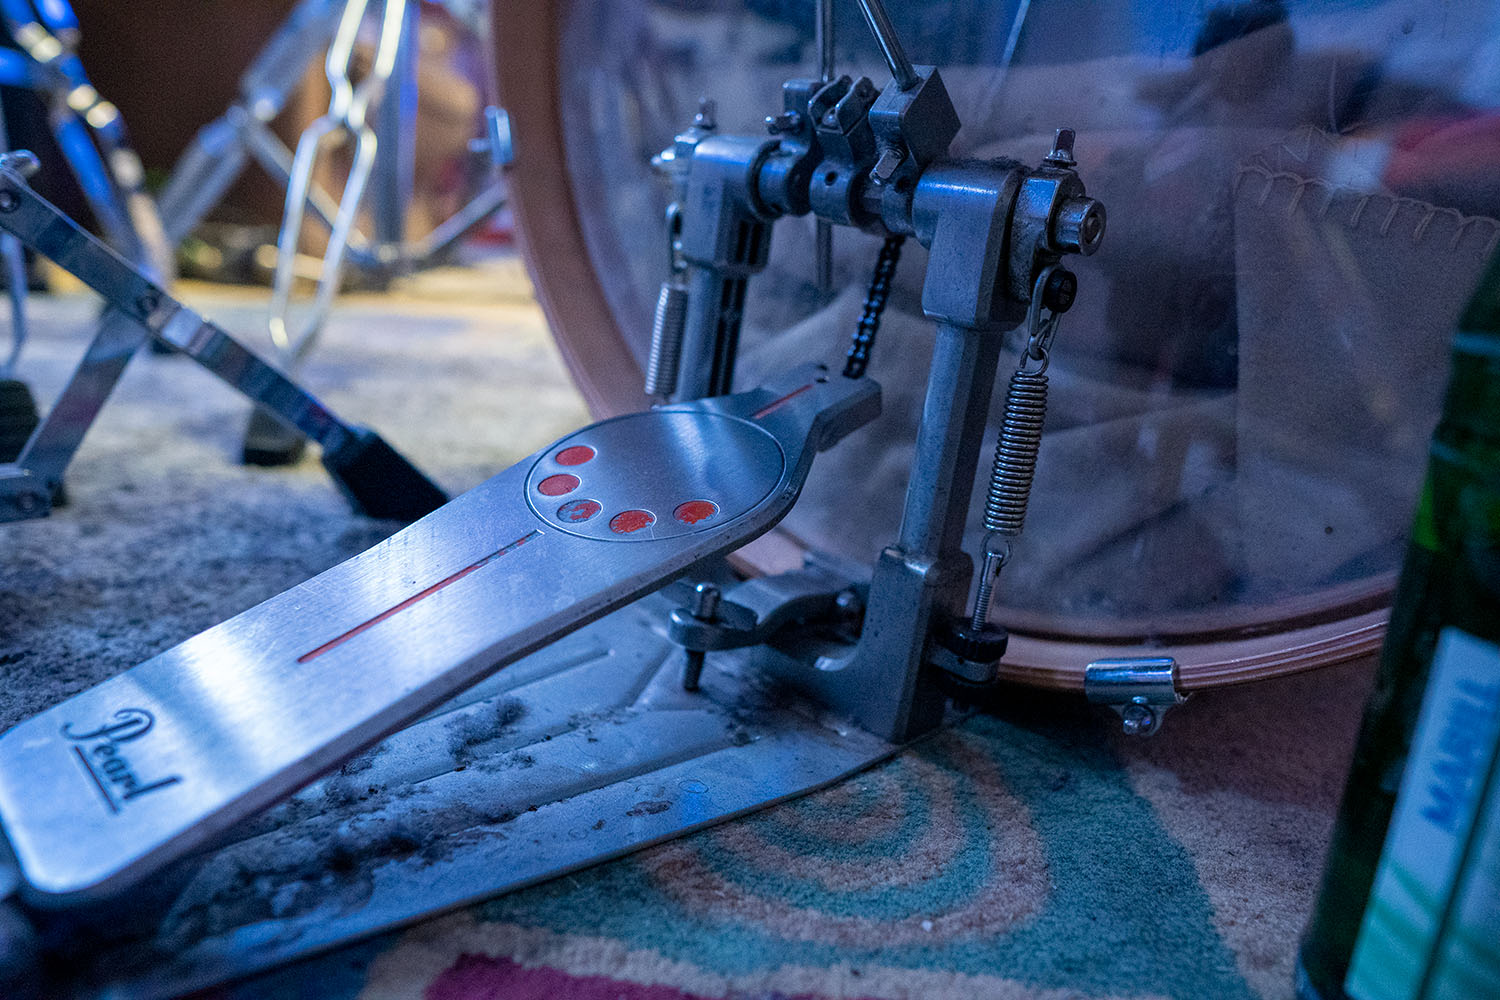
Next, attach the bass drum pedal securely to the bottom rim, checking that it's tight enough to stay put. Don’t forget to extend the spurs at the front of the bass drum to dig into the carpet so that the drum doesn't slide as you play.
While all pieces of your drum kit are interconnected, there are three items that are the foundation for the rest of your setup: the bass drum, the bass pedal, and the drum throne. After you positioned the bass drum, it’s time to look at the other two elements of this trio.
Bass drum pedal
Start by attaching the pedal to the bass drum. Make sure the clamp on the pedal is hooked onto the bass drum hoop and tightened just enough to hold the pedal in place. Don’t overtighten it, as this will have an impact on the drum's natural resonance.
Once attached, adjust the tension to suit your playing style. I could write a chapter just on this aspect, but let’s keep things simple: a tighter spring will offer a quicker rebound, while a looser spring has a slower, heavier feel.
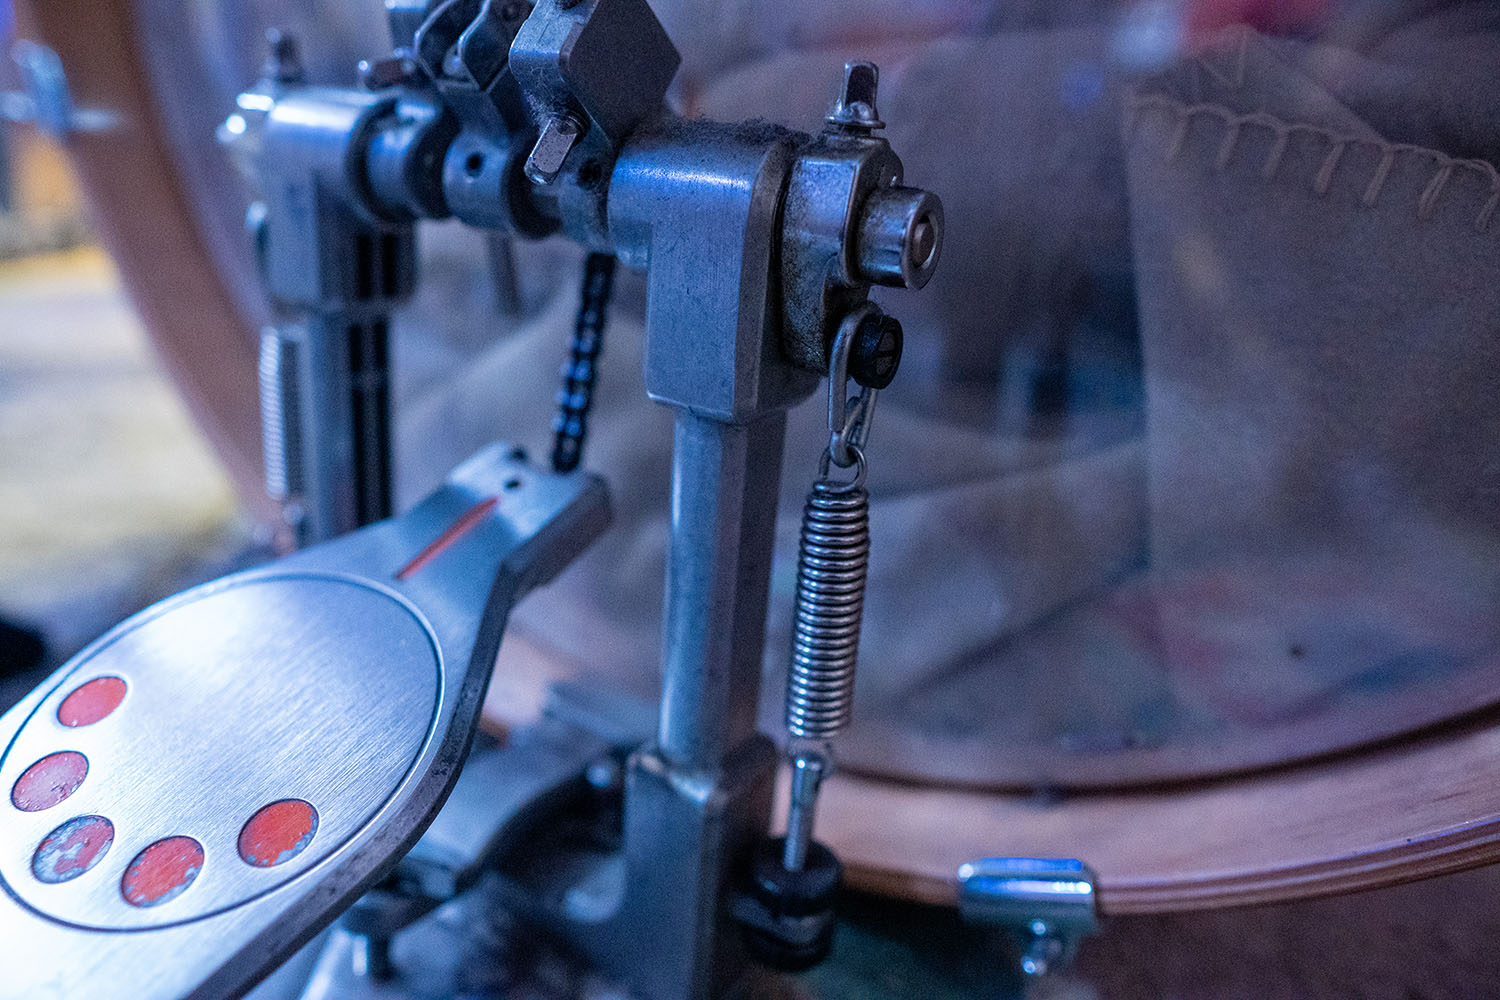
The beater height is crucial. To get the most powerful sound out of your bass drum, the beater should strike the centre of the bass drumhead. Consider buying a protection pad to prevent the beater from damaging your drum skin.
As for the footboard angle, there are different approaches in the drumming community. Some drummers prefer a more angled footboard for heel-toe techniques, while others, like myself, go for a flatter setting. The beater angle affects how much force you need to apply to play and has an impact on your playing speed, so I’d recommend you make adjustments until you get the best setup.
Drum throne
For years, I neglected the importance of the drum throne until I bought a new one after my old throne broke. I'm not exaggerating when I say it upgraded my drumming style, with enhanced comfort and better posture and stability that made me a better drummer.
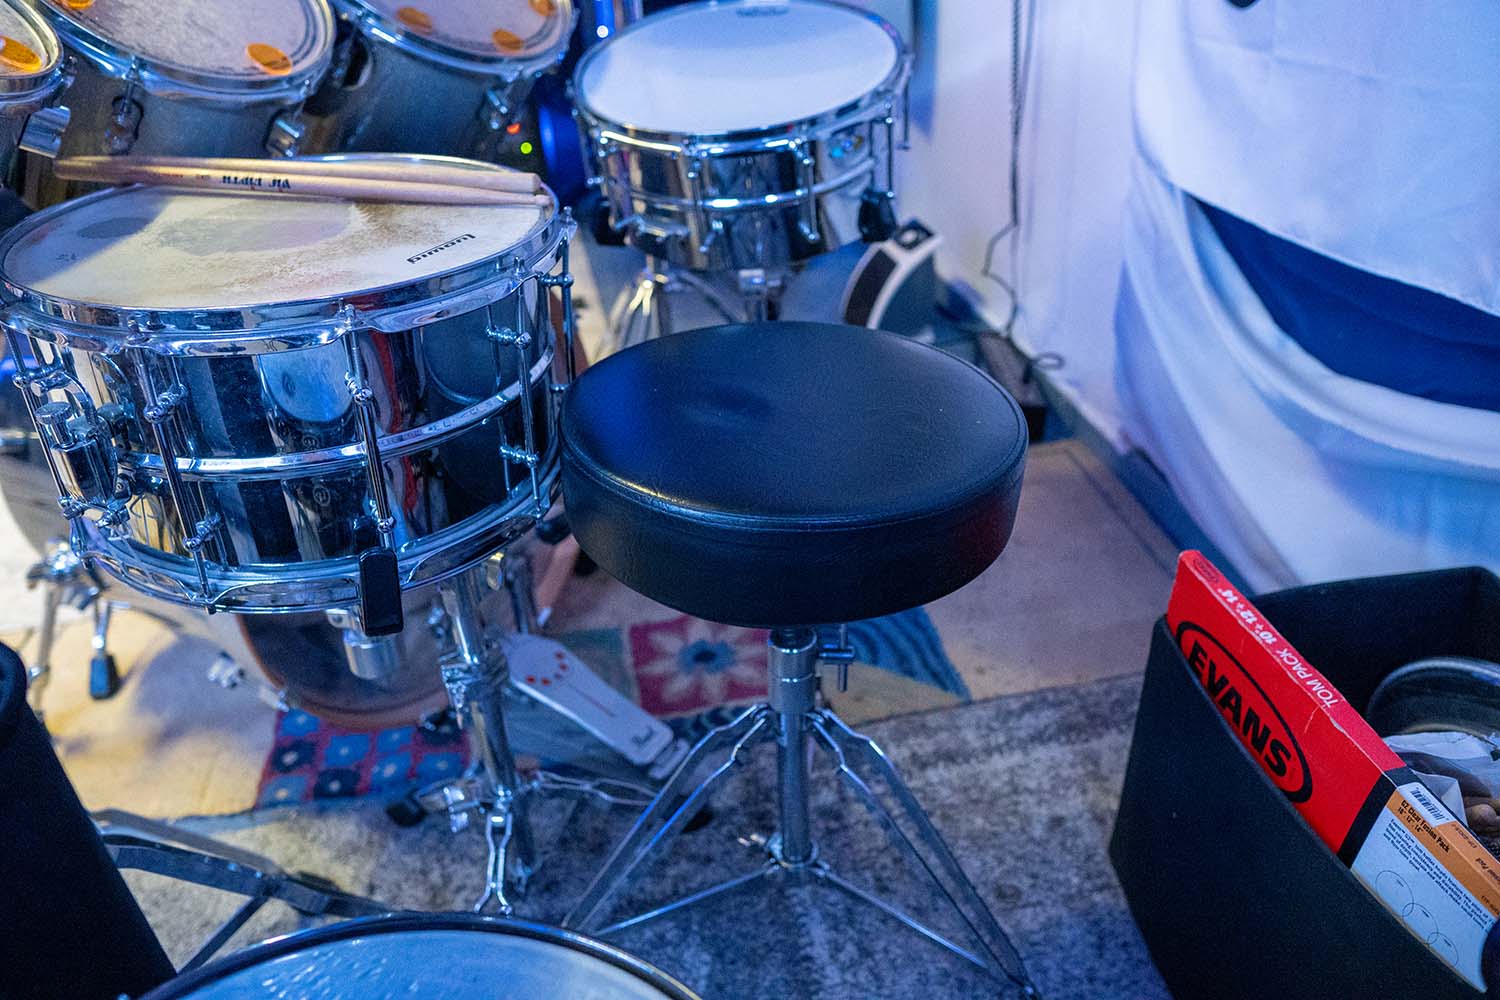
First, adjust the drum throne‘s height so your thighs are parallel to the ground or angled slightly downward towards your knees. Can you reach and use comfortably your bass drum and hi-hat pedals? Then it’s all good.
Remember that you’ll have to be comfortable for hours, so test different heights until you find one you can maintain for longer periods and effortlessly.
The throne should be as stable as possible, so make sure it’s tightened and that none of the components are loose. Some thrones also have backrests, which are great if you play a lot or have back pain.
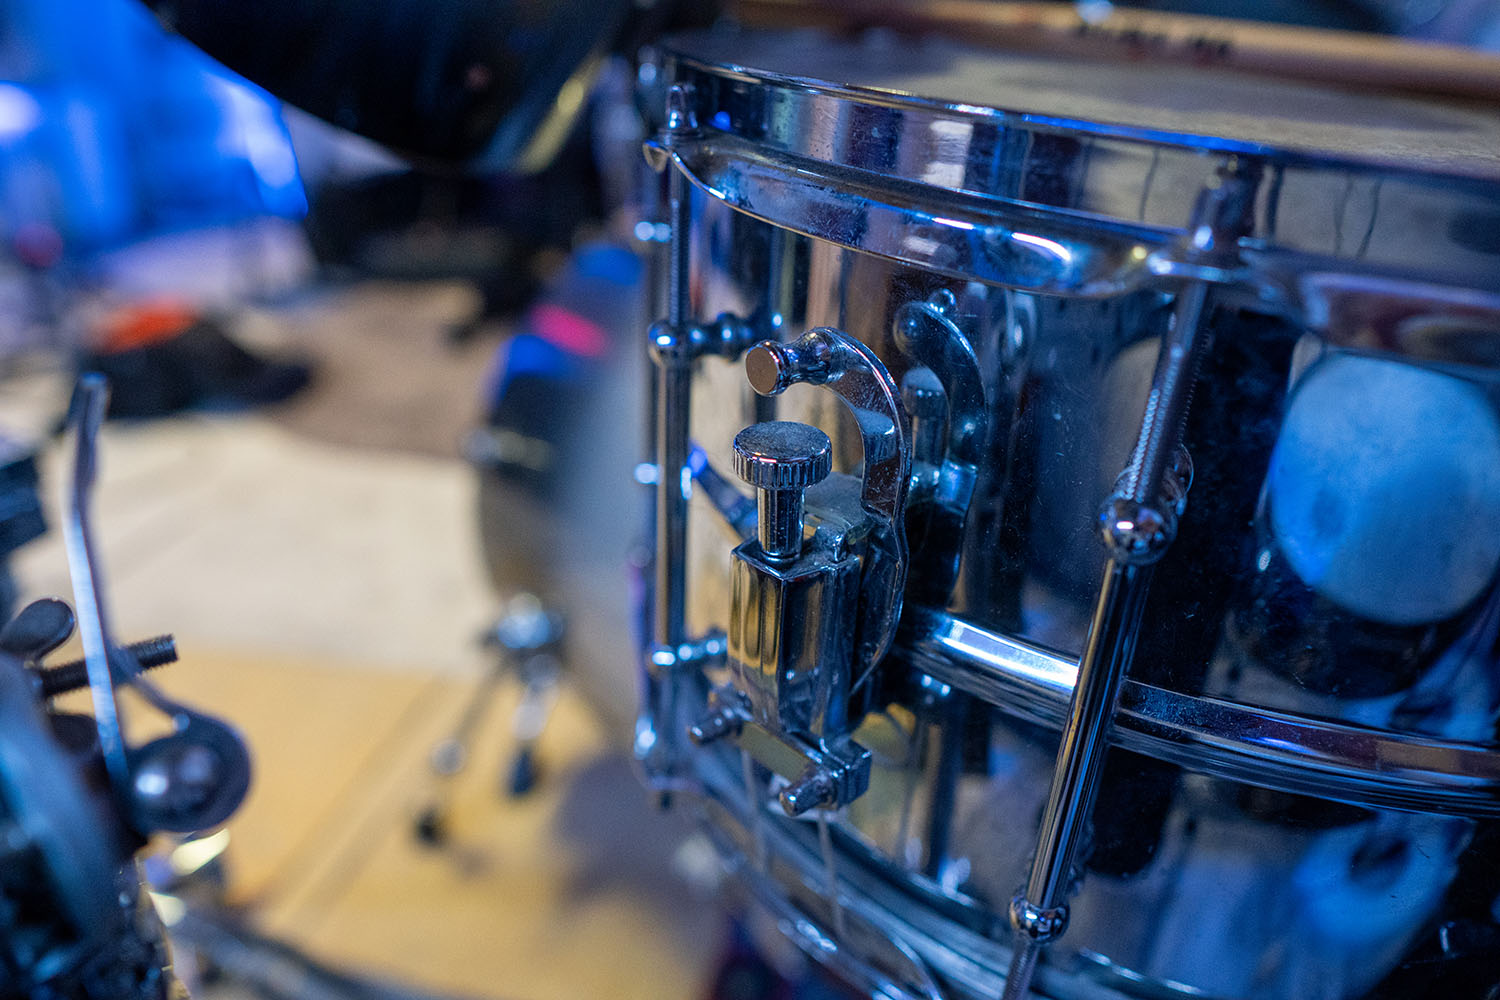
Snare drum
First, put the snare stand at a height where the snare drum will sit between your knees when you’re on your drum throne. In this way, your arms will maintain a relaxed, slightly bent position when hitting the snare drum.
Place it onto the stand with the snares running parallel to your body (not necessary, but useful if you want to remove the snares in certain parts of your songs). Tighten the basket grips so that the drum feels stable and secure.
Finally, adjust the snare wire tension carefully. Once again, here you can be creative, but in general, a medium tension is a good starting point, as it makes the snares sensitive to your playing while still providing a sharp sound.
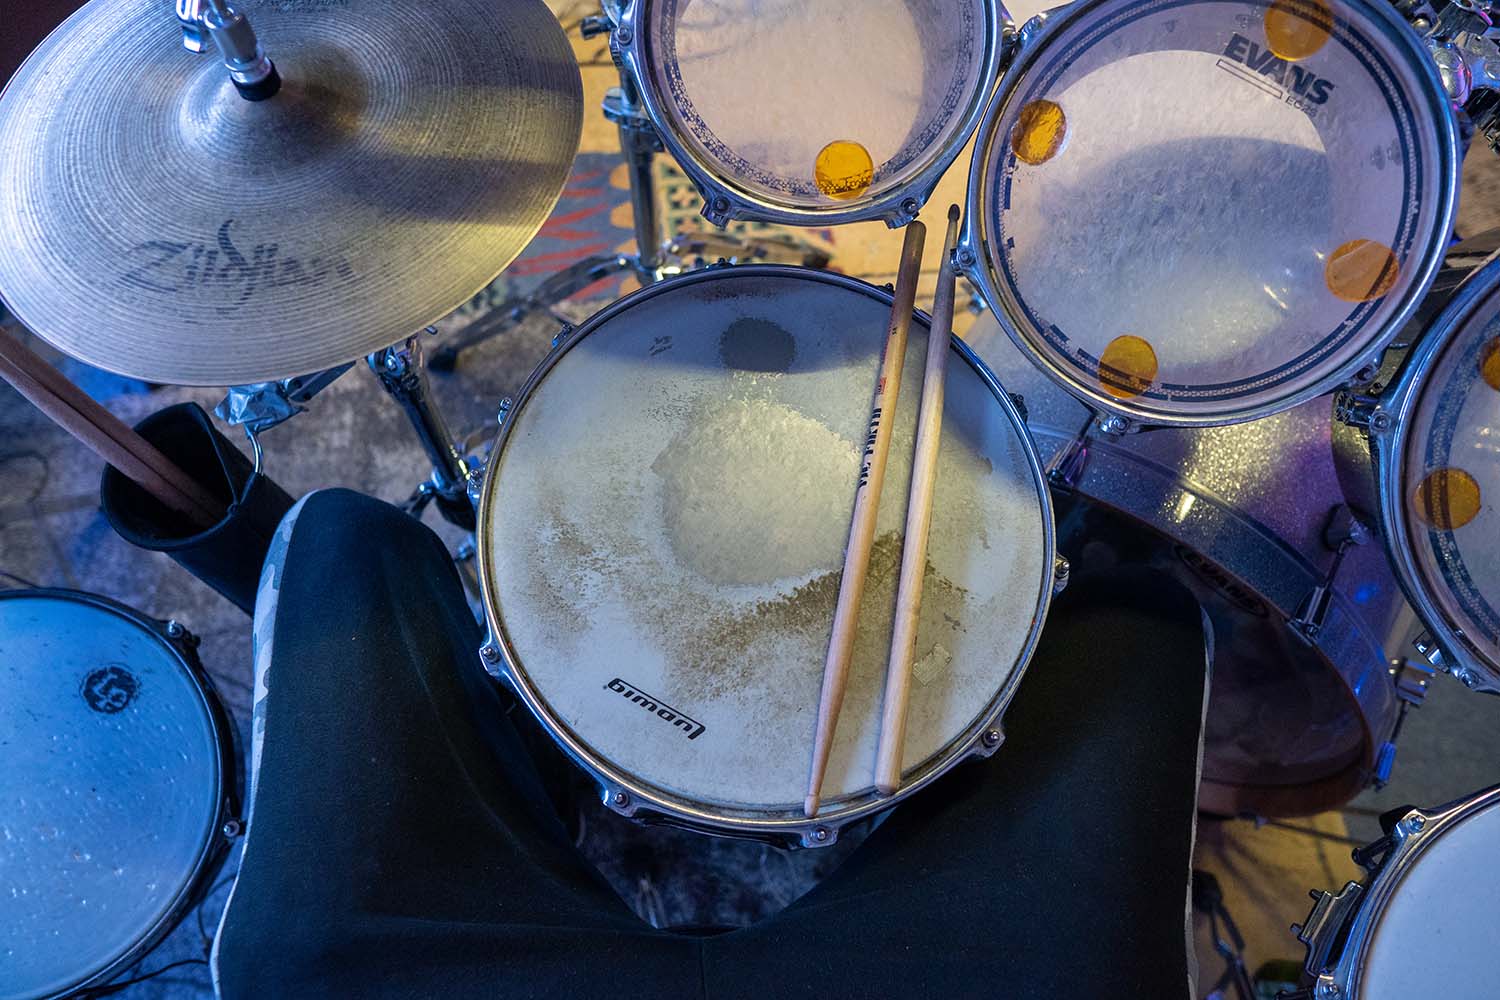
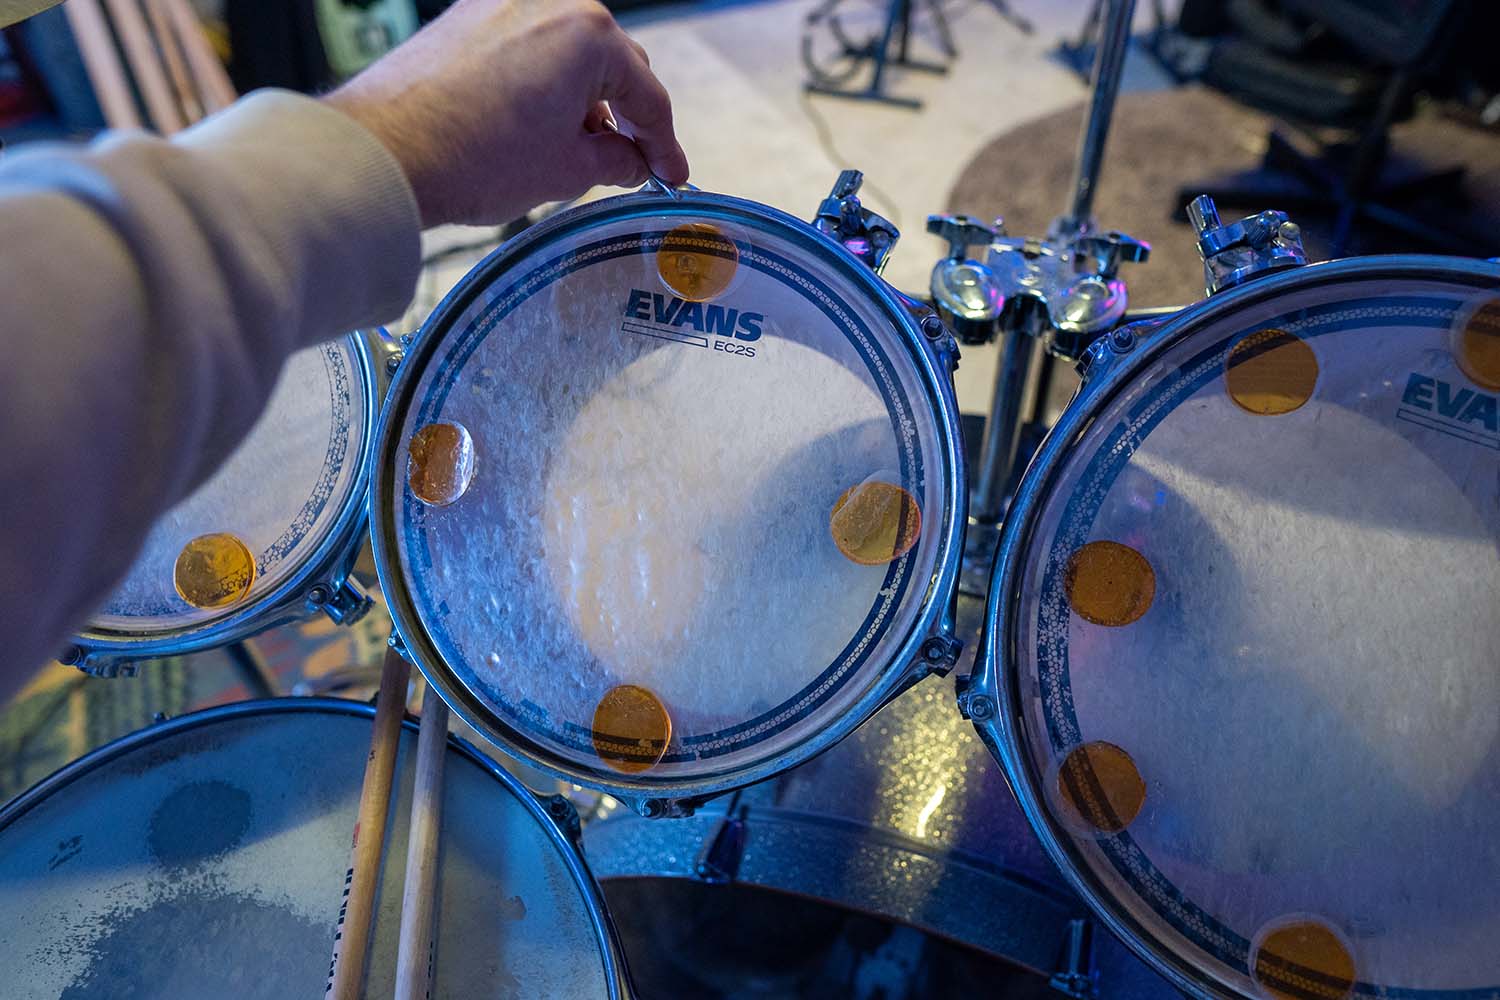
Toms
Mounted toms can be attached to the bass drum or have separate stands if they are standalone. Beginner-level drum sets usually have toms connected to the bass drum, but standalone toms are great as they give you more flexibility in terms of setup.
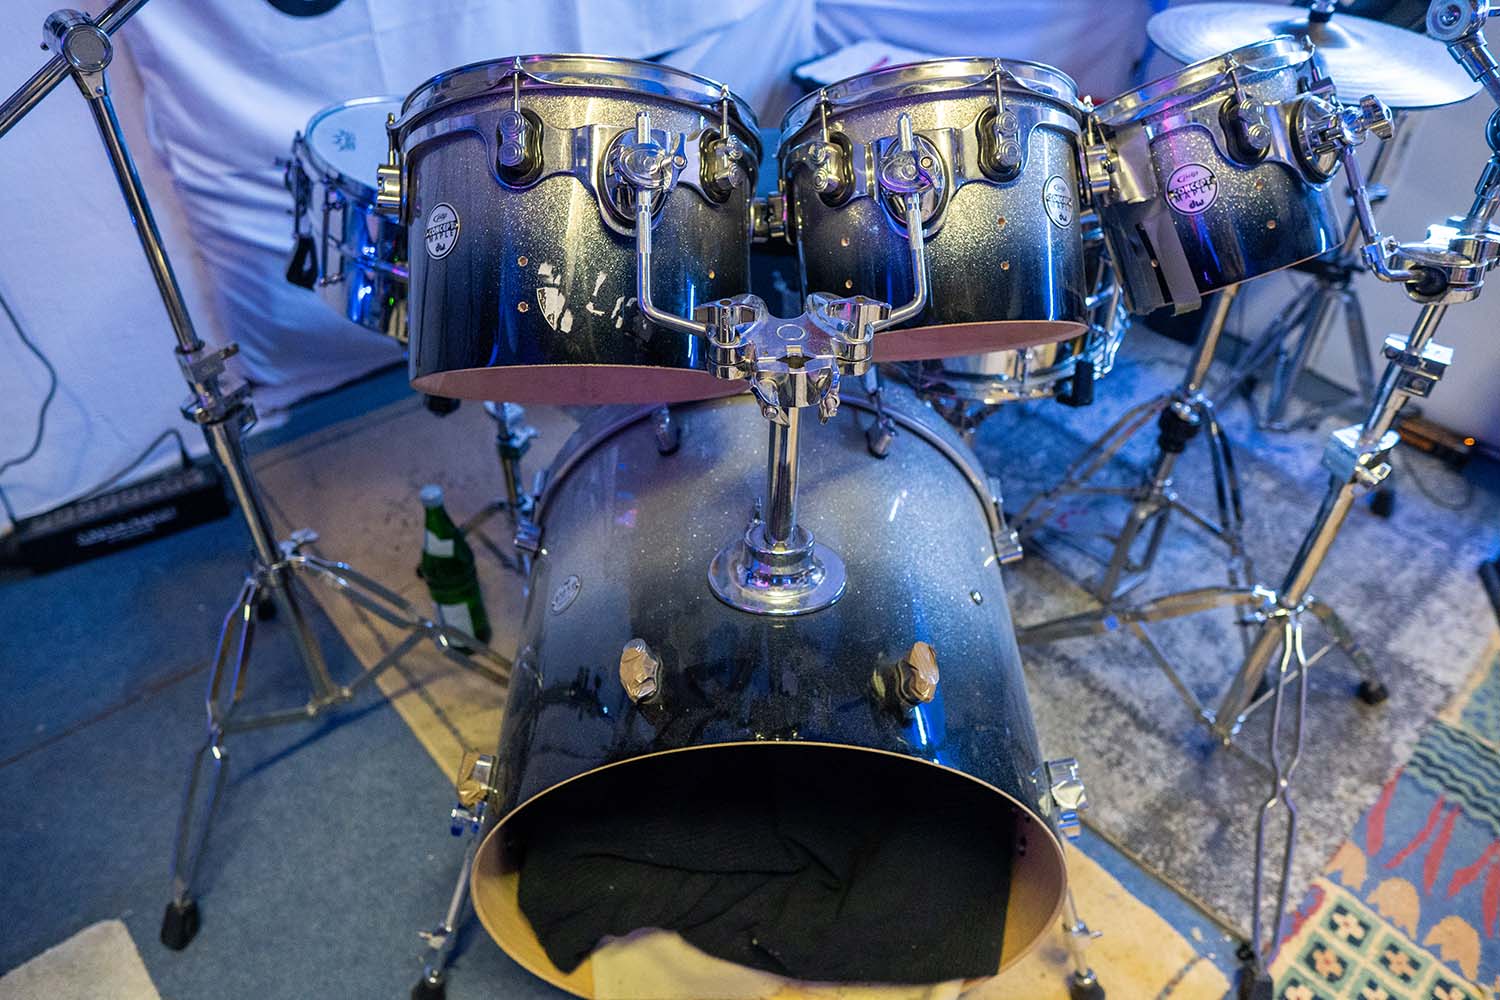
Position the toms at a height and angle where you can comfortably reach them without stretching your arms or bending your wrists excessively. The angle mostly depends on your height, position, and drum throne settings, and each of these elements has an impact on how you reach your toms, so you’ll need a holistic approach when setting them up.
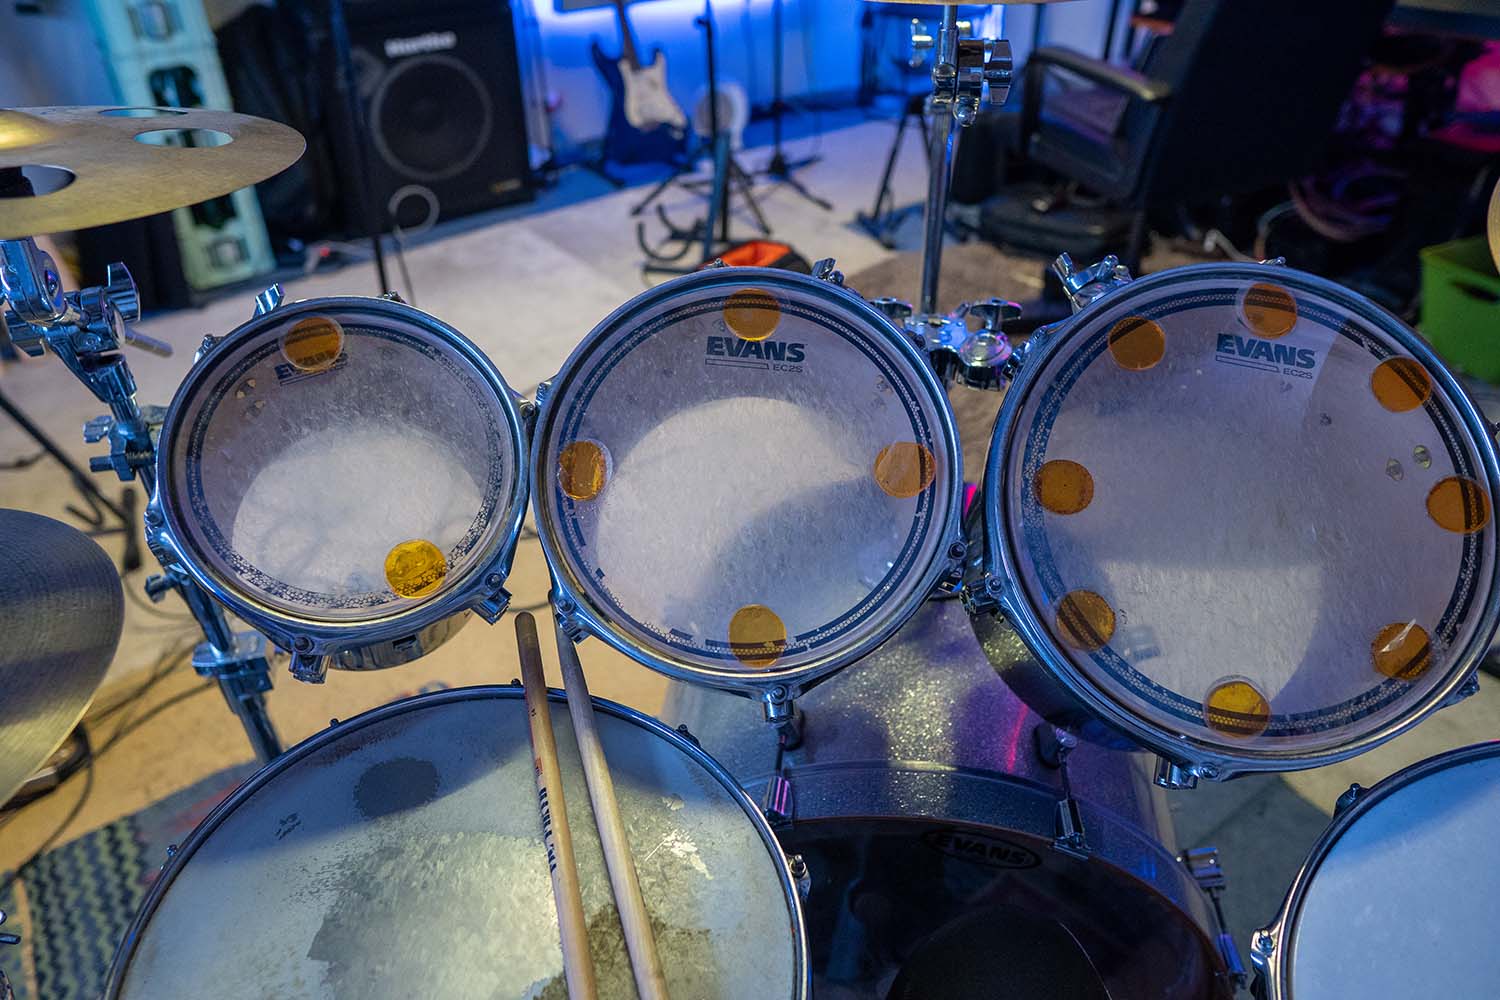
In general, the high toms should be angled slightly towards you to make it easier to play fast fills and transition smoothly from the snare. The floor tom should be set at a height where the top head is level with the snare drum head and relatively close to your right leg.
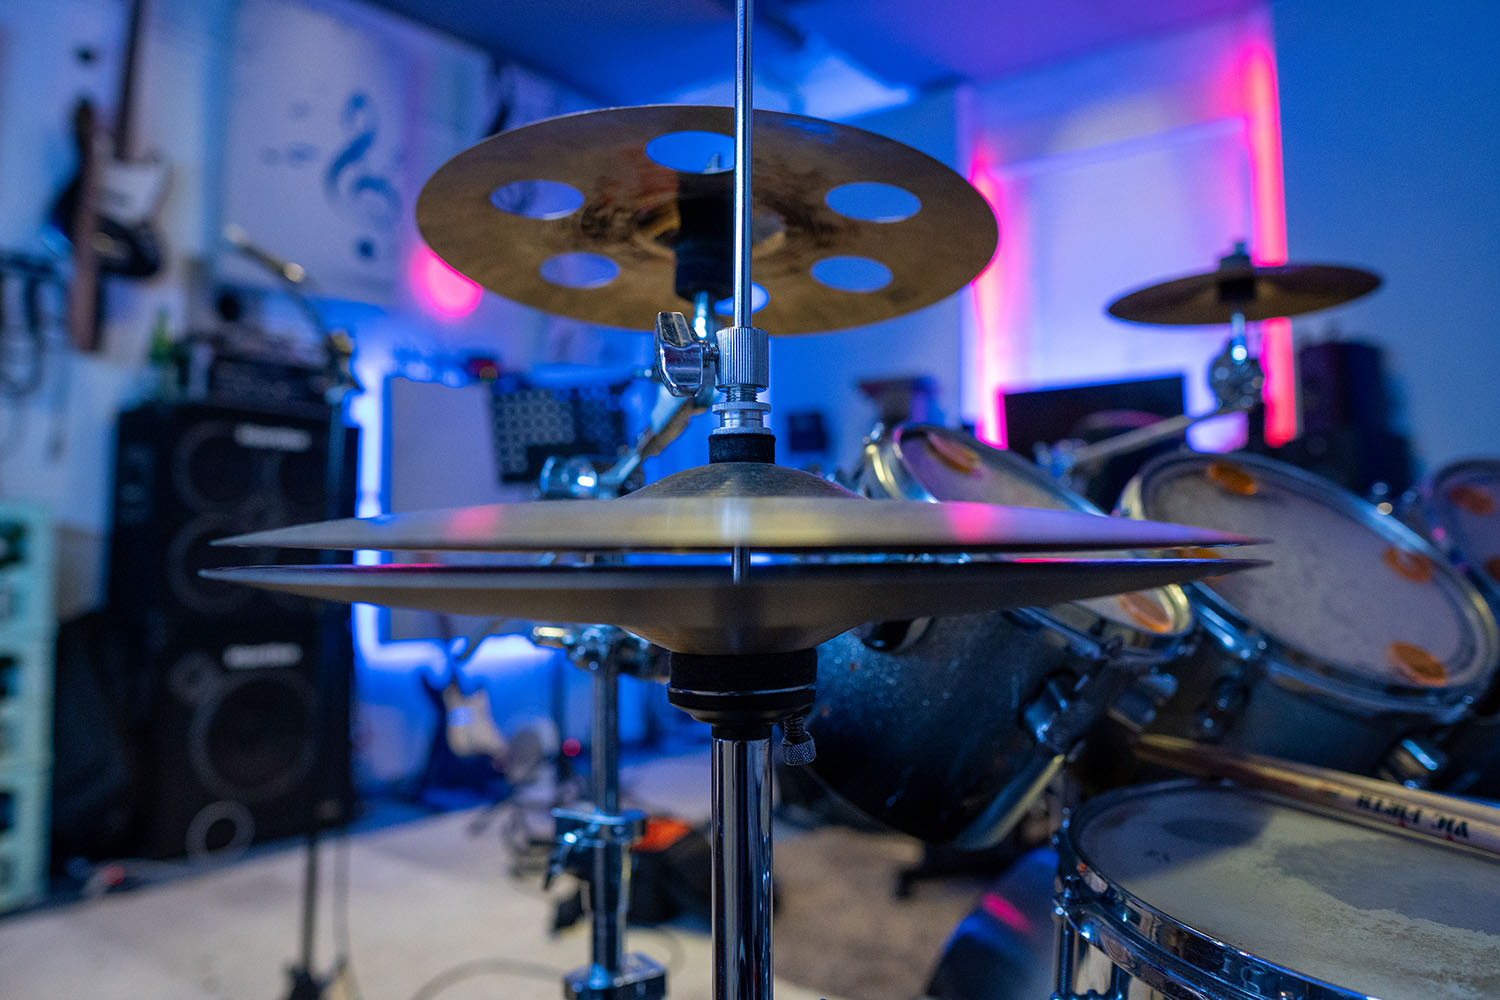
Hi-Hat
The secret weapon for precise timekeeping to dynamic playing: the hi-hat!
The hi-hat should be easy to reach, with the pedal placed in a comfortable position that won’t obstruct other parts of your kit (especially the double bass pedal, if you use it), with a height that makes groove-making as fluid and effortless as possible, and far enough from other cymbals not to interfere with them. Does it sound difficult? Well, it kinda is!
Place the hi-hat stand to the left of the bass drum pedal (right-handed) or to the right (left-handed).

Adjust the height so that the cymbals are just above the snare drum. Consider the snare drum and the hi-hat as a single element: they’re the main engine of your groove (together with the bass drum), so the transition between the two should be fluid and natural.
Adjust the spring tension of the pedal to adjust the response speed, and tight the clutches to make the hi-hat stable. Do not overtighten, as you’ll break the cymbals over time.
When everything else is done, adjust the angle of and distance between the cymbals so that you'll clearly hear the difference when playing open or closed.
Other cymbals: Crash cymbals
Crash cymbals are fundamental in giving color and rhythm to your drumming and are usually on either side of the drum set, positioned within easy arm's reach without having to lean or stretch too far from your natural seated position.
The height and angle of the crash cymbals are crucial; too high, and you may strain your shoulders and lose speed; too low, and they might clash with other parts of the drum set. Angling them slightly towards you will help to avoid glancing blows, which can damage the cymbal and wear out sticks fast.
Other cymbals: Ride cymbals
The ride cymbal is usually above the floor tom. It’s a more versatile cymbal than a crash, meaning it should be positioned so that you can comfortably play on the edge, the bow, and the bell without stretching. The height should be lower than crash cymbals, close to the rest of your drum set, and the angle should be tilted just a bit toward you to make the most of its sonic palette.
Other cymbals: "Effects" cymbals
Splash, china, and other “fancy” cymbals are nice additions to your set and can greatly expand your sound. Often they're not as crucial as the other elements above, but nevertheless they should be easy to reach, whether close to other cymbals or near the toms or snare drum.
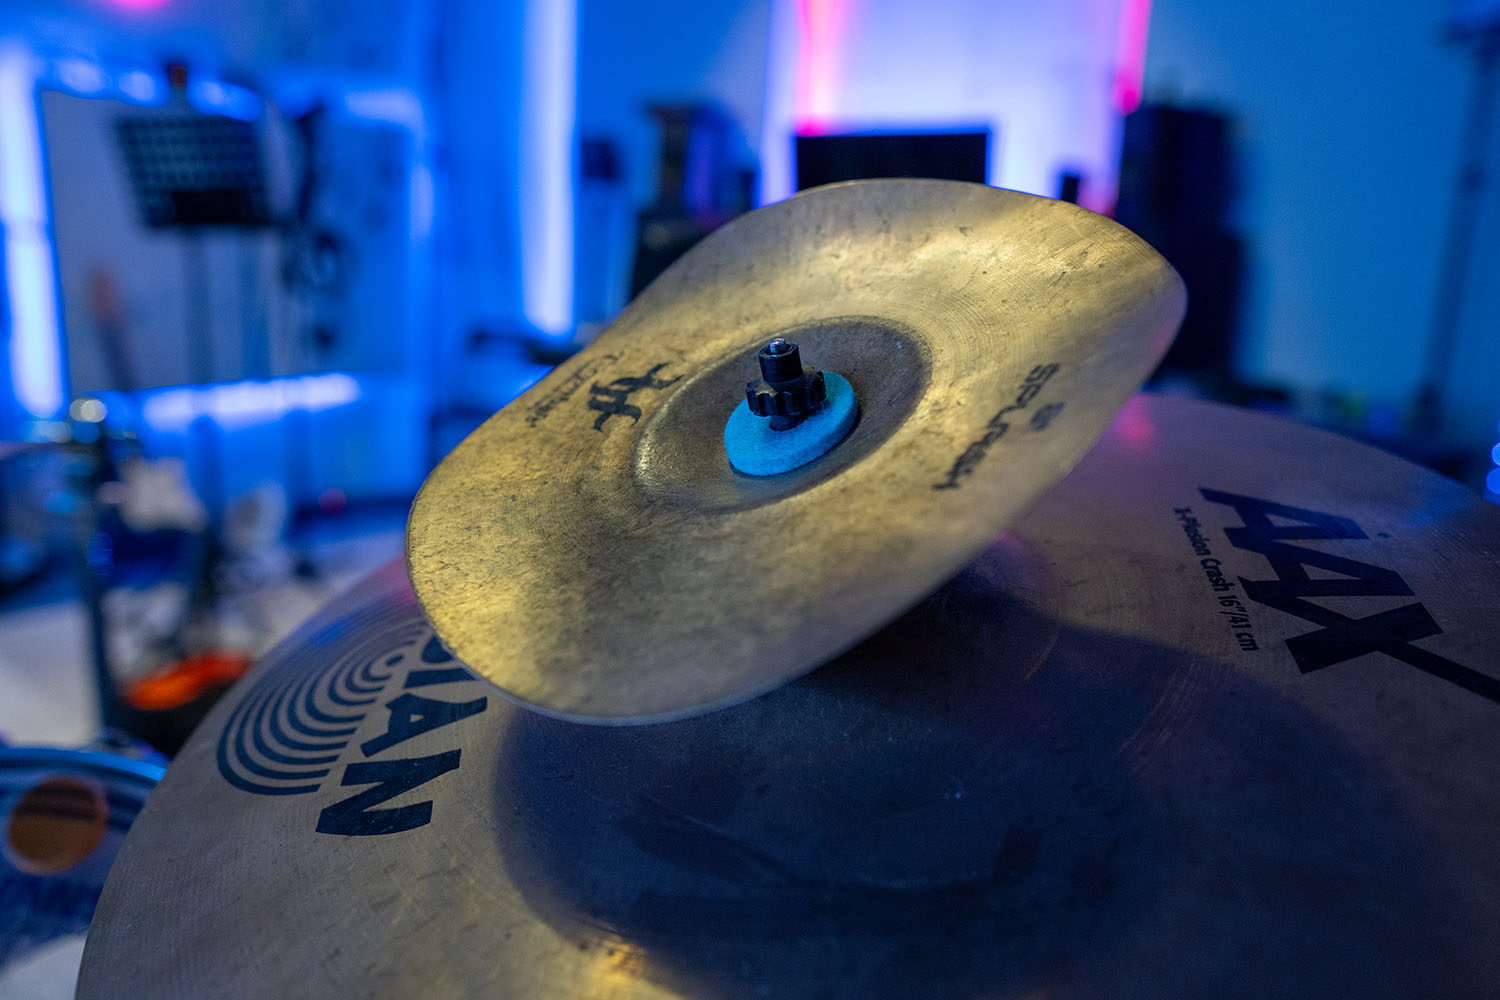
The secret here is to try out different configurations until you find the best one.
What is the proper drum set posture?
Here’s the best way to find the right drum set posture for you:
- Sit down on your drum throne, and adjust your seat so that your thighs are either parallel to the ground or slightly downward sloping, with your feet resting on the pedals. This will be your resting position, so it has to be comfortable for long periods.
- Your back should be straight, and your shoulders relaxed.
- Keep your arms slightly bent when striking the drums, and your hands should grip the sticks firmly but not too rigidly.
- Your head and neck should be in a position that’ll give you a full overview of your set at first glance.
I already mentioned the importance of having everything within easy reach, but let me stress the value of using fluid, economical movements while playing and maintaining a steady and relaxed breath. If necessary, ask someone to take a picture of you while you play so you can see for yourself if there are parts of your body or drums that should be finetuned.
How to hold your drum sticks
There are two main grips: the matched grip, where both hands hold the sticks in the same manner, and the traditional grip, which differs between hands and is often used by jazz or classically-trained players. I find the matched grip to be intrinsically easier to learn, but depending on the genre you’re playing, you’ll need to decide which one is best for you. Of course, nothing stops you from learning both techniques!
With the matched grip, the stick is placed in the crease of the hand at the base of the thumb, with the thumb and index finger forming a fulcrum at the front. In this way, the stick rests in the webbing of the thumb, while the remaining fingers gently wrap around to support the movements.
In the traditional grip, the difference is in the left hand. While the right maintains a matched grip, the left drumstick lies across the cuticle of the ring finger, supported by the thumb and index finger on top and the middle finger underneath.
Regardless of the technique you choose, the grip should feel solid but not tense and allow you to express all the nuances that make drumming so fascinating.
Tuning your drums
Some people say tuning drums is an art, others say it's a science. If you ask me, I think it’s mostly ear, personal taste, and a good dose of randomness!
Each drum has a batter head (the side you strike) and a resonant head (the underside that resonates when the batter head is struck). And yes, both need to be tuned.
To start tuning, place your new drumhead on the shell and tighten the lugs finger tight. I’d also recommend applying a slight amount of pressure to the centre of the head to create a uniform stretch. Then, using the drum key, tighten each lug incrementally in a star pattern to ensure even tension across the head.
Once the head is tensioned, tap near each lug, check the pitch consistency, and adjust each lug until the pitch sounds the same around the drum. For the batter head, choose a tighter tension for a higher pitch or a looser one for a deeper sound. The resonant head changes the drum's sustain and can be tuned higher for a longer note, or lower for a shorter one.
I feel I should dedicate a separate section for the bass drum. Starting with a loose head, press down to create a slight wrinkle around the edges, and then tighten the tension rods in a crisscross pattern until the wrinkles disappear.
The tuning of the batter and resonant heads will define whether you’ll have a higher pitch with more attack or a deeper, booming bass. Some drummers choose to muffle their bass drum to control overtones and sustain. You can do so by placing a pillow or blanket inside the drum against both heads.
Finally, remember to tune the drum in the context of the set: for a concert, tune the drums on stage and not in the rehearsal room before moving your gear.
Conclusion
I think that’s all you need to know, so I hope this guide will help you kickstart your journey into the world of drumming! My final advice to you is to never stop experimenting with your setup and style: always question your approach, look for ways to improve your fluidity, and enjoy the process.