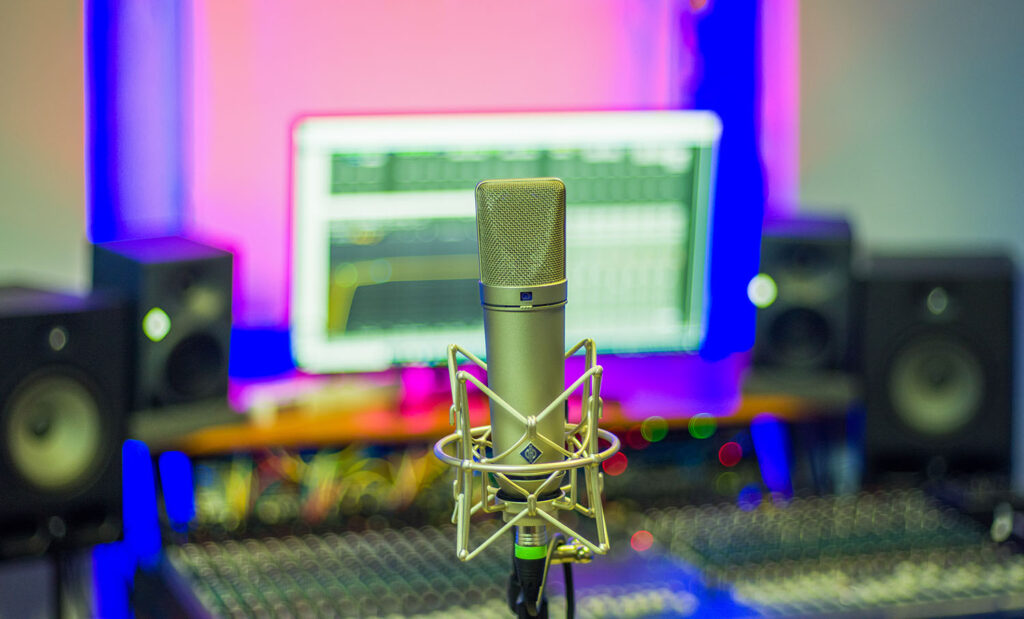
To record vocals at home or in a home studio, you basically need two things: a microphone and an audio interface. In theory, you can start right away! However, there are many factors that affect the sound of your voice, so you should think about your setup beforehand.
It's not just the vocal microphone that affects the sound, but also the acoustics of the recording room, the distance between the singer and the microphone, the preamp, the AD converter in the interface and even the XLR cable.
We'll take a step-by-step look at the different processes involved in recording vocals, so you can always make the best possible recordings in your studio. Whether you're recording yourself or someone else is coming into your studio, this guide is for everyone.
Keep reading: How to create the perfect vocal chain
Step 1: Room acoustics optimization
The first thing to consider is the acoustics of the room in which you will be recording your vocals. The acoustics have a very big impact on the quality of the recording. So if you have the opportunity, you should definitely take some acoustic measures.
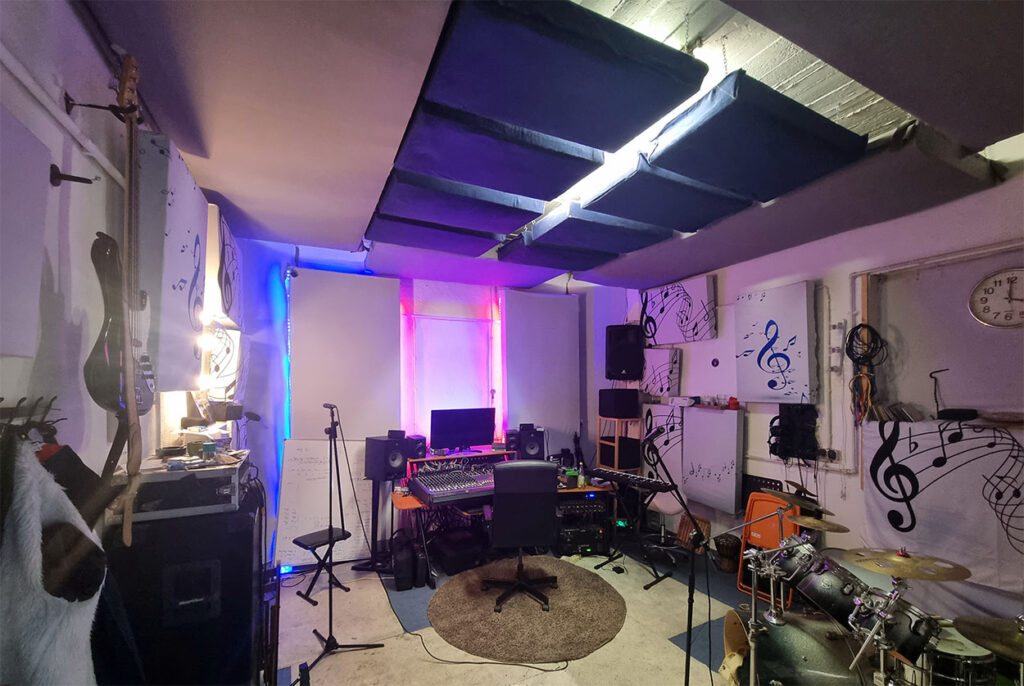
But if you can't do anything about the acoustics of the room, it's not too bad - just record your voice with a good dynamic mic instead of a condenser mic, because dynamic mics pick up less of the environment.
However, to achieve truly professional results, a minimum of acoustic optimization is required, if not the entire room, then at least an acoustic booth or microphone screen.
Why should I do any room acoustics treatment at all?
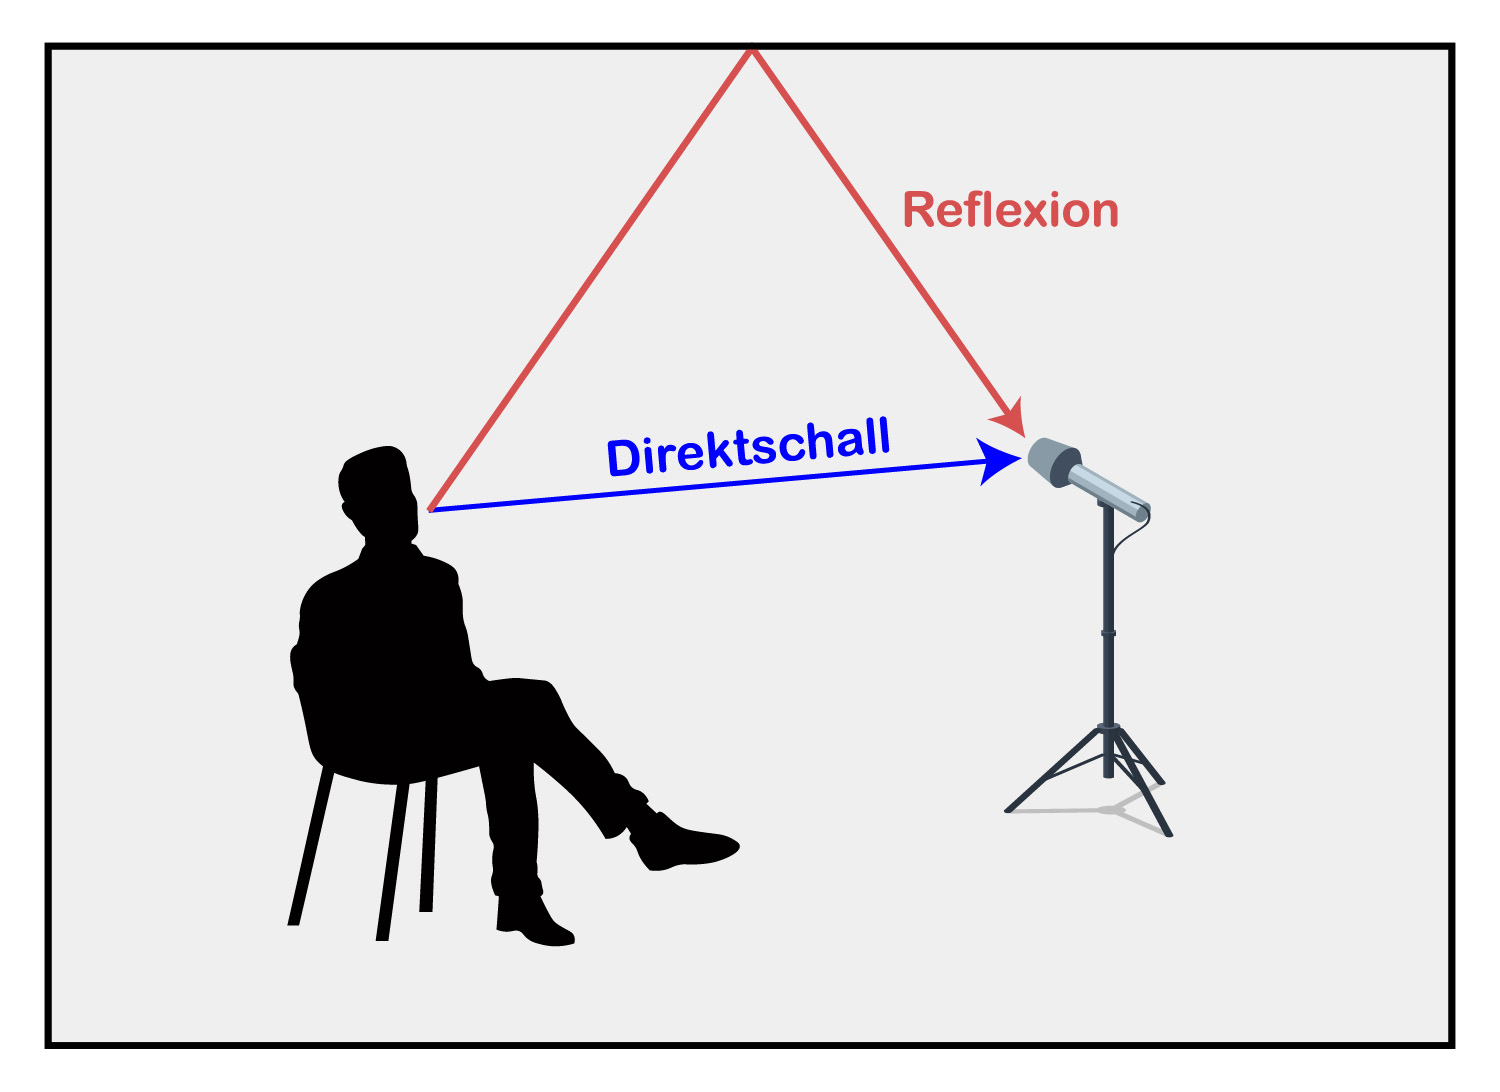
When a singer sings in front of a microphone in a closed room, the sound waves enter the microphone in two ways:
- Direct sound: The sound coming directly from the singer's mouth into the microphone (which is what we want).
- Sound reflections: The sound that reflects off the walls from the sound source and then enters the microphone (which is what we don't want).
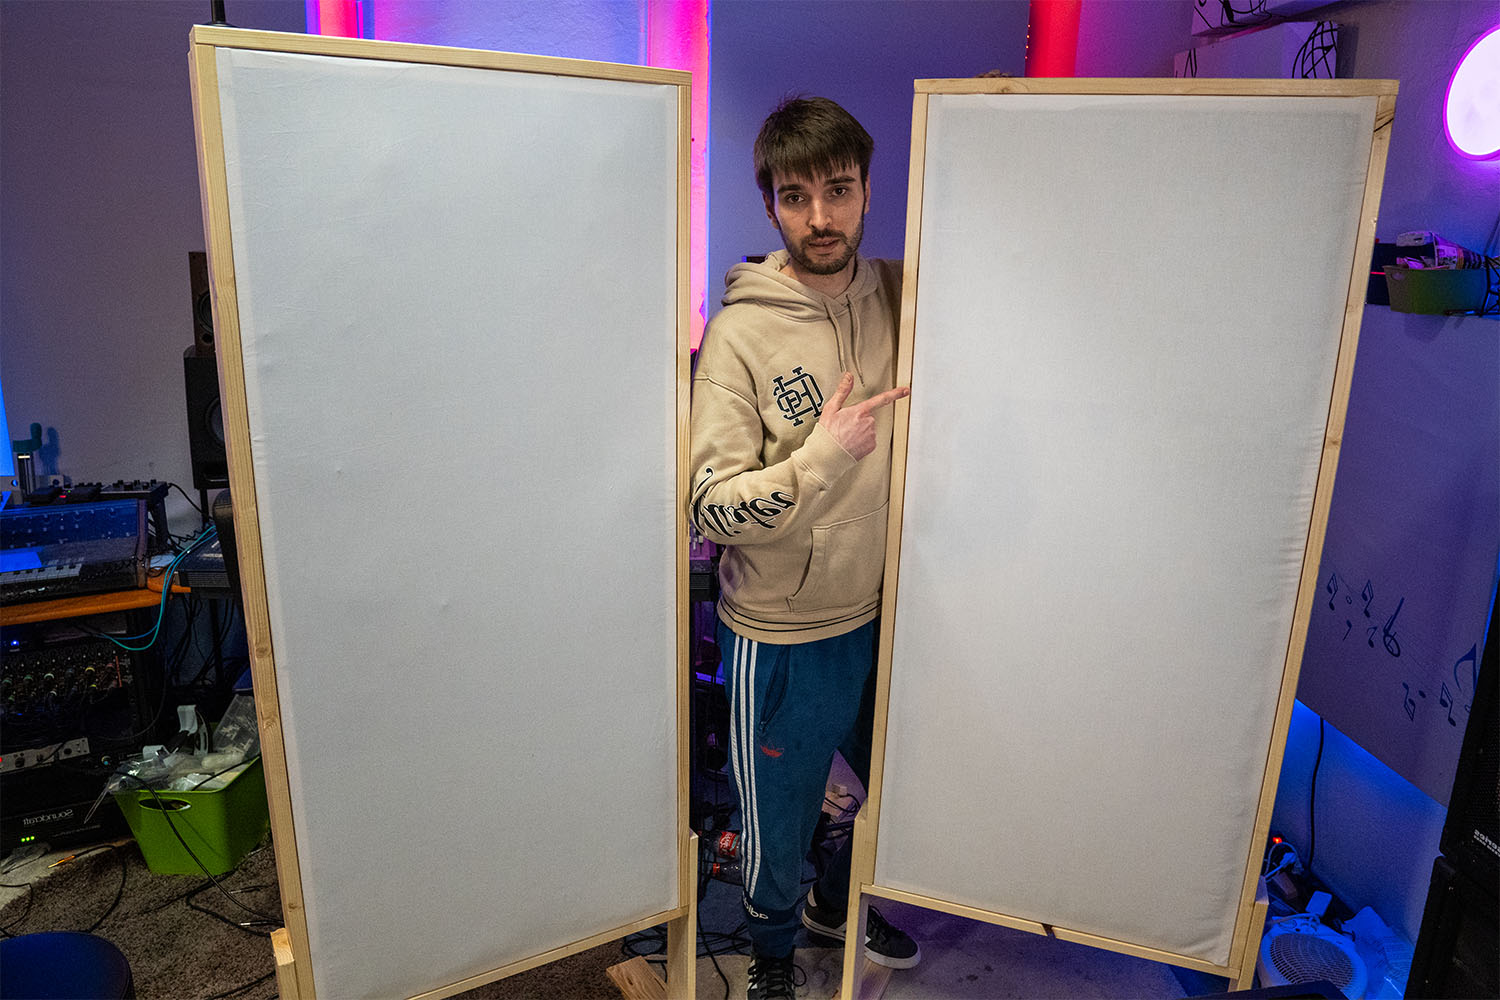
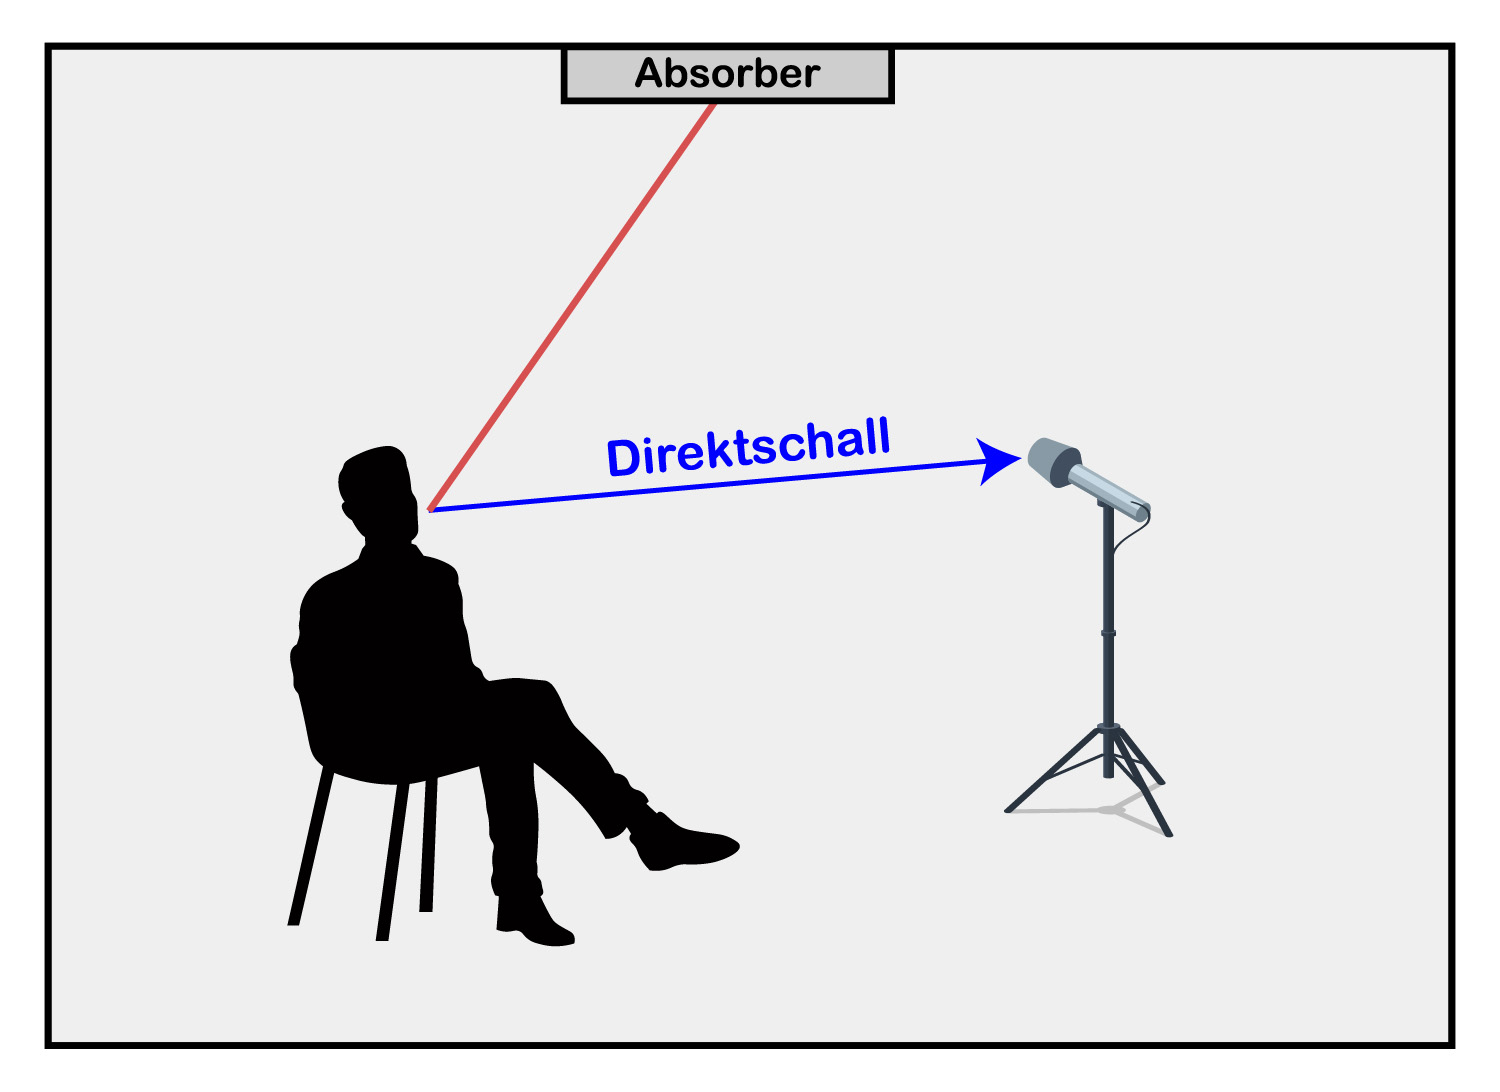
Our goal when optimizing room acoustics is to eliminate sound reflections as much as possible by installing absorbers on walls, ceilings, and floors. An absorber has the ability to absorb sound waves so that they are no longer reflected.
This is because the reflections make the voice sound fuzzy, blurry, and distant. Much like singing in the bathroom. Phase problems can also occur because the sound wave from the reflection arrives at the microphone out of phase with the direct sound.
At a minimum, absorbers should be placed on the walls and ceilings in close proximity to the microphone. Together with a carpet directly between the singer and the microphone, these elements will absorb the initial reflections of the voice and the vocals will sound drier and clearer.
However, it is best to treat the entire room acoustically, with absorbers on the walls and ceiling, carpeting for the floor, and bass traps in the corners. This way you can be sure that the sound is 100% clean and no reflections are picked up.
If you want to learn more, check out my guide to DIY optimizing room acoustics for little money - where I explain in detail how to achieve good room acoustics on a budget.
As an alternative (if you don't want to optimize the entire room), you can also use vocal booths.
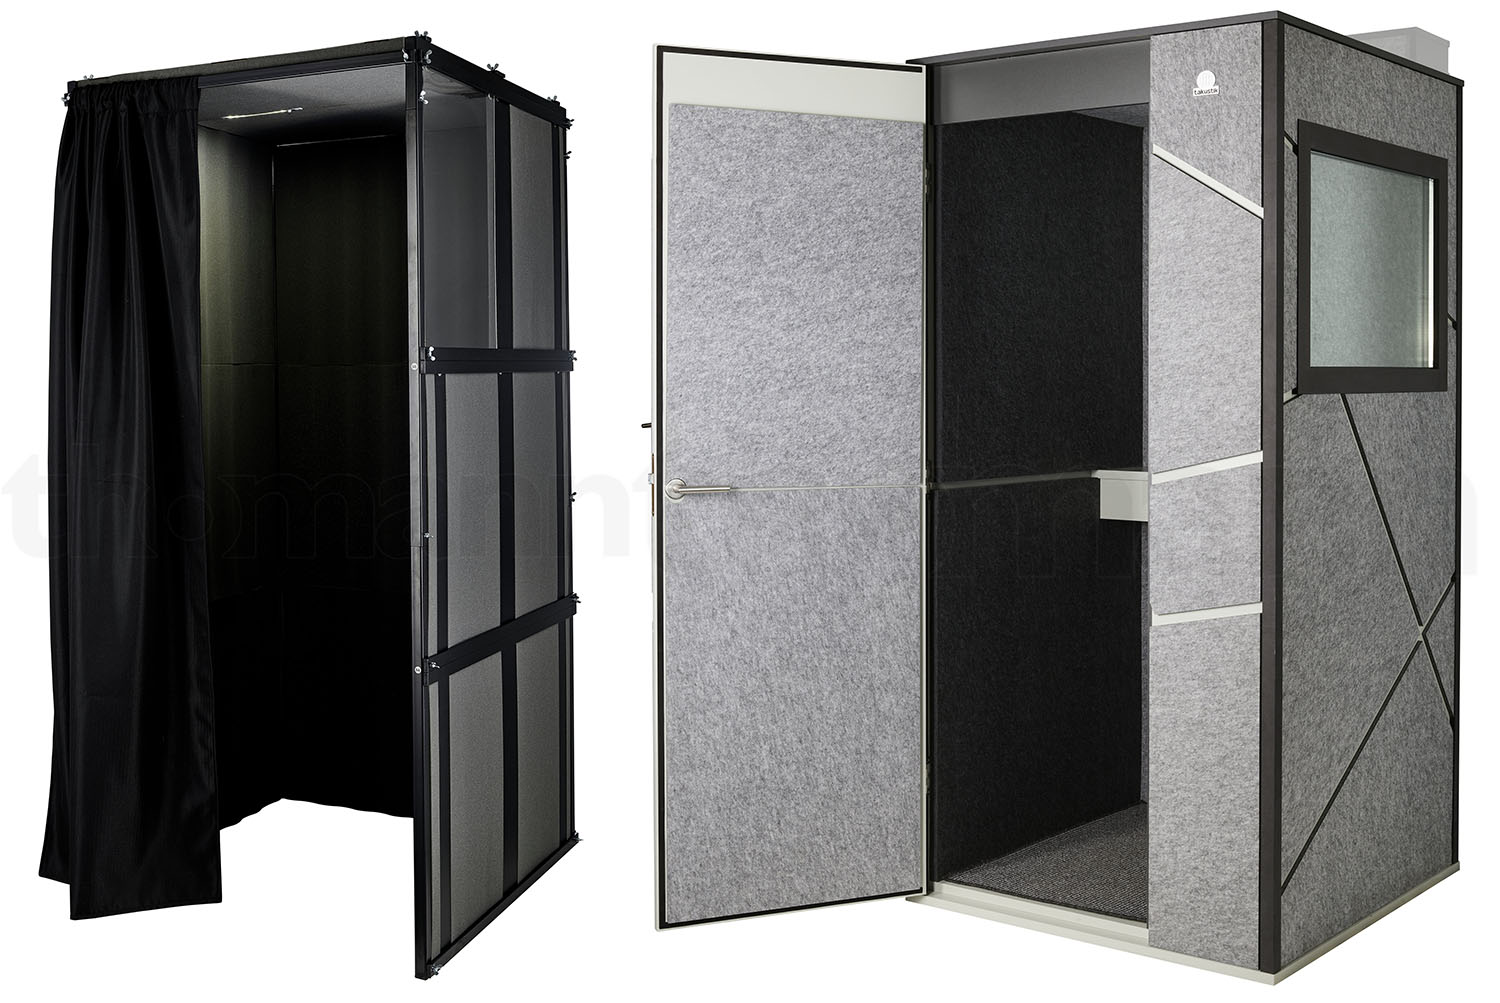
However, the sound is not as pleasant as in an acoustically treated room, because a vocal booth is very small and the voice sounds rather unnatural. Much better than in an untreated room, of course, but slightly worse than in a normal acoustically treated room.
Microphone screens are another intermediate solution. These are like small vocal booths, but are only placed around the microphone and are designed to prevent reflections from entering the microphone.
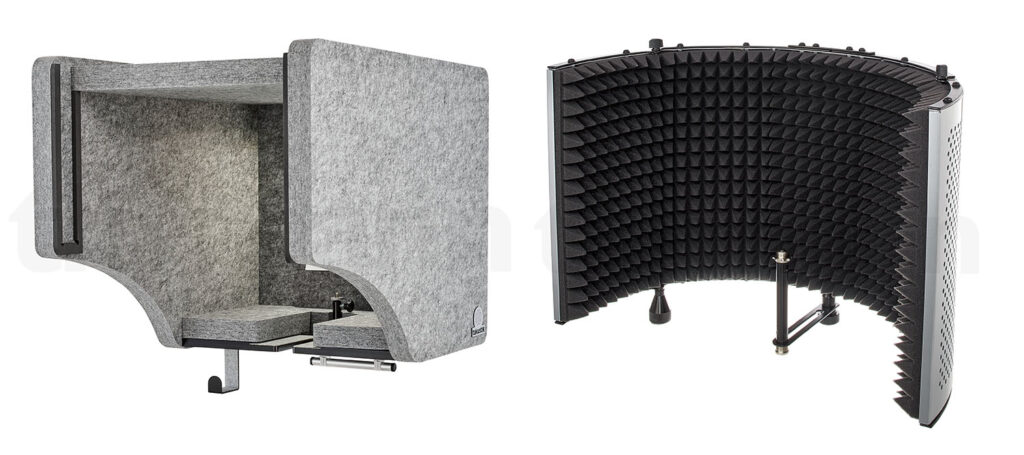
There are models like the t.akustik Vocal Head Booth, the t.bone Micscreen XL or the Aston Microphones Halo Shadow. This is the last resort when no acoustic treatment is possible and no vocal booth can be bought or built, as the absorption capacity of such small constructions is rather limited.
Step 2: Choosing the right microphone
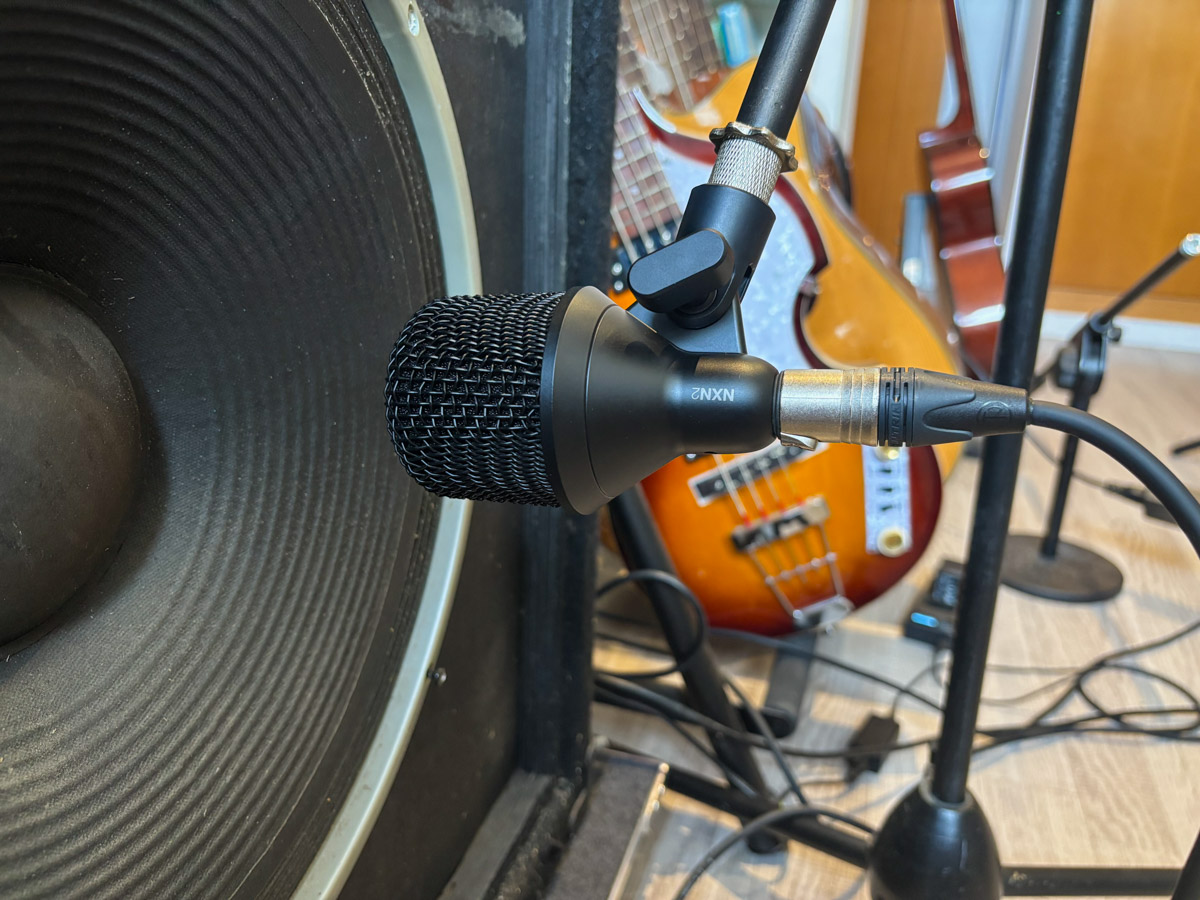
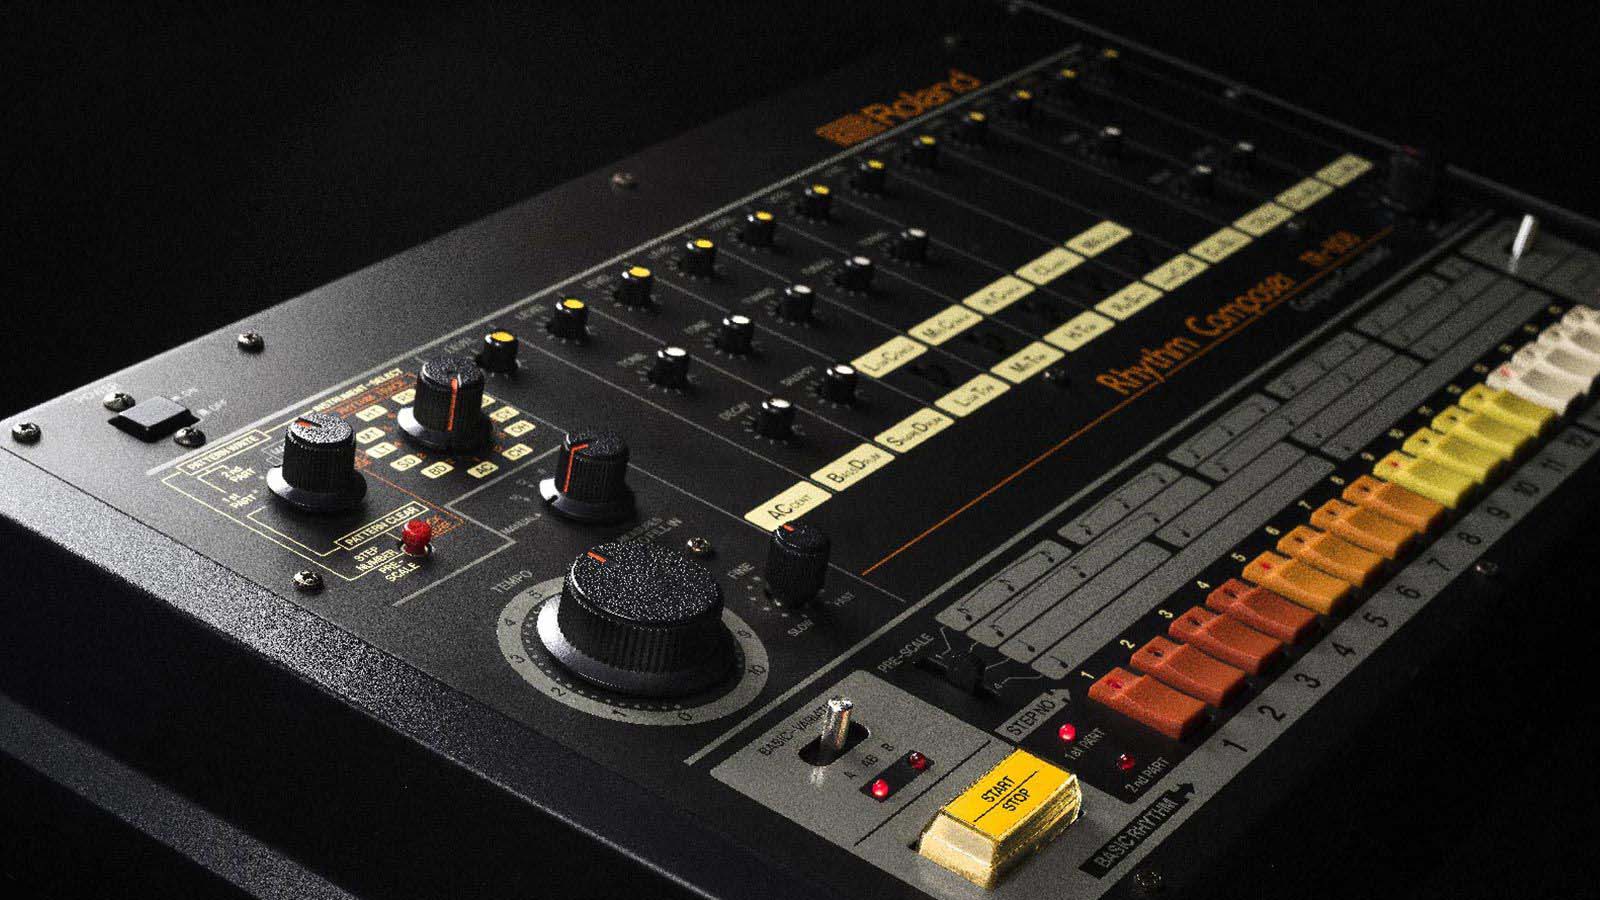
Now comes the next big step, choosing a vocal microphone. If you don't have good room acoustics, then condenser microphones are out of the question, only dynamic microphones. And there is not much choice, so I always recommend a Shure SM7B.
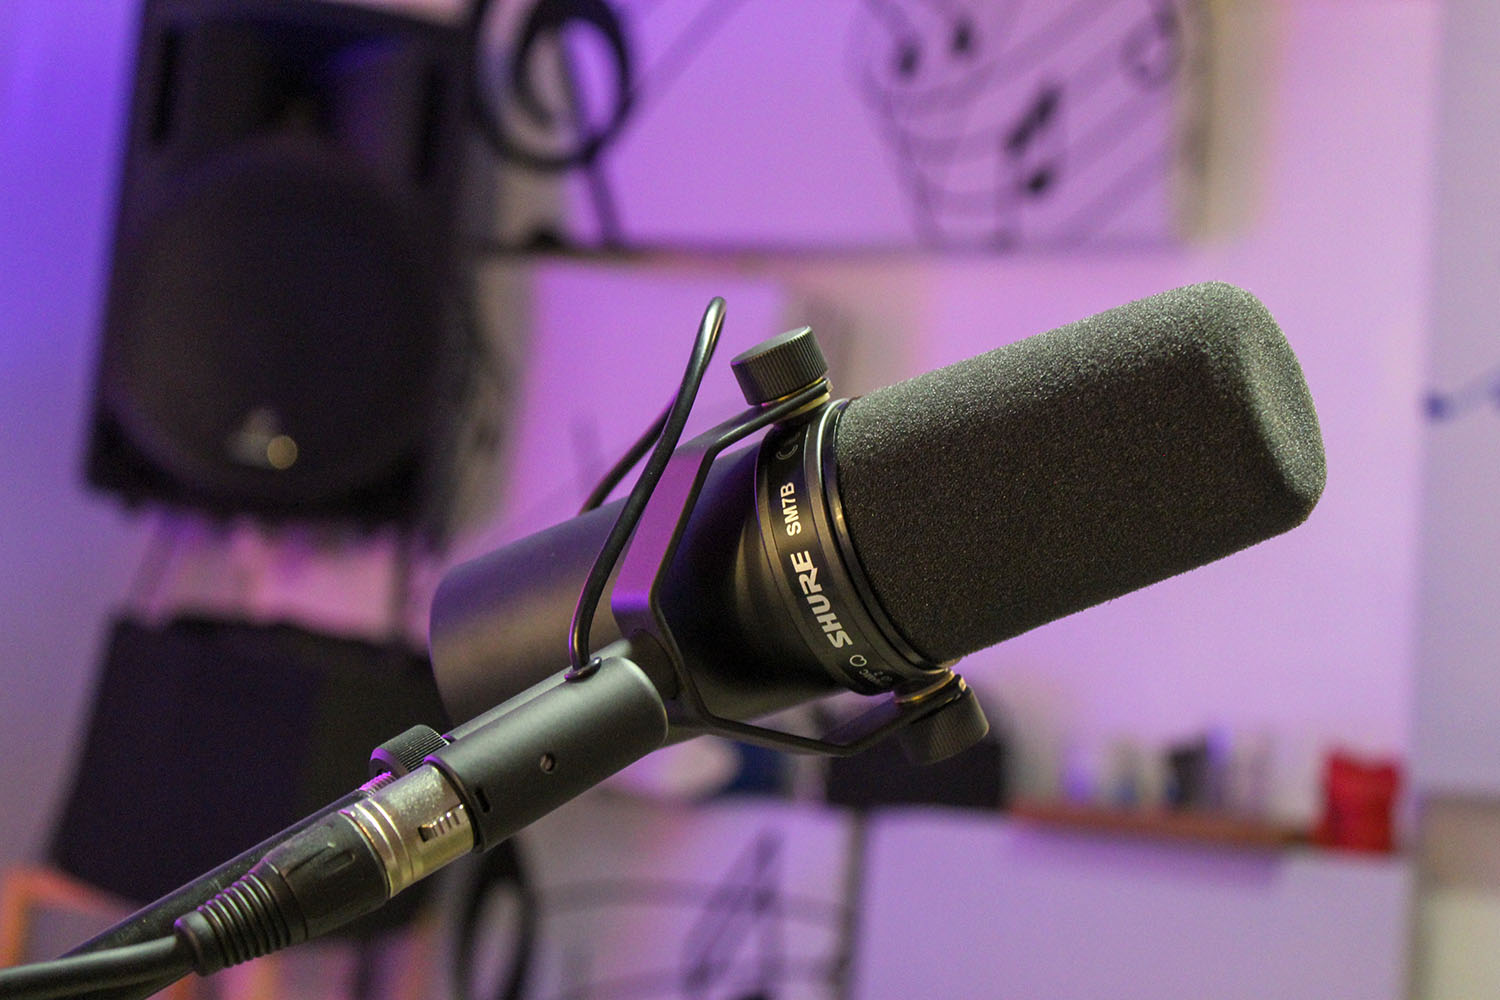
This is a legendary microphone that sounds very natural (almost like a condenser), but does not pick up the environment as much as a condenser. It has a very good frequency response and sounds incredibly clear and detailed.
If the room acoustics are good, use a condenser microphone. They sound more natural, clearer, and more precise. If this is your first microphone, you want one that sounds as neutral as possible.
Many microphones have boosts in certain frequency ranges that make them better for certain situations, but not for all. That's why I would never recommend a tube microphone as your first mic, because it's only good for certain situations. A neutral microphone, on the other hand, can be used by any singer for any song! When mixing, the microphone can then be processed with the EQ to achieve the desired sound color.
Many producers buy the Rode NT1A as their first condenser mic, including myself, and it's a very good first choice. This mic is relatively neutral (it has a small but minimal boost in the midrange, which is very good for vocals) and sounds clear and distinct, like good condenser mics.
For just under 250€, you can get the Rode NT1, which sounds a bit better. If you have a little more money to spend, microphones like the AKG C414 or the Neumann TLM 103 are very good choices for entering the high-end arena.
And if you're a professional and really want to make money from your music, it's worth investing in the world's most famous high-end vocal mic, the Neumann U87. It's very expensive - just under €3,000 with a spider - but it's simply the best universal microphone that sounds good on any singer. It is the most used microphone in professional studios for a reason.
If you want to learn more about vocal microphones, I recommend reading my article about the 8 best microphones for rappers and singers. There I compare the best vocal microphones in detail.
Step 3: Placing the microphone in the room
If the room is acoustically optimized, it almost doesn't matter where you place the microphone, as long as it's a little away from the wall and not right in the middle. The microphone should then be placed so that the singer's back is to the nearest wall, so that he or she is singing into the room and not at the wall.
With condenser microphones, always use a pop shield to minimize plosive sounds and other noise caused by air being expelled from the mouth.

If the room doesn't sound so good acoustically, just try different places - sometimes it sounds good where there are large pieces of furniture nearby, because they also absorb some sound. Then it is important not to sing in a corner or near a wall, because that is where the acoustic problems are most obvious. The best place is about 1/4 of the length of the room.
The microphone should be placed at the correct height so that the microphone capsule is at the same height as the singer's mouth, perhaps a little higher. If the microphone has a cardioid characteristic, the singer should be a little away from the microphone, at least 10 cm. If you get too close, the proximity effect will emphasize the bass, making the voice sound unnatural and muddy.
If the room acoustics are poor, sing closer to the microphone so that the reflections are picked up much more quietly than the direct sound.
This is not the case with omnidirectional microphones, such as the AKG C414 or the Neumann U87 - you can get as close as you want and the voice will still sound natural.
Step 4: Preparing the recording
The next step is to prepare the recording. It's best to do this before the singer arrives in the studio, otherwise he or she will have to wait unnecessarily. Nothing spoils a singer's mood more than having to wait in front of the microphone while you are still searching for the right input channel on the DAW.
Good preparation for a vocal recording includes:
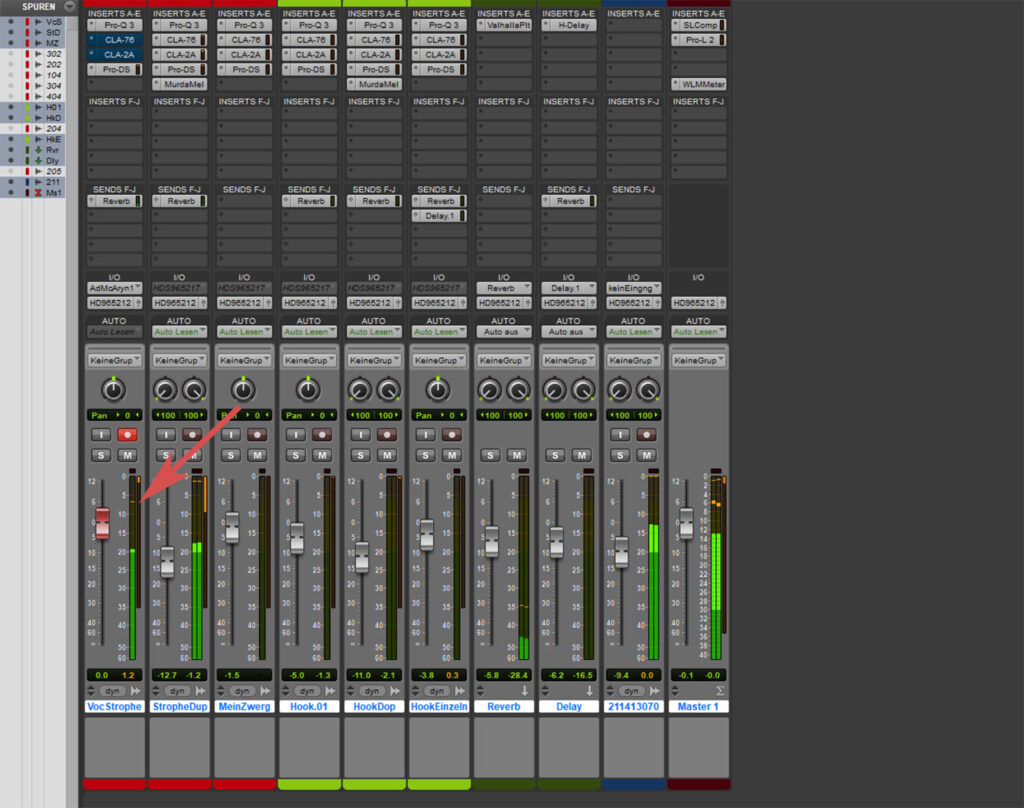
- Preparing the track the singer is recording on with the right input channel and possibly the right effects. I always use a light compressor and some reverb. The microphone needs to be connected to the interface with an XLR cable, and a track needs to be created in the DAW where you select the correct input channel of the interface.
- The musical backing track for the recording must be ready. Whether it's a finished beat or a semi-finished production, it's important that the singer has an accompaniment to sing along with. For this reason, vocals are often recorded last on complete song productions, so that all the other elements are already in place.
- To bring a bottle of water for the singer.
- A note stand for the lyrics, in case the singer does not know the lyrics by heart.
From my own experience, I can say that a singer's performance is much better when he or she knows the words by heart. Not all singers know the lyrics by heart, but it is worth practicing the song extensively before recording so that you have internalized everything.
It is also very important that the singer feels comfortable, because that is the only way to get the best performance. If you are recording and singing for yourself, the same applies: create an atmosphere where you feel comfortable and relaxed. Some people swear by special LED lighting to create that atmosphere. At the end of the day, it's a personal question.
Take your time and do as many takes as you need until you are 100% satisfied. Nothing is more important than the recording - no amount of editing, mixing or mastering can save a bad vocal recording.
Monitoring
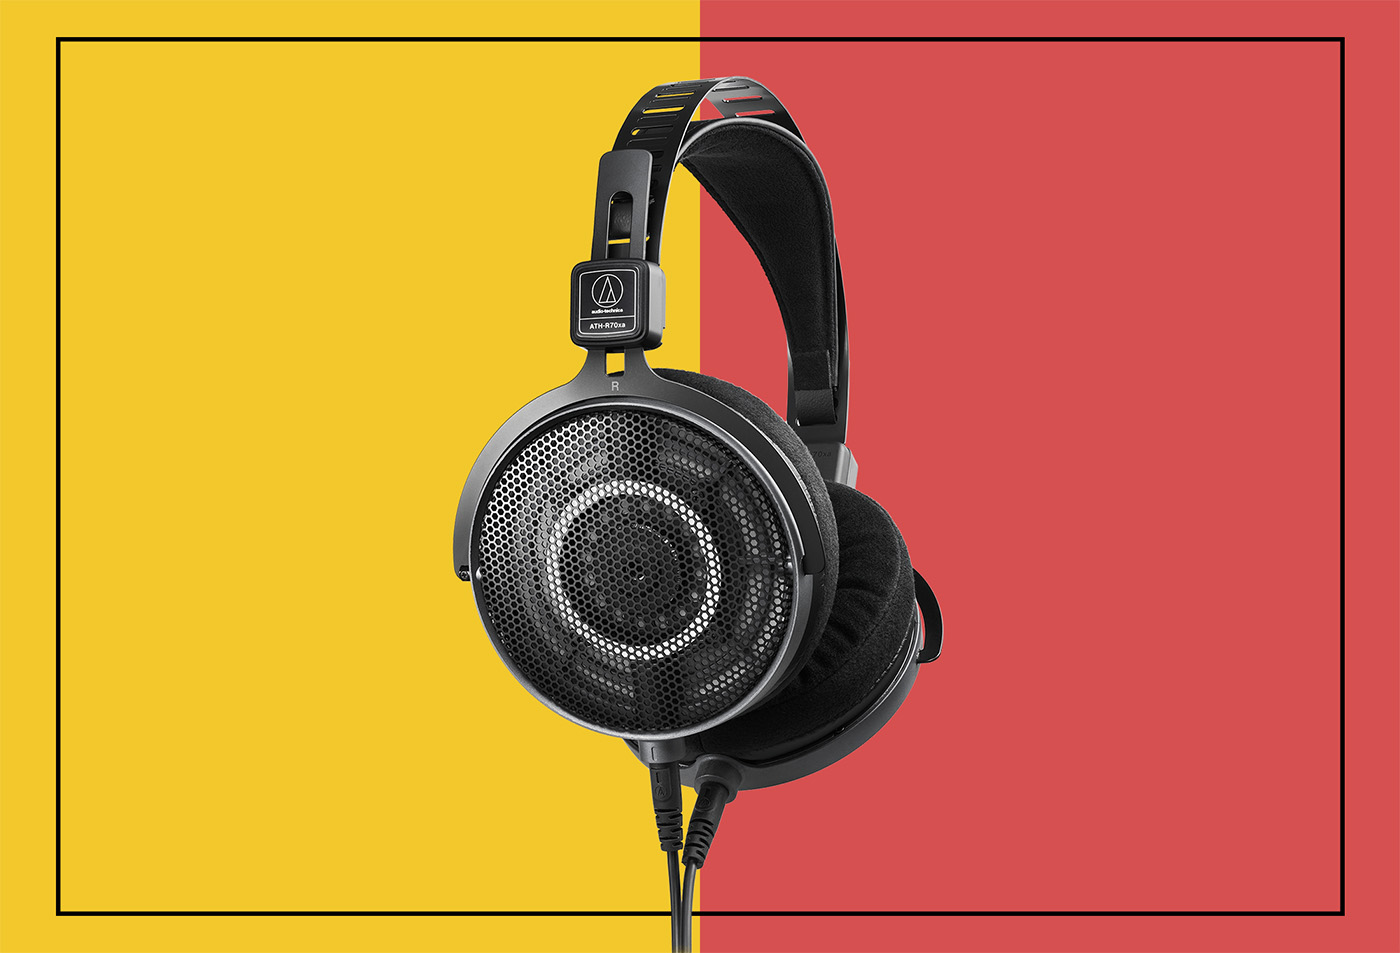
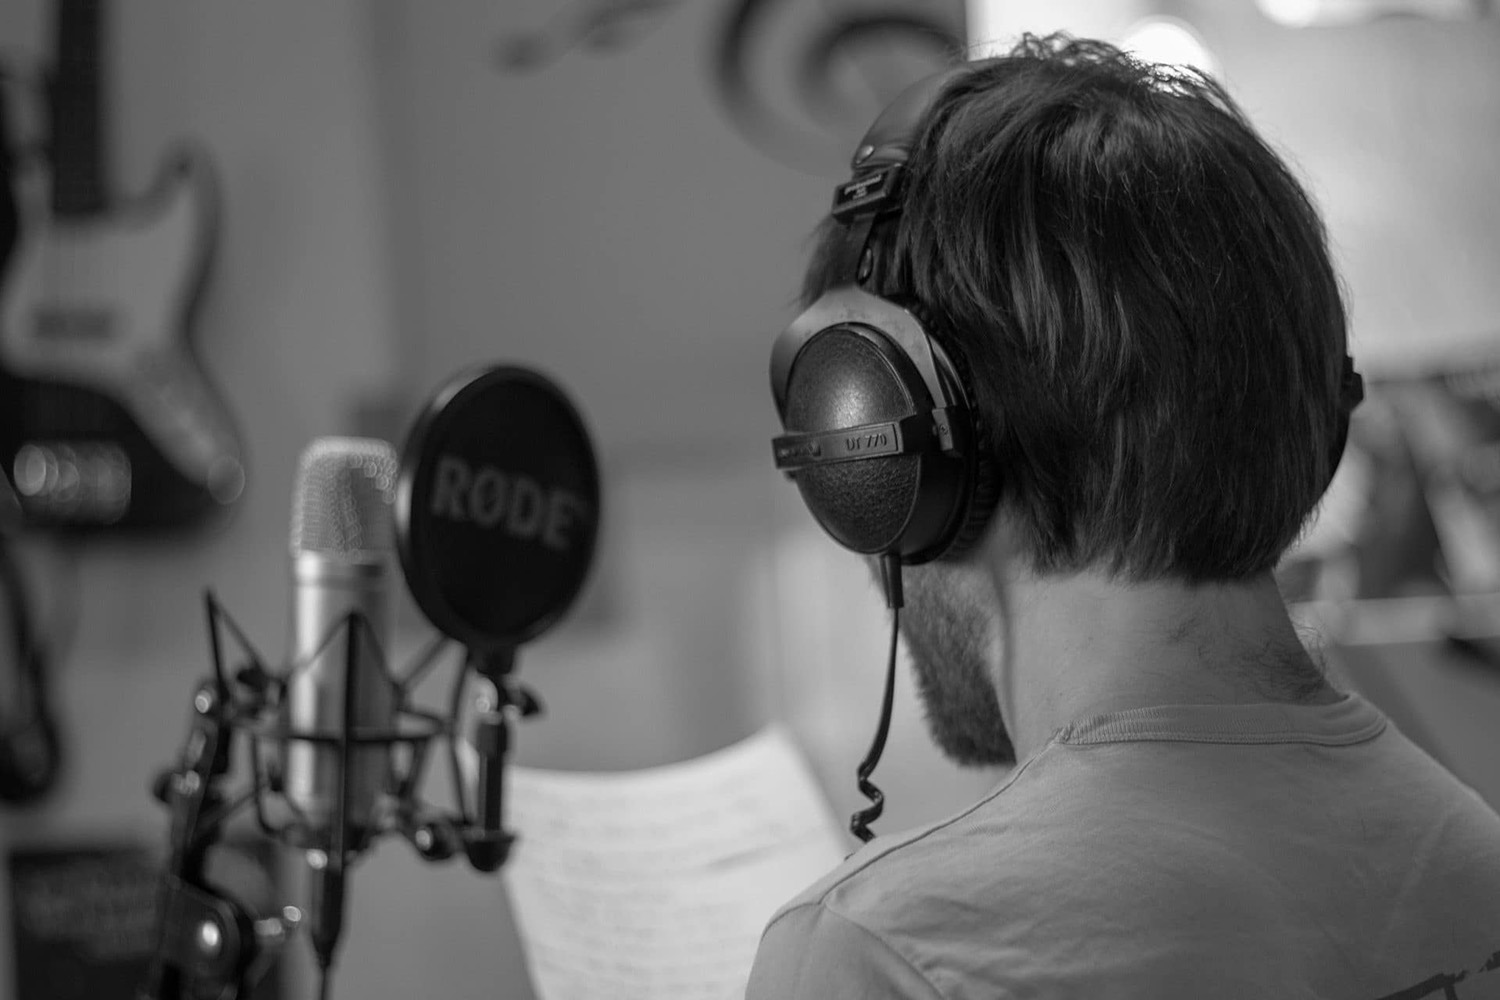
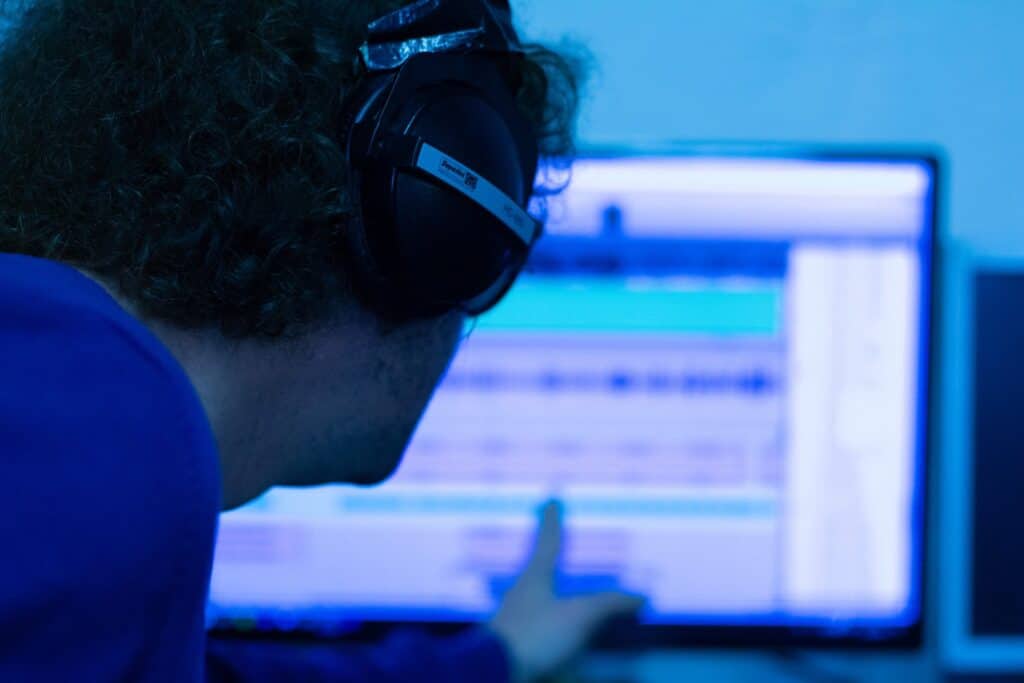
For vocal recordings, the singer is given headphones so that they can hear themselves through the microphone along with the music. It is important to use closed-back headphones so that the music does not come back through the headphones into the microphone (there is some back anyway, but it is not a problem as long as it is very quiet relative to the singer, and that is always the case with closed-back headphones).

If there are other people in the room, such as the sound engineer or friends, they will also need headphones to listen in. If you have a separate listening room, these people don't need headphones and can listen normally through the studio monitors.
Step 5: Correct leveling
Once everything is in place, it's time to get the mic level right. Personally, I always let the singer sing the song a few times. That way I have time to get the level right and he can warm up his voice and tell me if he can hear himself well.
You're probably recording digitally at 24-bit resolution (all modern audio interfaces have this resolution), which means you don't have to record as close to the upper volume limit as you used to. So stay away from the red zone! Overdriving while recording is almost impossible to correct.
When mixing, you can turn up the volume and still have no noise problems because the 24-bit dynamic range is so wide (144 dB). In the past, with 16-bit you had a much smaller dynamic range (96dB) and had to record as loud as possible.
If you want to learn more about the concept of bit depth and dynamic range, I recommend my article on sample rate and bit depth in the digital audio world.
But leveling also means - and this is very important - that the singer hears himself well, not too quietly. Otherwise, he or she will sing too loudly during the recording to compensate. Of course, there are certain genres where you have to turn down the volume if you know the singer is going to scream, e.g. heavy metal, but this is rarely the case.
The singer should sing once, signaling with his hand if he wants to hear himself louder or softer, until the perfect volume is reached. However, the singer's volume should be adjusted using a separate monitor control, such as a send-out, and not the input level. The input level is only important to ensure that the volume in the DAW is correct. Adjust the monitor level only after you have adjusted the input level.
Step 6: Recording
Now it's time to record. There are basically two approaches to vocal recording:
- Record everything at once. You record the whole song in one take and repeat this process until you have 3 or 4 good takes to work with later. This method is preferred by some singers, especially those who have a lot of live experience.
- The parts are recorded step by step. This method is a bit more tedious, but is preferred by most singers in the studio because you can always focus on the individual parts. Here you can break the song into as many small sections as you like, e.g. record the first verse, then the second verse, then the chorus, and so on. The parts must then be edited together by the sound engineer.
Both methods can give very good results - which one you choose is a matter of personal taste.
I always recommend having at least two or three good takes of each part of the song that you think are perfect and that you can work with later in the mix. Often when you're mixing, you'll find problems that you didn't notice when you were recording, because, for example, you're compressing the vocals a lot when you're mixing.
It is very helpful to have another take in reserve in case the exact same thing does not happen (e.g. the singer accidentally kicks the music stand). You can simply record different takes in the same track (called playlists in Pro Tools, take lanes in Ableton) and later, when mixing, compare both recordings with a few clicks and choose the best one.
If the recording session becomes too long, you should always take breaks, as the artist's concentration will decrease over time. A recording session should not last longer than 3 hours - practiced singers can go longer, of course - as nothing good is likely to come out after that.
My experience in recording with many singers has shown me that for most of them the first or second take is usually the best, because you can sing with a clear head, whereas by the twentieth take there is already so much going on in your head that you can hardly concentrate.
But every singer is different - there are singers who need 5 takes to even warm up. Every singer has to decide for himself how many takes he needs.
Step 7: Vocal Mixing Basics
When recording, the vocals should not be mixed, but it can be worthwhile to add some effects to make the performance sound better and motivate the singer. This usually includes reverb (but not too much) so that the voice doesn't sound so dry. For hip-hop recordings, for example, a compressor will also help to give the voice a little more punch.
If the singer has to sing very close to the microphone because of the room, it may be worth using an EQ during the recording to counteract the proximity effect. To do this, simply cut the bass a bit to make the voice sound more natural.
None of this is mandatory, but it can help the singer sound better, which in turn will improve the singer's mood and motivation, and ultimately lead to a better vocal recording.
If you want to learn more about vocal mixing, I recommend my comprehensive mixing guide, which also explains how to mix vocals.
Conclusion
Finally, I would like to emphasize once again how important the vocal recording is in the production of a song. I would even say the most important thing of all. Without a good vocal recording, there will never be a good song, no matter how well you post-process it. Even the famous Auto-Tune needs relatively "good" vocal recordings to achieve the desired effect.
So you have to take your time and repeat this process until you get the recording as good as possible. But you must not go crazy and you must know your own limits or those of the singer - here it is very good to have a second person listening.
There comes a point where you have to ask yourself if a better performance is realistic. After all, a singer doing his first studio session cannot expect to sound like his beloved top star.
Here are some more detailed instructions for home studio recording: