This happens when the music is not mastered at a constant volume (whether on an album, on different streaming sites, etc.) and therefore the perceived volume becomes noticeably unbalanced during playback.
To avoid exactly these problems, the LUFS were developed, a standard for volume measurements. This allows each platform to specify LUFS so that mastering engineers know what volume to master the song to.
In this article we explain what you need to know about LUFS, the new way of measuring levels in audio, and what it means to use it in music production.
More on the topic of mastering:
What are LUFS?
LUFS is a new standard for measuring audio levels and loudness. It takes into account human hearing patterns that correlate better with reality than other measurement methods, such as dB.
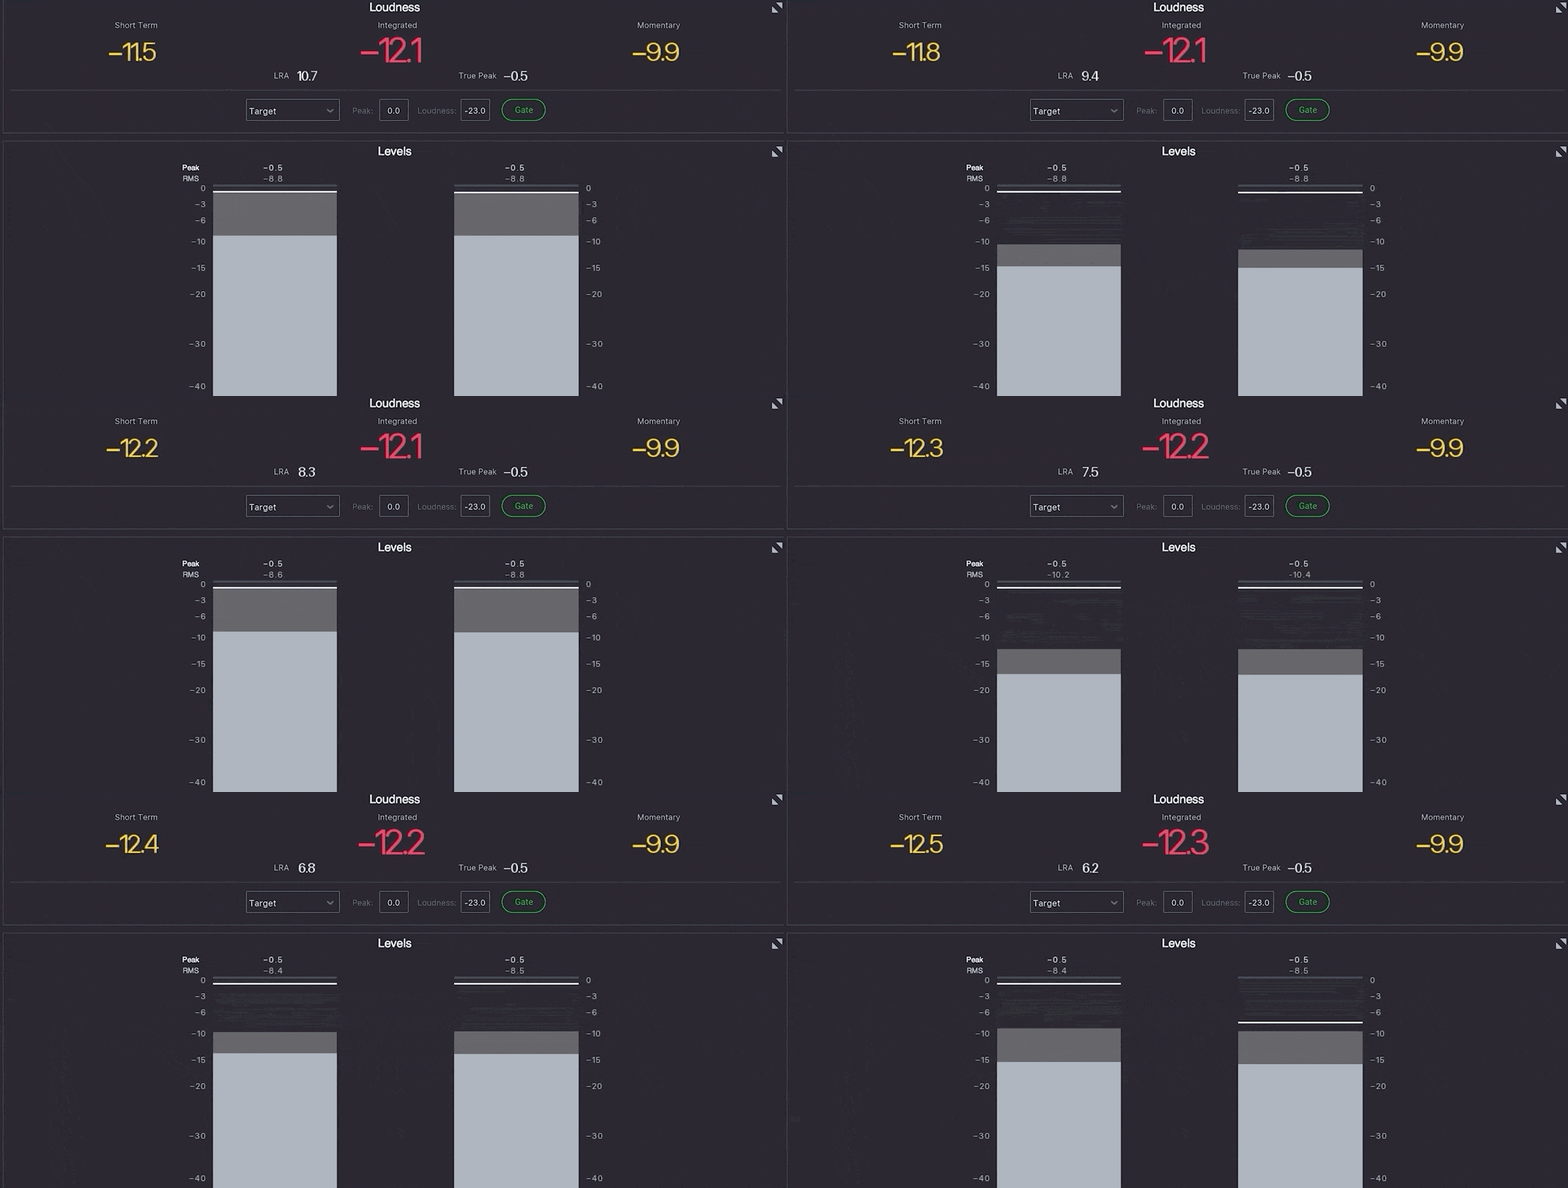
The acronym stands for Loudness Units Full Scale or Loudness Units Relative to Full Scale.
What was the LUFS invented for?
There were 2 main objectives in the invention of LUFs:
- To be able to relate the level measurement more precisely to our perception of loudness. Accordingly, 2 songs that have the same LUFS level are perceived by us as equally loud.
- The other and more important goal is to standardize the volume of television and radio broadcasts. This ultimately affects the world of music production and streaming, as mastering engineers now have to master at different volumes depending on the platform.
Loudness in the last century - "The Loudness War"
The volume war on streaming platforms like Spotify, Apple Music or YouTube is a phenomenon we have been observing for some time.
For years, mastering engineers have struggled to find the loudest tracks. It has been assumed that a song is perceived as "better" or "hornier" if it is louder.
Accordingly, tracks that are produced nowadays are mastered much louder than tracks that were created in the 70s, for example.
Sound engineers in the world of radio and television have been trying for some time, through various initiatives, to avoid abrupt jumps in volume between programmes and commercials, as such jumps interfere with the enjoyment of the user, who then changes the channel during commercial breaks because he is startled.
In the world of music, these concepts have been adopted because platforms like Spotify or Apple Music have to standardise the loudness of their songs in a similar way. The purpose of these rules is to standardise the average loudness level, not the instantaneous peak.
This avoids abrupt volume changes between songs on Spotify!
Thus, we require that the average loudness correspond to a certain measure, rather than prescribing the maximum momentaneous peak-level limits.
LUFS: Practical implementation in music production
The practical implementation has two sides, namely the production (by the mastering engineer) and the reproduction (e.g. through Spotify or Apple Music):
- On the production side, it's a matter of setting the levels to a value determined by the platforms on which the music is played (e.g. -14 dB when mastering for Spotify).
- On the other end, in the playback side, there is a system built in that measures the levels of the songs and adjusts them as needed. So if -14LUFS is the standard on Spotify, but a song only has -20 LUFS, Spotify will use its own limiter to raise the volume of the song.
That's why it's so important to master too loudly rather than too quietly, because you never know what your song will sound like when, say, Spotify turns up the volume with a limiter. Your mix may change and suddenly the bass or vocals are too loud.
But when Spotify reduces the volume, you can be sure that your mix remains the same, because here only a "fader" reduces the volume without compressing the song.
If the nominal level is e.g. -14 dB (Yes, LUFs are also measured in dB!) and the file has a level of 10 dB when analysed, i.e. 4 dB above, this information is stored and when the file is played, the level is reduced so that it corresponds to the default level suggested by the platform.
So by now it doesn't make sense to try to master your song louder than the others, because the platforms will reduce the volume anyway to equalise everything. Your song will sound different from what you wanted - not a good idea.
So it's enough to make sure that the song at least meets the requirements of the platform, but doesn't fall below.
If mastering is done with the aim of achieving a high volume level, it only reduces our chances of getting good audio quality because you have to distort the peaks. Done subtly, this can sound good, but clipping can quickly destroy a song.
Instead, good mastering engineers these days can concentrate on just making the song sound good. As long as you are then around -14 LUFS, you know you are on the safe side.
LUFs: The new measurement standard
So a new method of measuring loudness was needed that was closer to human hearing than measuring peaks. The result was the LUFS (Loudness Units Relative to Full Scale).
The measurement has a frequency weighting component and a temporal integration that corresponds to the way our hearing works. The integration can be short (short term or momentary) or integrated (long-term), which covers the period from the start of playback to the pause.
The average level we should aim for is given in LUFS and depends on the platform we are working with. The table shows some reference values for the LUFS level that the final master should aim for.
| Platform | Recommended LUFs in dB |
| Spotify | -14 |
| Youtube | -13 |
| Apple Music | -16 |
| Tidal | -14 |
| Amazon Music | -14 |
So you should aim for -14dB LUFS in mastering, since platforms only allow uploading a single file. But with -14dB you are always safe, since only YouTube would raise the volume by 1dB here - you can live with that.
-14dB LUFS is a good value that also allows for good dynamics in the song, as not everything sounds squashed and over-compressed.
LUFS vs RMS
LUFS has established itself as the standard measure for mastering - but there are also other volume units. In the audio engineering world, one often encounters RMS values.
RMS measures - just like LUFS - the continuous audio level, not the instantaneous one. The difference, however, is that LUFS - due to better algorithm curves - much better represents the perceived loudness of the human ear.
LUFS provide a much more accurate analysis of the audio based on the so-called Munson curves. These curves represent the way we humans perceive sound much better than the measurement technology behind RMS.
One difference, for example, is that we humans can hear mid frequencies much more easily than bass frequencies. So a very bass-heavy song might indicate a high RMS level - just like a song with a very loud guitar. But we humans would perceive the song with the loud guitar as louder because our ear is simply much more sensitive to these frequencies.
However, in this case, the LUFS level for the song with the loud guitar would be higher than that of the bass-heavy song. And that's exactly why you work with LUFS in mastering.
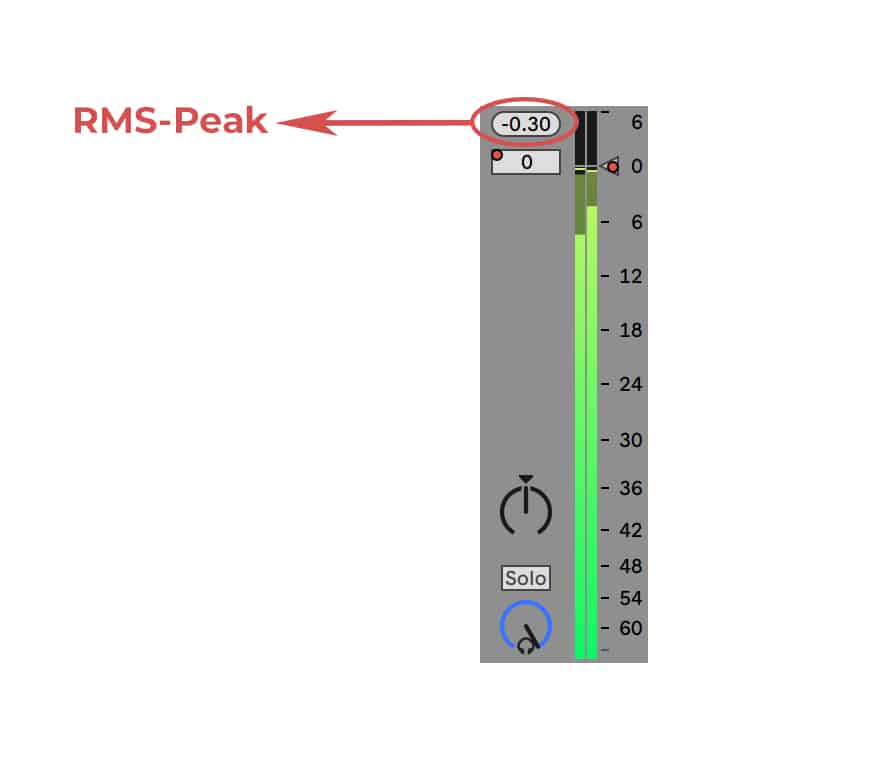
This doesn't mean that you don't use RMS at all - quite the opposite. RMS is often used for mixing and recording, as many DAWs work with these values in the individual channels. Therefore, you should also know the basics and limitations of RMS.
LUFS: How do I keep on the safe side?
Even though the most important unit of measurement is the LUFS, we still need to pay attention to the True Peaks. In the digital age of music, it is important to know what happens when you convert audio from analogue to digital, and then compress it.
Because when we compress the file to mp3, if the levels are too high, distortion can occur that can really destroy your song.
That's why I recommend mastering to a safe true-peak level, about -0.5 dBTP. This way you are on the safe side and there is no distortion. All common volume meters always show the true-peak level next to the LUFS.
Best VST plugins to measure LUFS
WLM Loudness Meter from Waves

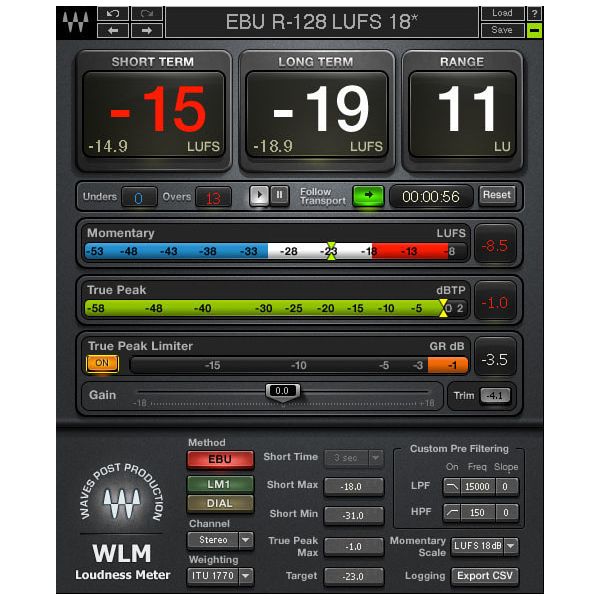
The WLM Loudness Meter from Waves is in my opinion the best plug-in to measure the level. It shows Short Term LUFS, Long Term LUFS and the dynamic range in a big way to have the most important values immediately in view.
I like simple, uncluttered plugins that do what they're supposed to do without too many features I don't even need - that's why I like this plugin so much. And it's cheap too! (approx. 30€)
YouLean

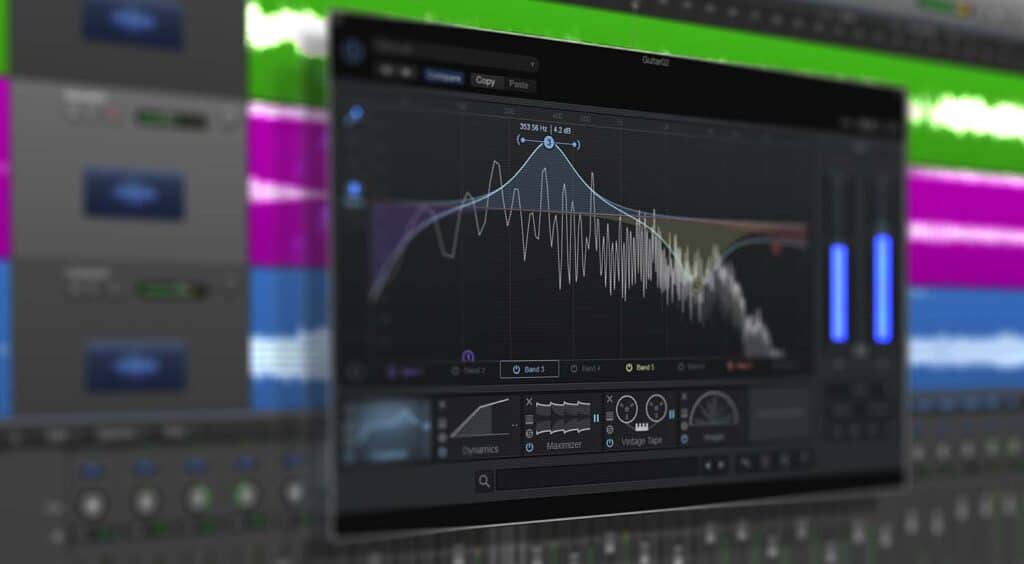
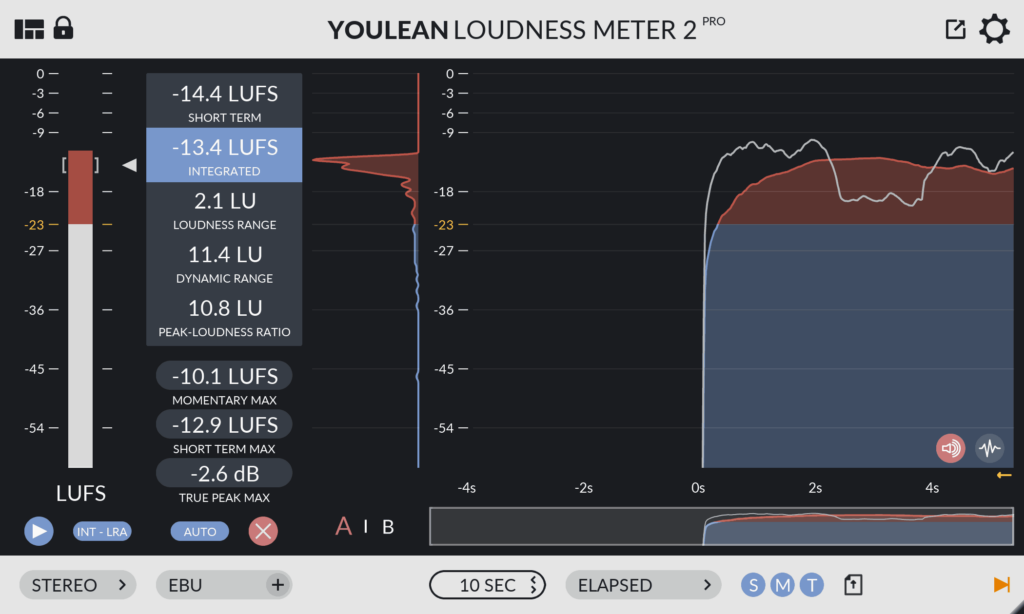
YouLean is a free plugin that I can recommend to everyone. The most important LUFS values are measured precisely and even displayed graphically. Besides the level values, the Dynamic Range (difference in volume between the quietest and loudest levels).
You can change the view and have beautiful graphics displayed. And you can drag and drop another track and analyse it to compare the LUFS values with your track. Very practical!
TC Electronic Clarity M Stereo
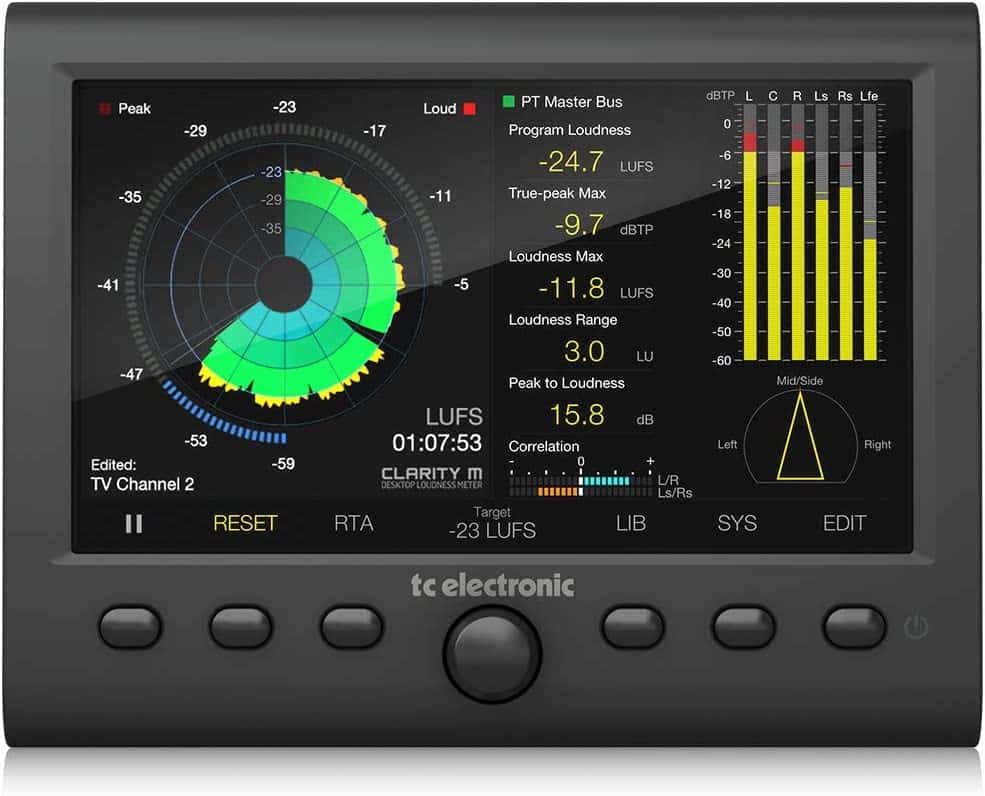
I know this is not a VST plugin, but it is an external monitor that works in conjunction with a plugin in your DAW. In the monitor you can see all the LUFS values measured by the plugin. It can also work without a plugin if you connect two audio cables directly to the device, which is very useful for analog setups.
Besides the LUFS values, you also have a detailed Vectorscope for L/R analysis, a Real TIme Analyser and a Balnce-O-Meter for L/R and M/S - all very helpful for mastering.

